
David Bible Craft For Kids
Teach children about David’s courage and faith with this easy David Bible craft.
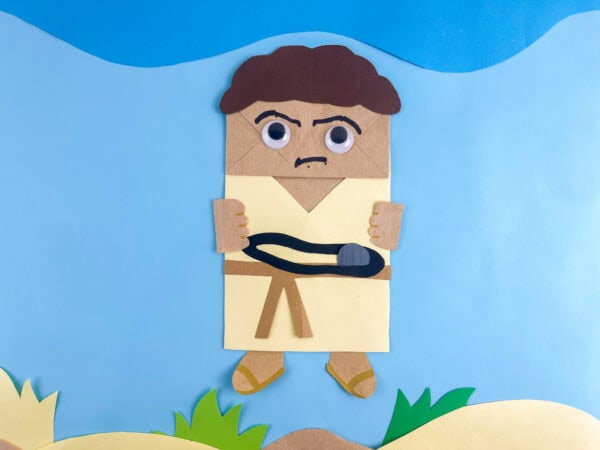
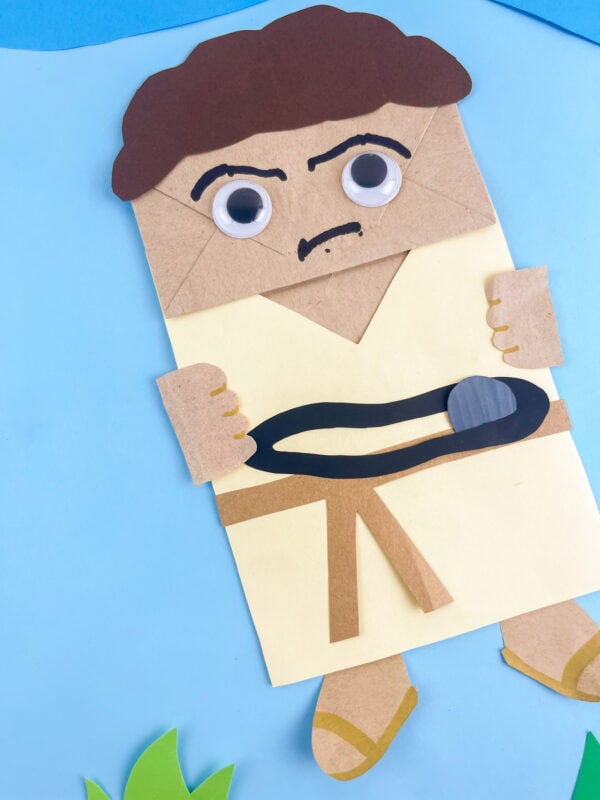
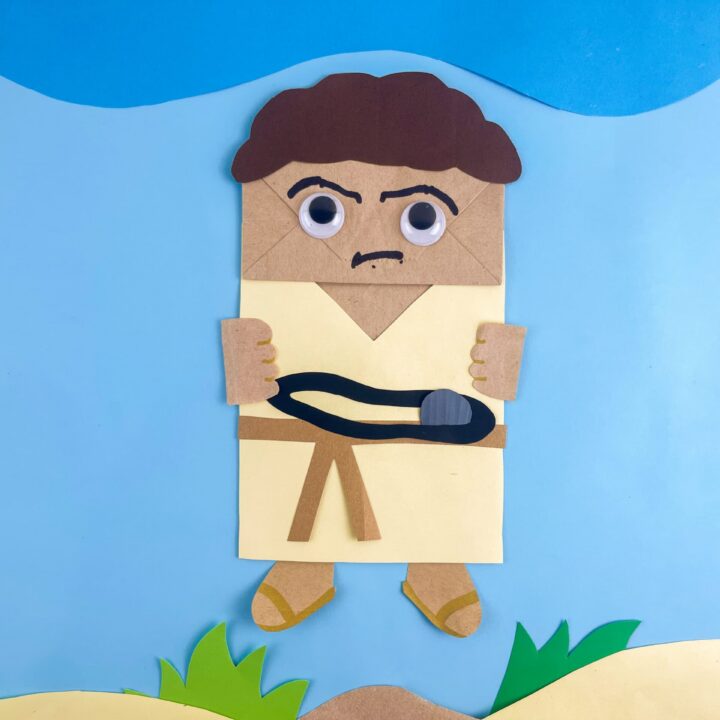
Made from a brown paper bag, construction paper, googly eyes, and a printable template, this young David puppet holds the sling and stone associated with his best-known Bible story.
Children can assemble David’s robe, belt, hair, hands, sandals, sling, and stone while learning how God prepared David for the challenges he would face.
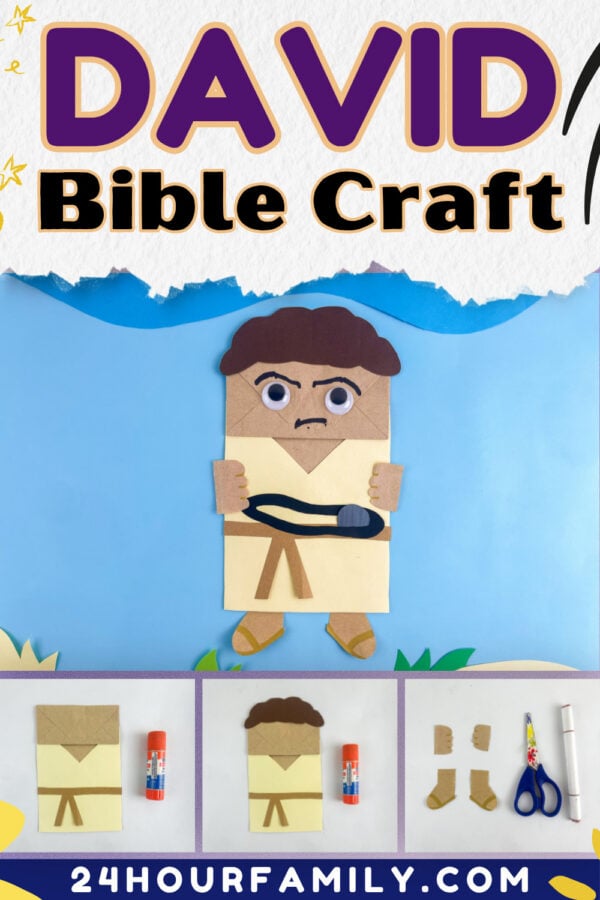
This activity can accompany several lessons from David’s early life, including David as a shepherd, Samuel anointing David, and David trusting God when he faced Goliath.
Because this craft depicts only David, it can be used independently or paired with a separate Goliath paper bag craft to create a complete David and Goliath scene.
It’s a wonderful addition to Sunday school, VBS, homeschool lessons, or family Bible time, giving children a hands-on way to remember this inspiring Bible account.
David Bible Craft
Hands-on learning provides a visual, and honestly, it’s why I keep coming back to craft projects like this one for teaching scripture.
We can talk all day about David the shepherd boy and his incredible journey to becoming King David, but when little hands get to color, assemble, and bring their very own David to life, the lesson sticks.
What You’ll Need:
Here’s the full supply list, and chances are you already have most of these sitting in a drawer somewhere:
- A paper lunch bag
- Construction paper (yellow, brown/tan, and black)
- Googly eyes
- Glue stick
- Scissors
- Markers (black, brown, and gray)
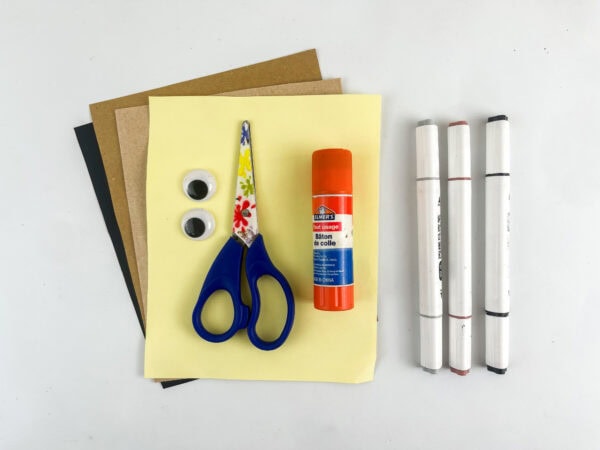
That’s it! No fancy tools, no special trip to the craft store required.
This is a budget-friendly activity for kids that uses materials most classrooms and homes already have on hand, which is part of why I love it so much for group settings like Sunday school or kindergarten classrooms.
Step-by-Step: Building Your David Bible Craft
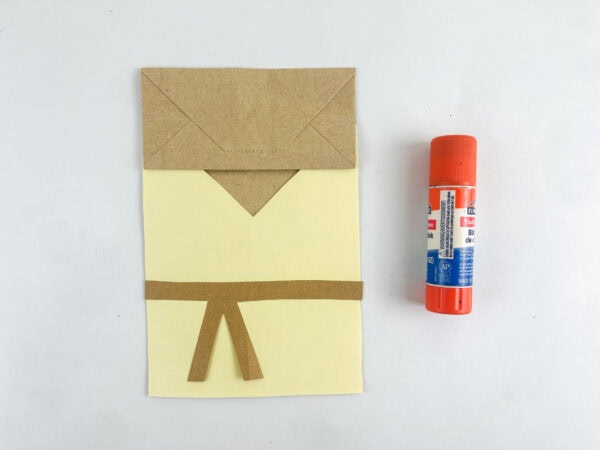
Cut the robe.
Start by cutting a piece of yellow paper the same size as your paper bag, then snip a small triangle from the top center.
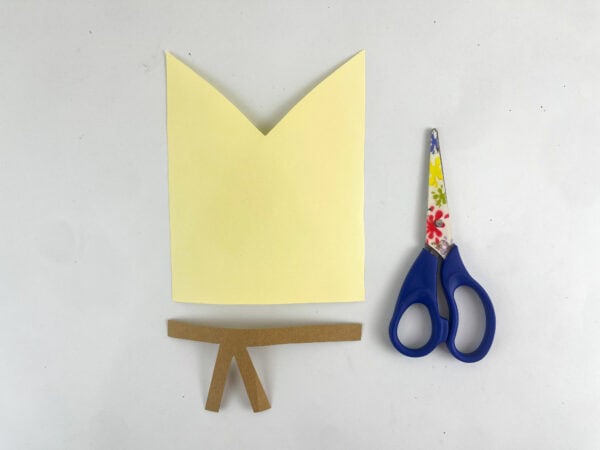
This little notch becomes the neckline of the robe and gives it that authentic, draped look. Attach this piece onto the front of the bag.
Cut and trace your templates.
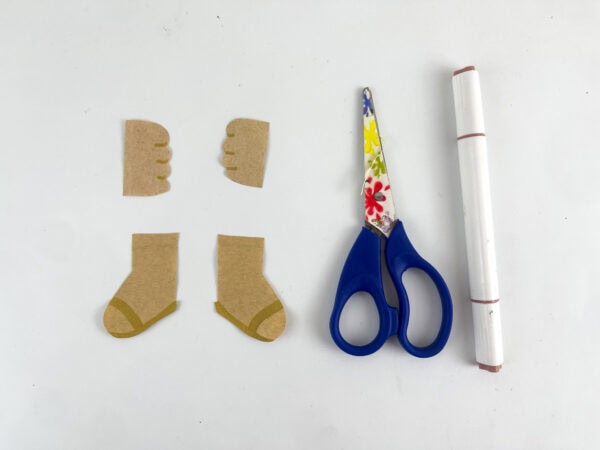
This is where you’ll cut all your smaller pieces from the appropriate colored papers: the hair, the belt, the fists, and the sandals.
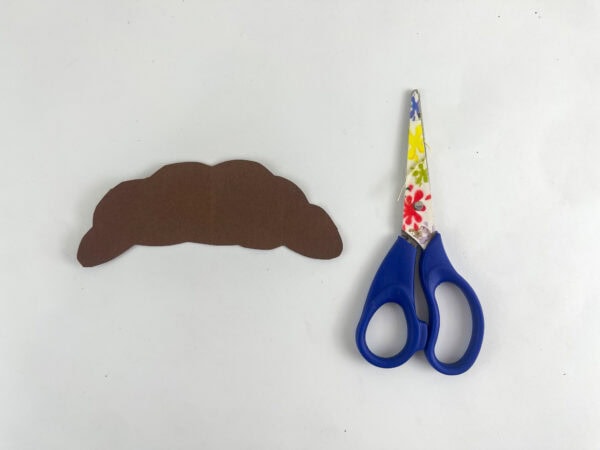
Using tracing templates makes this part go so much faster, especially if you’re doing this David Bible craft with a group of kids who all need matching pieces.
Add the hair.
The cloud-shaped brown hairpiece sits right at the top of the bag’s flap, giving David his signature curly look.
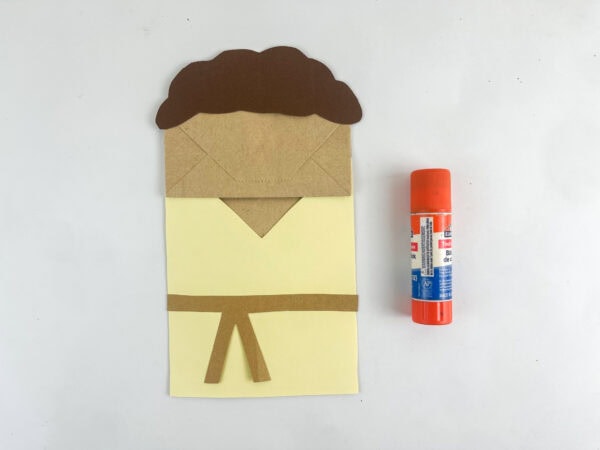
This is one of those details that really brings the character to life, so don’t skip it!
Attach the belt.
A simple tan strip with a knotted bow shape ties the robe together (literally).
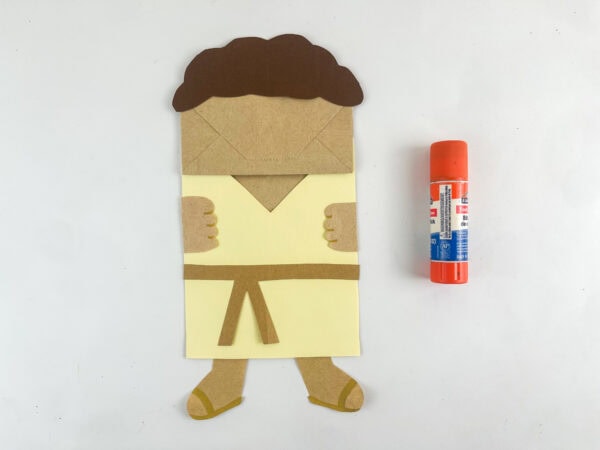
Attach the belt strip horizontally across the lower portion of the robe, then add the little knot detail on top.
Draw the details.
Using your markers, draw the fists and feet (sandal straps work great in a slightly darker shade), then attach everything to the bag with glue.
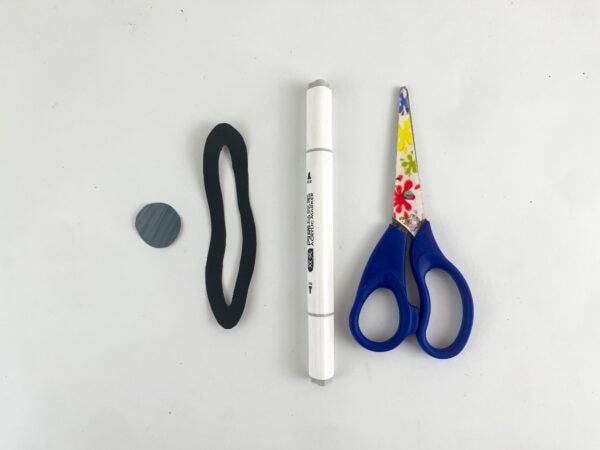
This is also a great moment to let kids add their own creative touches; every David can look just a little different, and that’s part of the fun.
Attach the sling.
No David bible craft would be complete without his famous sling! Cut a black strip into a loop shape and add a small gray “stone” circle to represent the rock he used to defeat Goliath.
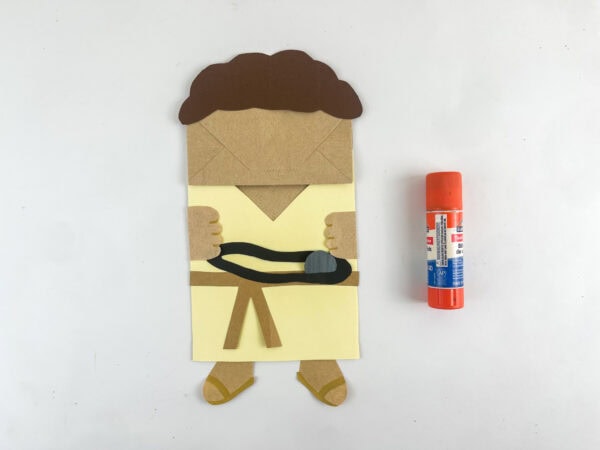
Attach this right into his fists so it looks like he’s holding it, ready for action.
Add the face.
Finally, add on the googly eyes and use your marker to draw the eyebrows and a determined little smirk.
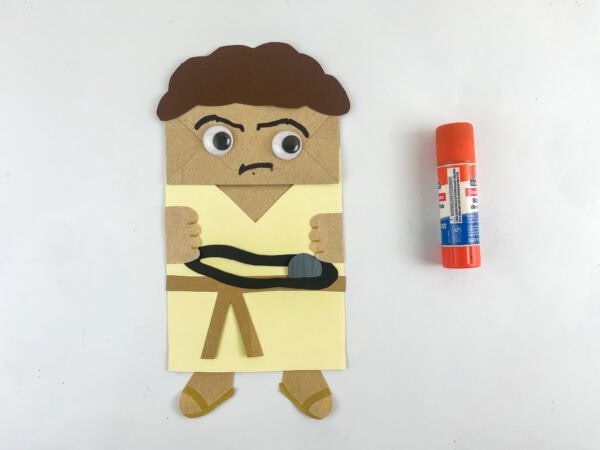
This is the step that always gets the biggest reaction from kids because their flat paper pieces suddenly become characters with real personalities.
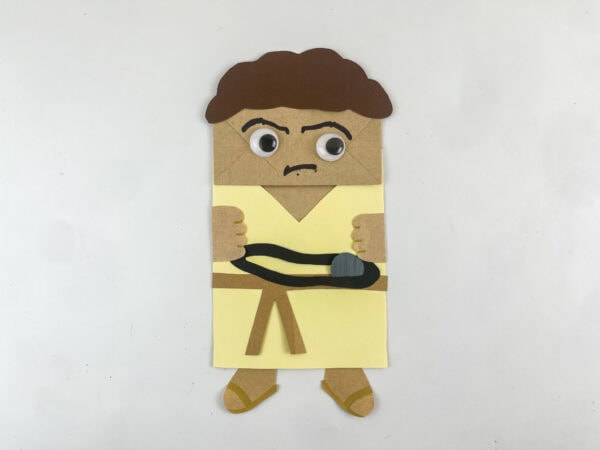
And just like that, you have a finished David ready to defend Israel!
Tying It Back to the Bible Story
While little hands are busy gluing and cutting, it’s such a great time to talk through the actual bible story behind the craft.
You can walk through how young David, just a shepherd boy watching his father’s sheep, was anointed by the prophet Samuel to become king over Israel, even while Saul was still on the throne.
Talk about how Saul’s army was terrified of the giant Goliath, but David’s trust in God gave him the courage to face a battle no one else dared to fight.
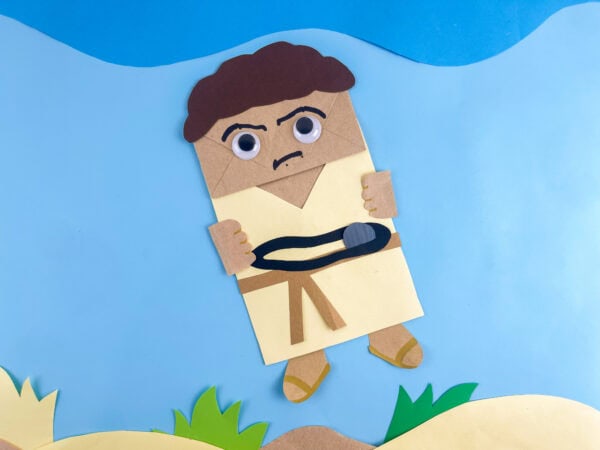
This is also a sweet opportunity to touch on other parts of David’s story if you have older kids or more time: his friendship with Jonathan, his later kindness toward Mephibosheth, and even his own struggles with sin as king.
The journey from shepherd boy to king is full of lessons about God’s guidance, courage, and grace, and it sets up so much of the rest of the Old Testament, including the eventual reign of his son Solomon and the family line that leads all the way to Jesus in the gospel accounts.
You don’t have to cover all of that in one sitting, but it’s nice to know this little craft connects to such a big story.
Pair It With More Bible Activities
This David Bible craft works beautifully alongside other Bible activities, like a printable worksheet, a simple coloring page, or even a paper crown craft, if you want to extend the lesson to talk about David later becoming king.
A psalm verse card (David wrote so many of the Psalms!) makes a lovely addition, too, and older kids might enjoy a quick scripture-verse memorization activity to go along with it.
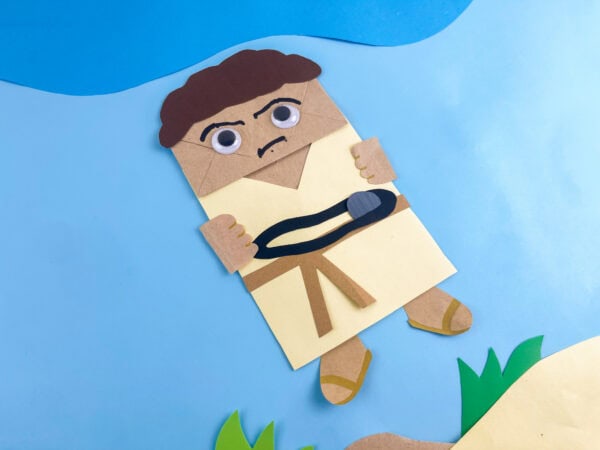
If you’re building out a full Sunday school lesson or classroom unit, consider adding a sling-and-target toss game using cotton ball “stones,” a sheep counting worksheet for your preschool friends, or even a simple 2 Samuel read-aloud for older learners ready to dig a little deeper into David’s reign as king.
A Few Quick Tips
Before you dive in, here are a few little tips that make this craft go even smoother:
- Pre-cut the templates if you’re working with a group of preschool or kindergarten kids. Little hands often need help with scissors, and having the pieces ready makes assembly much easier.
- A glue stick works well for attaching smaller pieces like the hair and belt since it dries quickly and helps keep the bag from getting soggy.
- Let each layer dry for a minute before adding the next piece on top, especially the fists and sling, so everything stays put.
- Don’t stress about perfection. Wobbly eyebrows and slightly crooked sandals are part of the charm, and honestly, those imperfect little touches are what make each child’s David so memorable.
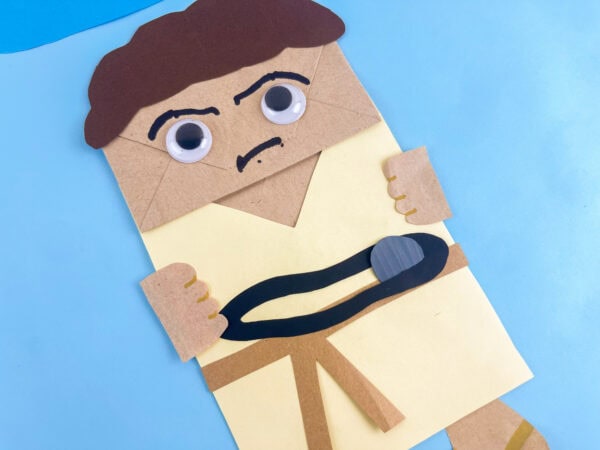
If you want to switch things up, try using card stock instead of regular construction paper for a sturdier finished craft that can withstand a lot of play and display time.
More Bible Crafts to Explore
If you enjoyed making this David Bible Craft, here are a few more Bible-themed crafts that help kids learn important lessons while getting creative.
- Day 1 of Creation Craft for Kids – A fun activity that helps children learn about the first day of creation, when God created light.
- Day 5 of Creation Craft for Kids – A colorful craft featuring the birds and sea creatures God created on the fifth day.
- Baby Moses in a Basket Craft – A hands-on craft that introduces the story of baby Moses and God’s protection over his life.
- Dove Handprint Craft – A simple handprint craft that symbolizes peace and makes a meaningful addition to Bible lessons.
- Jesus Calms the Storm Craft
I just love how a simple craft and activities like this one can turn an ordinary afternoon into something genuinely memorable. This David bible craft will help bring meaning to your Sunday school, homeschool, or VBS time in such a kid-friendly, approachable way.
There’s nothing quite like watching a child’s face light up as they finish their own little paper David, sling in hand, ready to take on the world (or at least a giant).
Who is this Bible craft designed for?
This craft can be enjoyed by children across a variety of age groups. Younger kids in preschool or kindergarten may need help with cutting, while older elementary kids can usually handle the whole project independently, making it a flexible choice for a mixed-age Sunday school classroom.
Do I have to use a printable template to make this craft?
A printable isn’t required, but it definitely helps speed things up, especially for groups. If you’d like to skip freehand cutting, look for a printable Bible story template online, or trace simple shapes by hand, using the steps above as a guide.
How long does this activity take?
Plan for about 30 to 45 minutes from start to finish, depending on group size and how much time you spend talking through the bible story along the way.
Can this craft be used for a lesson beyond David and Goliath?
Absolutely! While it’s designed around the David-and-Goliath craft story, you can easily extend the conversation into David’s later years as king, his friendship with Jonathan, or even his authorship of the Psalms, making it useful for more than one Sunday school lesson.
What other bible crafts pair well with this one?
A paper crown craft, a sling-and-stone toss game, or a simple coloring wheel all make great companion activities if you’re building out a full lesson plan or VBS station
David Bible Craft
This David Bible Craft is a fun way for kids to learn about the young shepherd who trusted God and defeated Goliath. Children will build a simple puppet using basic craft supplies while practicing cutting, gluing, and assembling different pieces. As they create David, they can also talk about faith, bravery, and trusting God in difficult situations. Each finished craft has its own unique look and is perfect for Bible lessons, homeschool, or church activities. Kids will enjoy using their finished puppet to help retell the story.
Materials
- David craft printable template
- 1 brown paper lunch bag
- Yellow construction paper
- Light-brown or tan construction paper
- Medium-brown construction paper
- Dark-brown construction paper
- Black construction paper
- Gray construction paper
- 2 large googly eyes
- Glue
Tools
- Scissors
- Black marker
- Brown or gold marker
- Pencil, optional
Instructions
1. Make the Robe
Cut a piece of yellow construction paper to fit the front of the paper bag. Trim a small triangle from the top edge to create a neckline, then glue the robe onto the front of the bag.
2. Cut Out the Craft Pieces
Cut the remaining pieces from the colored paper, including the hair, belt, hands, sandals, and sling. Keep the pieces neat so they fit together easily during assembly.
3. Attach the Belt
Glue the tan belt across the middle of the robe. Add the small knot or bow shape to the center of the belt to give the outfit a finished look.
4. Add the Hair
Glue the brown hair piece onto the top flap of the paper bag. Position it so it frames David's face and leaves room for the eyes.
5. Add the Hands and Feet
Draw simple details on the hands and sandals with markers before attaching them to the bag. Glue each piece into place, making sure everything is evenly spaced.
6. Make the Sling
Create a small loop from the black paper to form David's sling. Cut a small gray circle for the stone and attach it to the sling before gluing it between David's hands.
7. Finish the Face
Glue on the googly eyes, then use markers to draw the eyebrows, nose, and smile. Allow the glue to dry completely before using the finished puppet for storytelling or display.
