
First Day of School Wreath Craft for Kids – Free Template
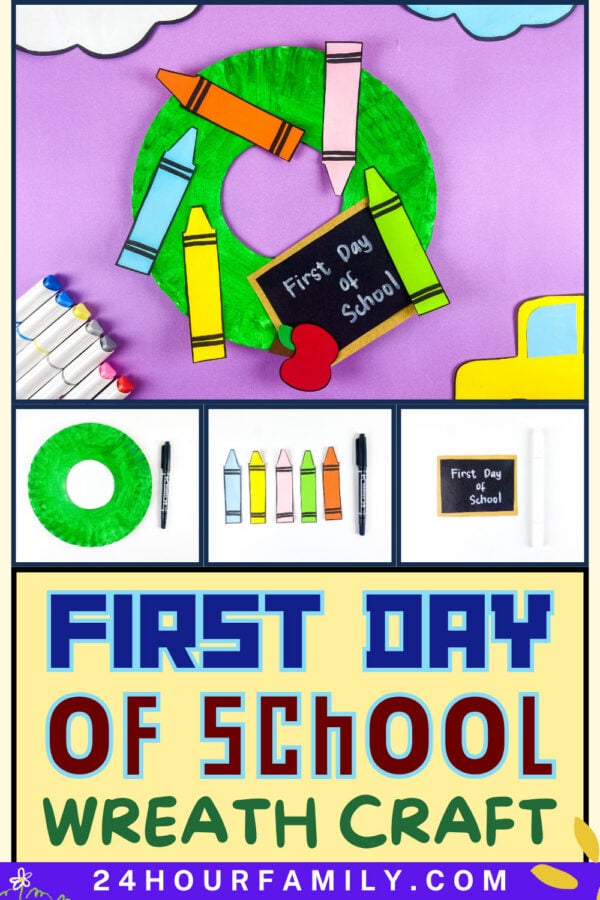
This first day of school wreath craft is the most colorful and cheerful way to celebrate the start of a brand-new school year! A simple paper plate comes with a free printable template and transforms into an adorable back-to-school wreath bursting with oversized crayon cutouts in every color, bright details, and a cute little chalkboard sign that reads “First Day of School” — making it an instant conversation starter wherever you display it.
This easy first day of school wreath craft is perfect for preschoolers and early elementary kids and works beautifully as a classroom decoration, a festive front door display, or a fun hands-on back-to-school activity the whole family can enjoy together. If you are looking for a creative and memorable way to welcome the first day of school, this colorful paper plate wreath craft for kids is exactly what you need!
First Day of School Wreath Craft
There’s something extra exciting about the start of a brand-new school season. Fresh notebooks, sharpened pencil tips, colorful backpack supplies, and all those little traditions make the beginning of a new school year feel special.
That’s exactly why this back-to-school wreath craft is such a fun idea to try.
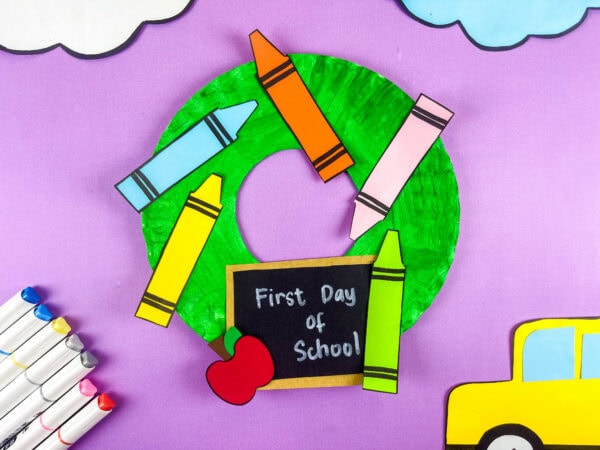
This colorful wreath uses bright paper crayons and pencils for inspiration, a mini chalkboard sign, and a sweet red apple detail to create a decoration that looks right at home on a door, bulletin board, or learning space. It also works wonderfully as classroom decor, a teacher gift, or a welcoming decoration for the first week of school.
Materials You’ll Need:
Before starting this craft, gather the materials below.
- Paper plate — one standard-size paper plate with the center cut out to create the wreath ring base
- Printable Template – Download at the bottom of this blog post.
- Green paint — to paint the paper plate wreath base; a bright, bold green works best to make the crayons pop
- Construction paper — in multiple colors including orange, pink, blue, yellow, lime green, black, brown, red, and white to create the crayon cutouts, chalkboard sign, and little apple decoration
- Scissors — to cut out the crayon shapes, chalkboard sign, apple, and any other small details
- White crayon or white marker — to write “First Day of School” on the black chalkboard sign
- Black marker — to add the crayon band details and any outlines on the cutouts
- Glue or glue sticks — to assemble and layer all the paper pieces onto the painted wreath base
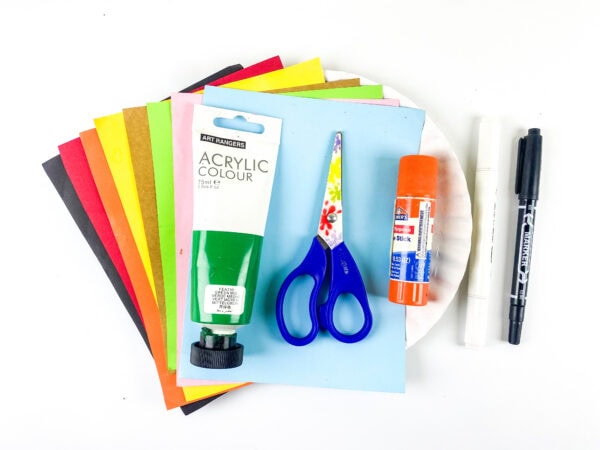
You’ll also want your printable templates ready for the crayon shapes, apple, and mini chalkboard sign. A little tape can be useful for holding templates in place while tracing.
This post may contain affiliate links. As an Amazon Associate and a participant in other affiliate programs, I earn a commission on qualifying purchases. Read our disclosure policy here.
Stock Your Home 9-Inch Paper Plates Uncoated, Everyday Disposable Plates 9KTOJOY 100Pcs Jumbo Wooden Craft Sticks Popsicle Stick 6” Long x 3/4”Wide Treat Ice Pop for DIY Crafts,Home Art Projects, Classroom SuppliesMod Podge Gloss Sealer, Glue & Finish: All-in-One Craft Solution- Quick Dry, Easy Clean, for Wood, Paper, Fabric & More. Non-Toxic – Craft with Confidence, Made in USA, 16 oz., Pack of 1Crayola Construction Paper – 480ct (2pck), Bulk Teacher Supplies, Back to School Essentials For Kids, Classroom Must Have, Arts & Crafts Art PaperGoodyKing Arts and Crafts Supplies for Kids – 1170Pcs+ Craft Art Supply Kit for Toddlers Kids Craft Supplies & Materials Age 4 5 6 7 8 9 – All in One D.I.Y. Crafting School Supplies900 PCS Pom Poms, Multicolor Bulk Pom Poms Arts and Crafts, Soft and Fluffy Craft Pom Poms, Assorted Sizes Pompoms, for Arts and Craft Making Decorations


How To Make This First Day Of School Wreath Craft
This easy back-to-school wreath comes together in a few colorful steps.
Step 1: Make the Wreath Base
Start by turning your paper plate into a wreath form. Cut out the center of the plate to form a large circle with an open center.
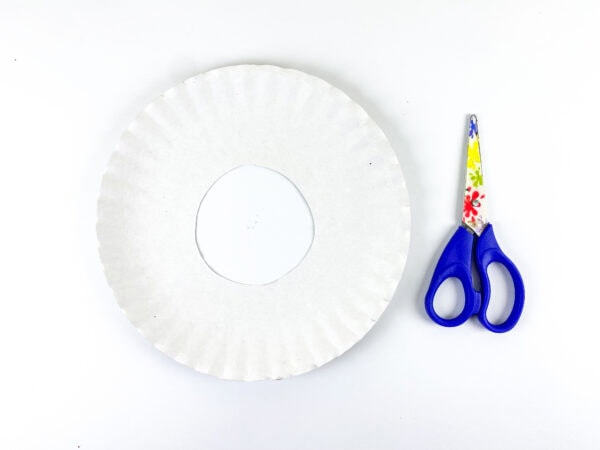
Once your ring shape is ready, cover the plate with green paint and let it dry completely.
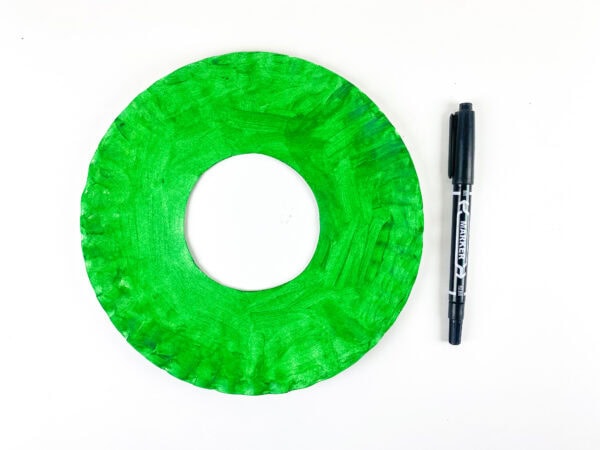
If you prefer, you could swap the paper plate for a foam wreath, but the paper version keeps this project inexpensive and easy for younger crafters.
Step 2: Prepare the Crayon Decorations
Next, cut out the crayon templates and trace them onto different sheets of construction paper. Use bright shades to make the design really pop. After cutting out each crayon, use a marker to outline the edges and add simple horizontal lines for details.
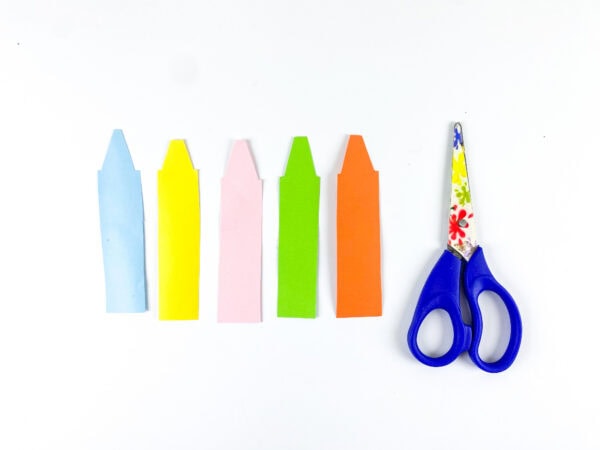
These colorful crayon cutouts are what give the wreath that unmistakable school-themed look. You can even personalize the design by writing names, classroom subjects, or favorite colors on each one.
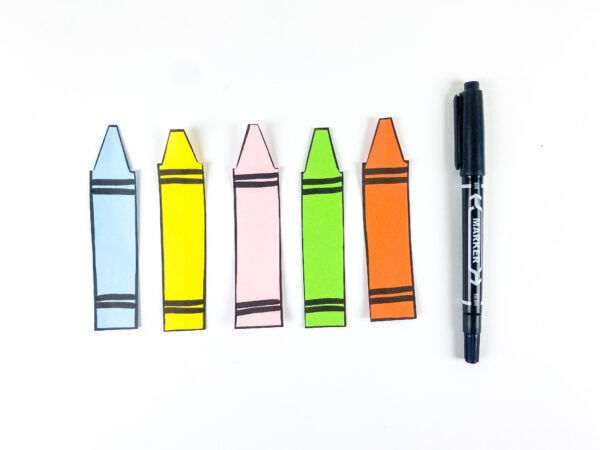
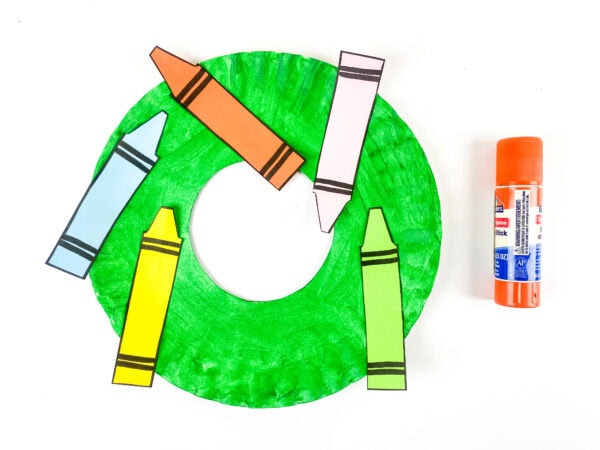
Once finished, use glue to attach the crayon shapes around the painted wreath base.
Step 3: Create the Chalkboard Sign
For the mini chalkboard, layer black paper onto brown paper to give it a framed look. Write “First Day of School” across the center using a white marker.
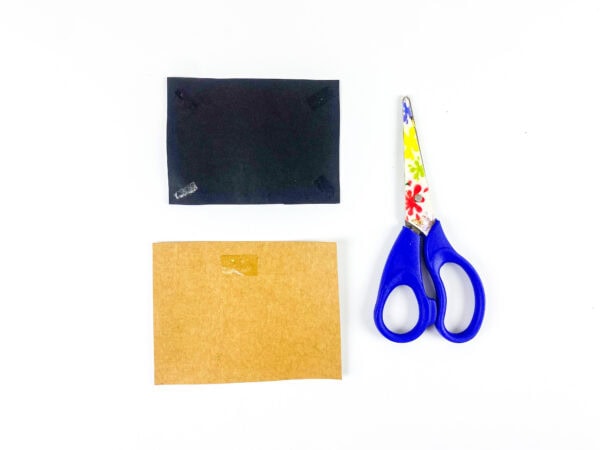
This little sign adds a classic classroom touch and makes the wreath feel extra festive.
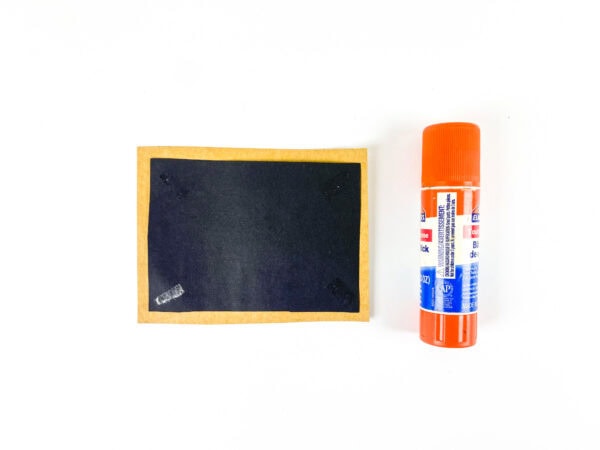
You could also change the wording to “welcome back”, “Ready To Learn,” or your student’s grade level.
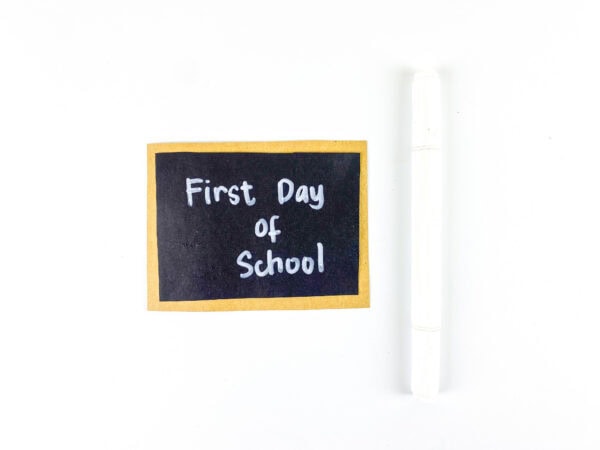
If you want an even more realistic look, lightly wrap thin paper strips around the edge to mimic a wooden frame.
Step 4: Assemble the Apple Accent
Cut out the apple template using red, green, and brown paper.
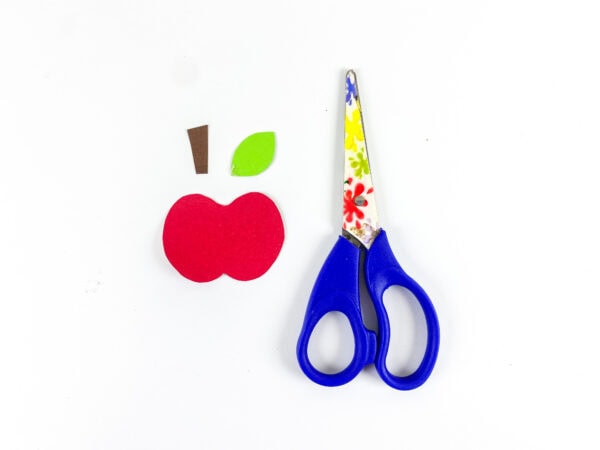
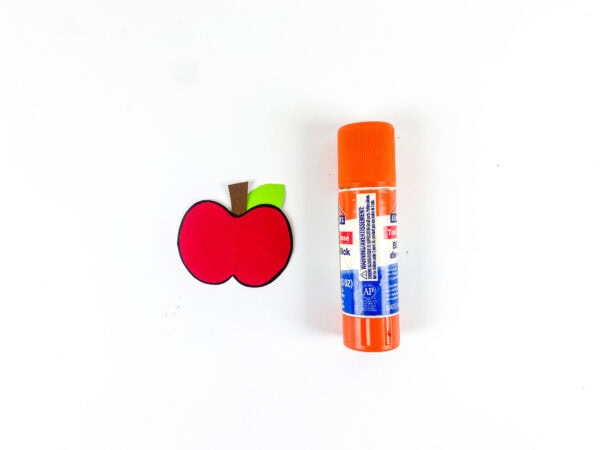
Add the leaf and stem, then use paste or glue to secure everything.
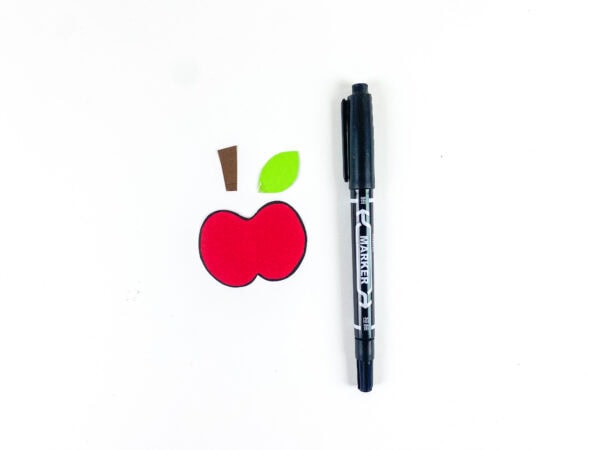
The bright red apple pairs perfectly with the crayons and chalkboard sign. It’s one of those classic teacher and classroom symbols that instantly says “back to school.”
Step 5: Put the Wreath Together
Now it’s time to finish your wreath.
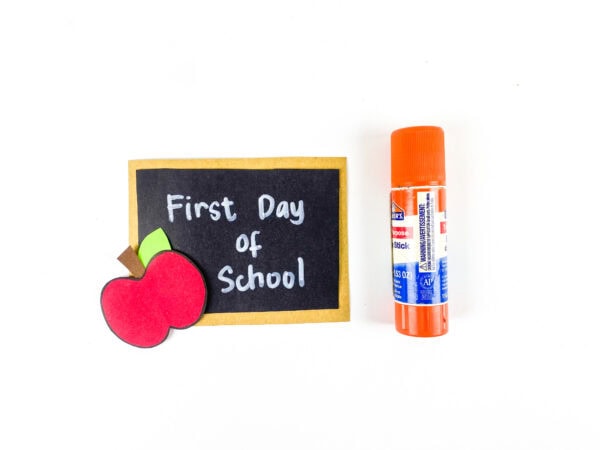
Arrange the crayons around the green base until you like the layout. Place the chalkboard sign near the lower section and layer the apple nearby. Once everything looks balanced, use hot glue to secure the pieces in place.
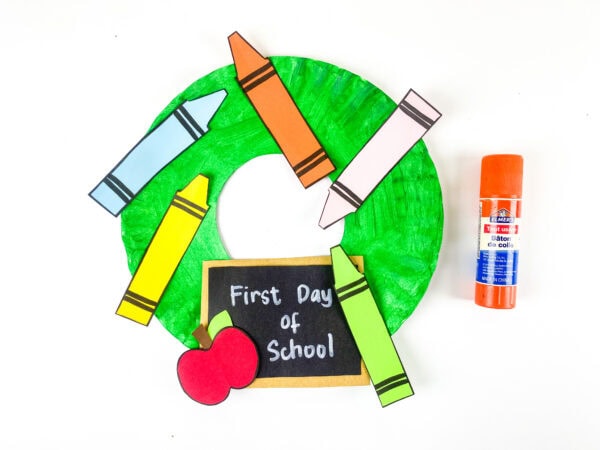
If you’re working with younger kids, regular glue sticks work too, though a wreath with hot glue tends to hold decorations more firmly.
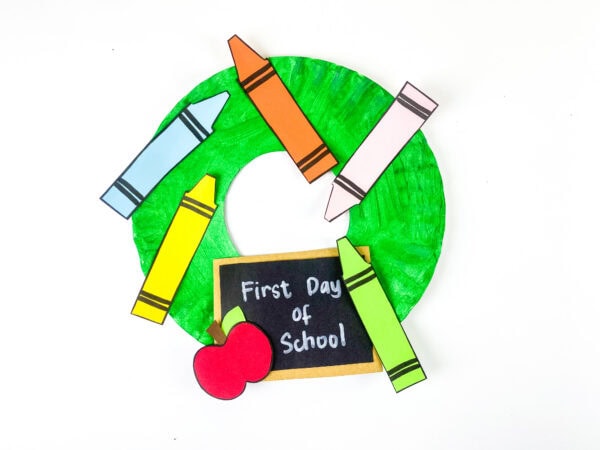
Finally, punch a small hole at the top, thread through a ribbon, and hang your finished back-to-school wreath on a wall, learning corner, or front door.
Why Kids Love This School-Themed Craft Activity
This school-themed activity combines cutting, tracing, arranging shapes, and decorating into a single easy craft. Younger kids can practice using scissors, working with glue, and matching shapes, while older kids can get more creative by customizing the crayons, sign, and extra decorations.
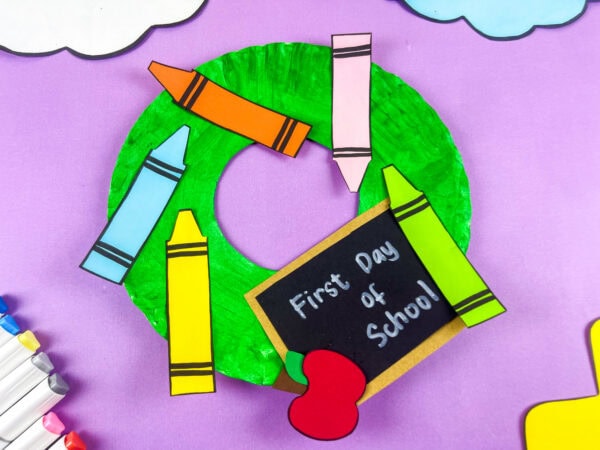
Because this simple craft uses familiar school symbols like a pencil, apple, and chalkboard, it naturally ties into back-to-school excitement. It’s also a great way to ease into the season with a hands-on idea that feels colorful, relaxed, and engaging without needing a long instruction list or a huge supply setup.
Ways To Customize Your Craft
This colorful first-day-of-school wreath craft is easy to customize, making it extra fun to put together. Small changes can completely change the look while still keeping that cheerful school-themed style.
Try these ideas to personalize your back-to-school wreath:
- Add a student name to one of the crayon cutouts
- Include an alphabet banner around the circle base
- Add a paper backpack, book, or extra pencil decoration
- Switch the chalkboard wording to “welcome back” or a grade-level message
- Tie on a bright ribbon before you hang it on the front door
- Use different paper shades to change the overall color palette
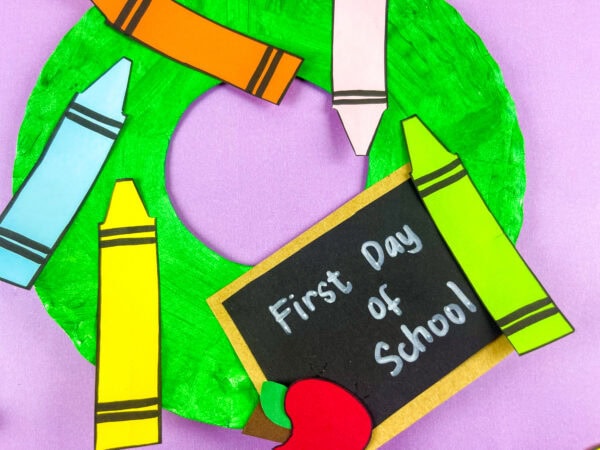
These little touches make the wreath feel unique while keeping the finished decoration bright, playful, and ready for the new school year.
Tips For A Stronger Finished Wreath
If you want your first-day-of-school wreath craft to last longer, there are a few simple tricks that make a big difference.
Use thicker construction paper for the decorations so the crayons stay sturdy. A small dab of hot glue behind heavier elements helps secure everything. You can also reinforce the back with a little tape if needed.
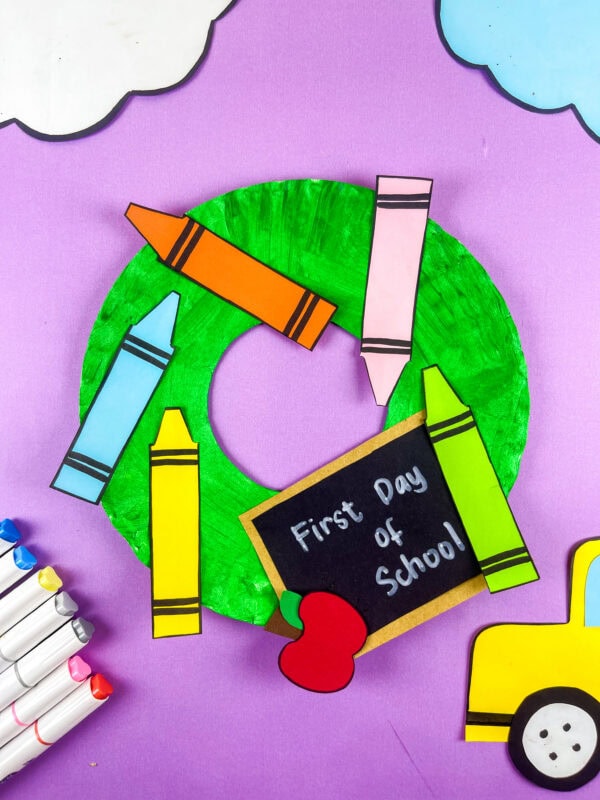
For extra texture, try layering multiple paper shapes together or adding a decorative ribbon bow at the top. A few added details can completely transform the finished look without requiring extra supplies.
And don’t forget placement. This cheerful wreath looks adorable on a door, inside a classroom, near a homework station, or displayed beside a reading book corner.
More Creative Activities to Explore
If you enjoyed making this First Day of School Wreath Craft, here are a few more fun ideas that mix creativity, imagination, and hands-on fun for kids.
- Paper Bag School House Craft – A playful school-themed craft that lets kids create their own colorful school house using simple supplies.
- School Backpack Paper Craft – A fun back-to-school activity where kids can make a mini backpack design with bright paper details.
- Christmas Wreath Fingerprint Printable Craft – A festive wreath activity that combines crafting and fingerprint art for a creative seasonal project.
- Fairy Garden – A magical activity filled with tiny details, imagination, and creative inspiration for kids who love whimsical projects.
- Rocking School Bus Paper Plate Craft
- Yarn Pencil Craft for Preschoolers
- Back to School Schoolbus Craft for Kids
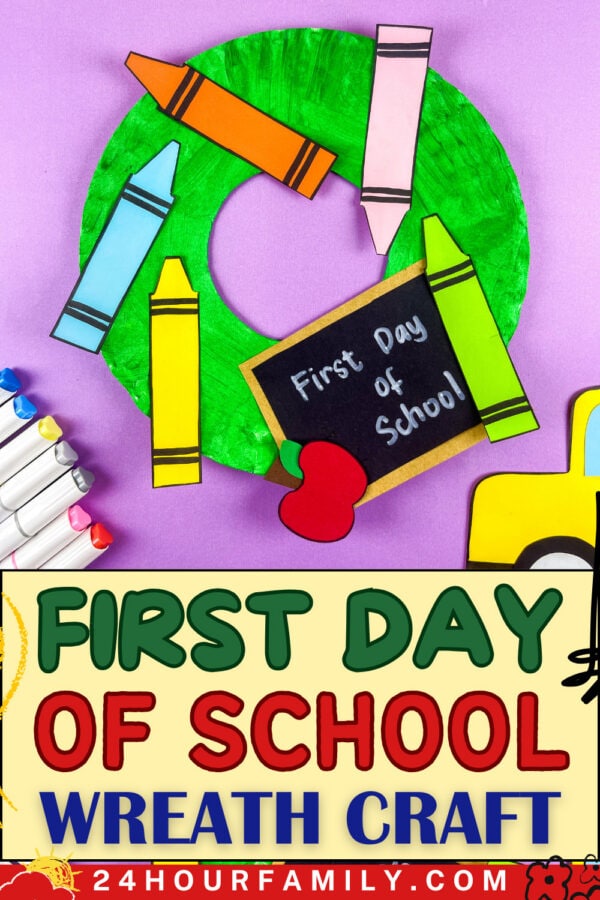
This First Day of School Wreath Craft is such a cute way to celebrate the beginning of a new school year.
Between the bright crayons, mini chalkboard, and classic apple accent, it captures all those familiar back-to-school details in one colorful decoration.
Whether you make this back to school wreath for a teacher, a student, your learning space, or your front door, it’s an easy diy activity that brings plenty of personality to the season.
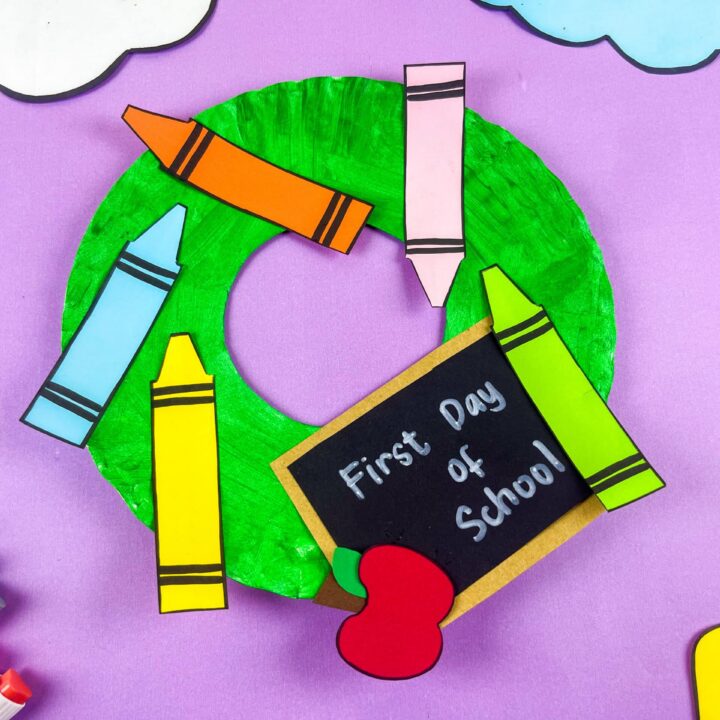
First Day of School Wreath Craft
This First Day of School Wreath Craft is a bright and cheerful project filled with classic school-themed decorations. Kids can paint, cut, glue, and arrange colorful pieces to create a fun wreath design. The crayons, apple, and chalkboard details make it perfect for classroom themes and school celebrations. It’s a creative activity for home or school crafting time. The finished wreath looks great displayed on a wall, door, or learning area.
Materials
- Green paint
- 1 Paper plate
- Construction paper in many different colors
- Glue or glue sticks
- Black Marker
Tools
- Scissors
Instructions
1. Make the Wreath Base
Cut the center out of a paper plate to create a large ring shape. Paint the entire plate green, then set it aside and allow it to dry completely before adding decorations.
2. Create the Crayon Decorations
Cut several crayon shapes from different colors of construction paper. Use a marker to outline the crayons and add simple lines or small details. Once finished, glue the crayon pieces around the painted wreath base.
3. Make the Chalkboard Sign
Cut a small rectangle from black paper and layer it onto a brown paper backing to create a framed chalkboard look. Use a white marker to write “First Day of School” across the center.
4. Assemble the Apple Accent
Cut an apple shape from red paper along with a green leaf and brown stem. Glue the pieces together to create a simple apple decoration.
5. Put the Wreath Together
Arrange the crayons, chalkboard sign, and apple around the wreath until you like the layout. Glue each piece into place and allow everything to dry completely.
6. Display Your Wreath
Once the wreath is dry, hang it on a wall, classroom display, door, or learning corner to show off your finished craft.
