
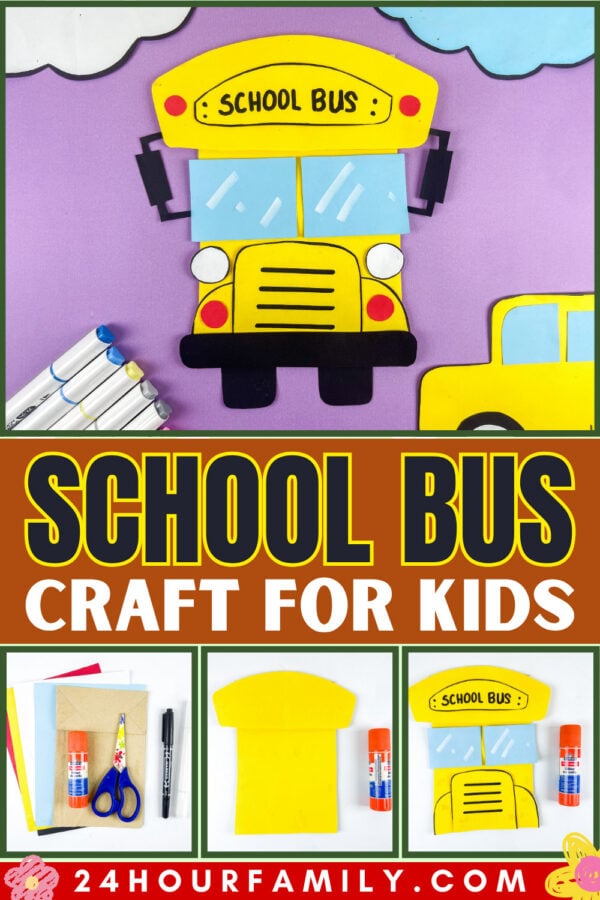
Back to School Bus Craft for Kids – Fun Paper Bag Project
This school bus craft for kids is the perfect back-to-school activity that little ones will absolutely love! Using a plain paper bag, bright yellow paper, and a few cheerful details, this adorable hands-on project transforms into a cute school bus complete with windows, mirrors, lights, and bold “School Bus” lettering across the top.
Whether you’re looking for a fun classroom craft, a homeschool activity, or a creative way to celebrate the excitement of a brand-new school year, this easy school bus craft is a great choice for kids of all ages.
School Bus Craft For Kids
This school bus craft works wonderfully for preschool, pre-k, kindergarten, or even afternoon crafting at home. Whether you’re planning a school activity for young students, looking for fun back-to-school crafts, or searching for easy paper crafts that use simple supplies, this project checks all the boxes.
The bright yellow paper bus also makes a cute decoration for bulletin boards, classroom displays, or hallway walls during the back-to-school season.
This post may contain affiliate links. As an Amazon Associate and a participant in other affiliate programs, I earn a commission on qualifying purchases. Read our disclosure policy here.
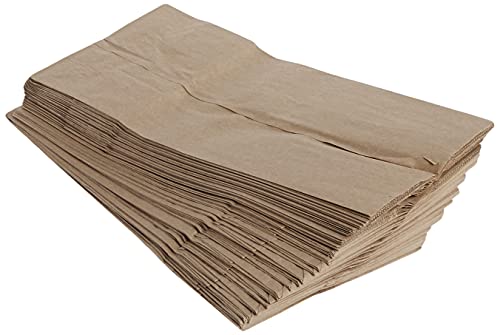
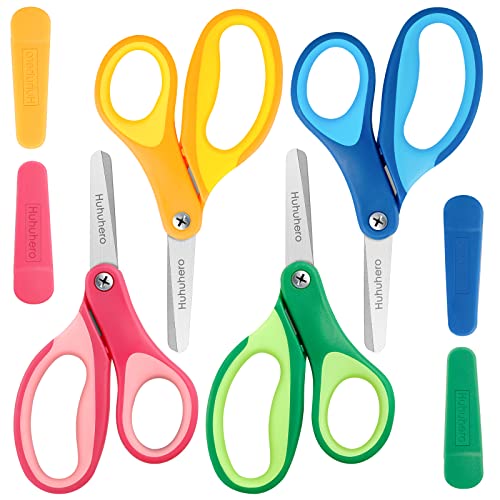
AJM Brown Paper Lunch Bags 40 Count Crafty DAB GLUES DAB N STIC SchoolElmer’s Disappearing Purple School Glue Sticks Washable 22 Grams 3 CountHuhuhero Kids Scissors, 5” Safety Toddler Scissor Blunt Tip with Cover, Small Craft Cutting Paper Scissors for Child Kid Age 4-7 8 9, Assorted Colors, 4 PackCrayola Construction Paper, 120 SheetsCrayola 587722 Non-Washable Markers, Broad Point, Classic Colors, 10/Set


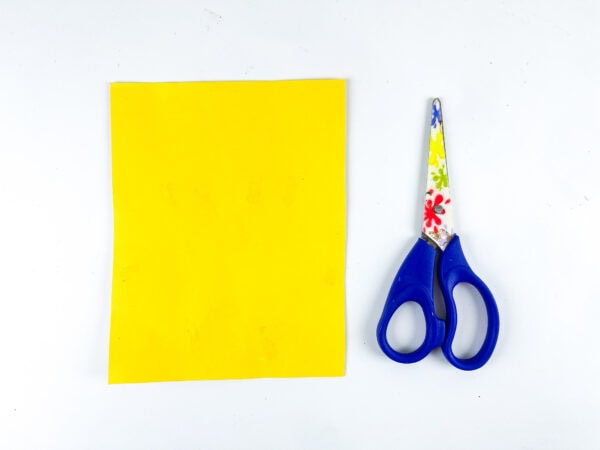
Materials You’ll Need To Make This Craft:
Before starting this school bus craft, gather the supplies listed below.
- One brown paper bag
- Red, Yellow, Blue, White Construction paper
- Scissors
- Glue
- Marker
- School Bus Printable Template
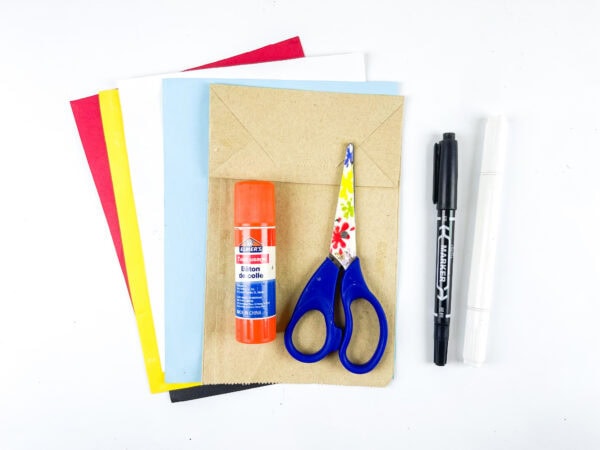
Yellow, blue, red, black, and white colored paper are used throughout the craft to form the different bus pieces and details. You can also print a printable template or free printable onto cardstock if you want sturdier shapes for younger children.
How To Make This School Bus Craft For Kids
This easy paper project comes together in a few fun steps and is great for preschool or kindergarten crafting time.
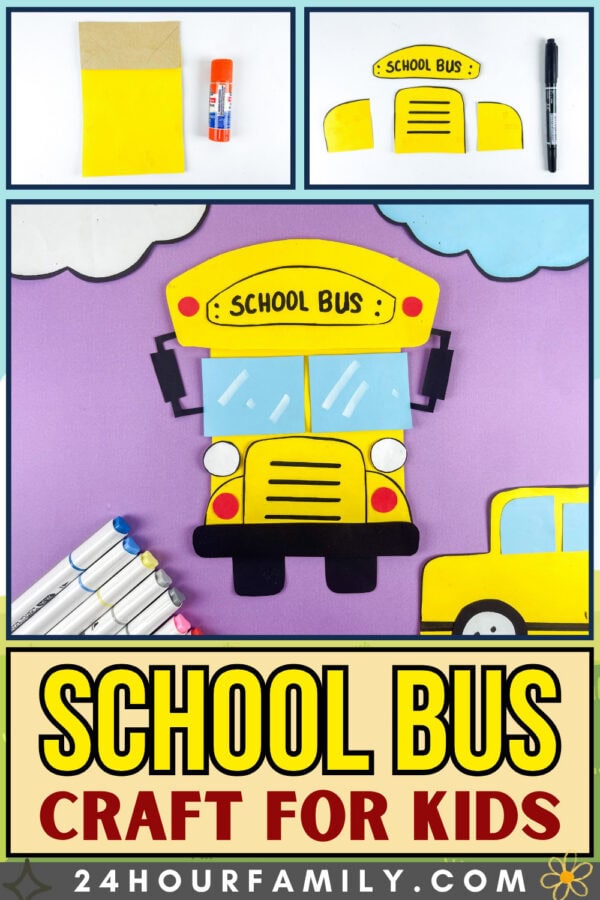
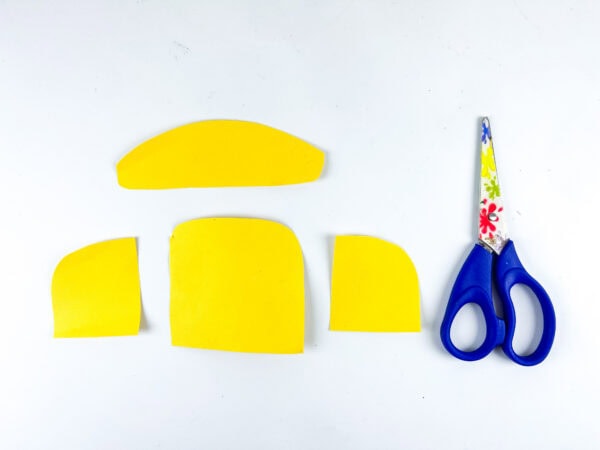
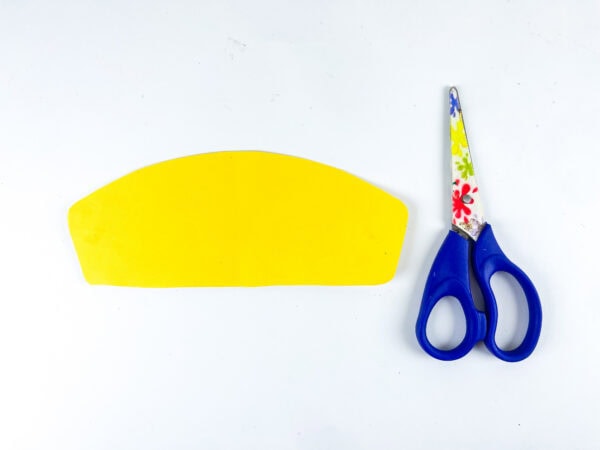
Step 1: Cut Out the Template Pieces
Start by cutting the bus template pieces and tracing them onto the corresponding colored paper.
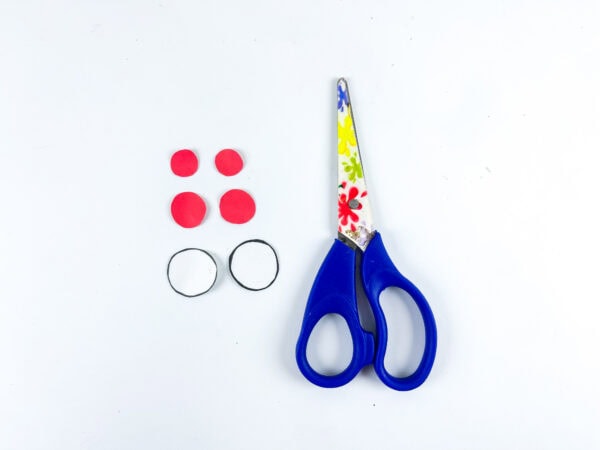
Cut out the shapes carefully before arranging everything nearby.
You’ll need the large yellow bus pieces, blue windows, black mirrors, lights, and smaller details for the bus’s front.
Using a printable template makes the process much easier for little ones who are still learning to cut shapes independently.
A free school bus printable can also save time during classroom activities.
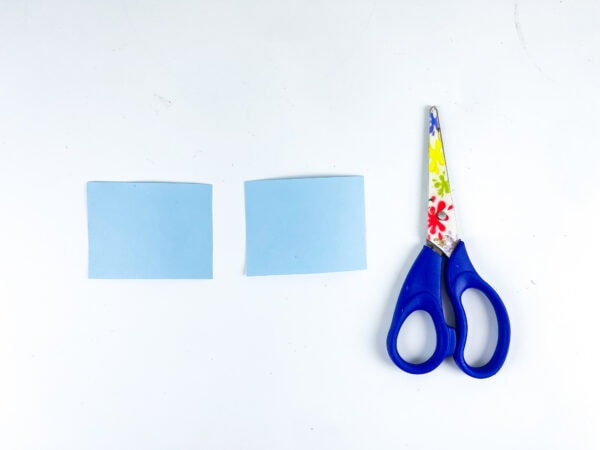
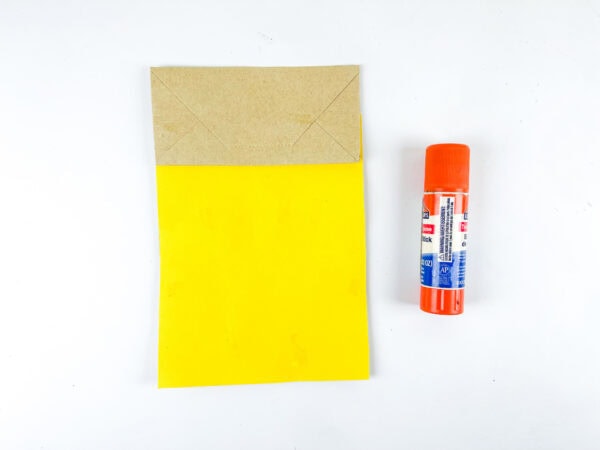
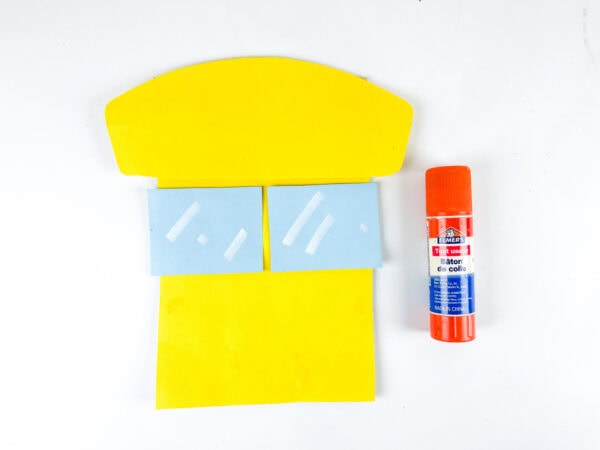
Step 2: Cover the Paper Bag
Place the yellow rectangular piece of paper onto the front section of the paper bag to begin forming the bus’s body.
This easy school activity instantly transforms the bag into a bright yellow bus shape. The yellow paper gives the project that classic school bus appearance that kids instantly recognize.
Step 3: Add the Rounded Bus Top
Next, place the large curved yellow piece across the top section of the paper bag.
This rounded section forms the upper part of the school bus and gives the craft its recognizable shape.
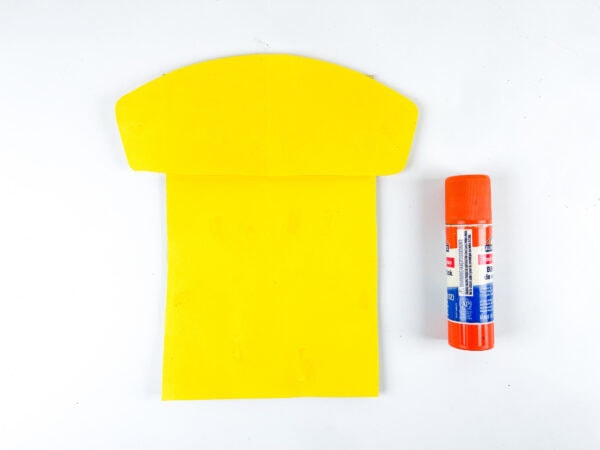
The curved design also makes this easy school bus stand out even more once completed.
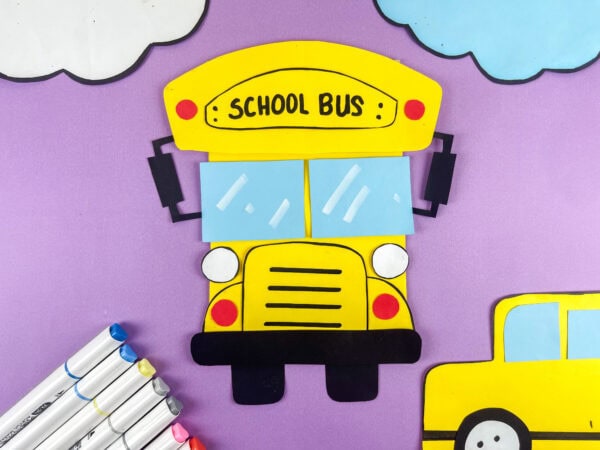
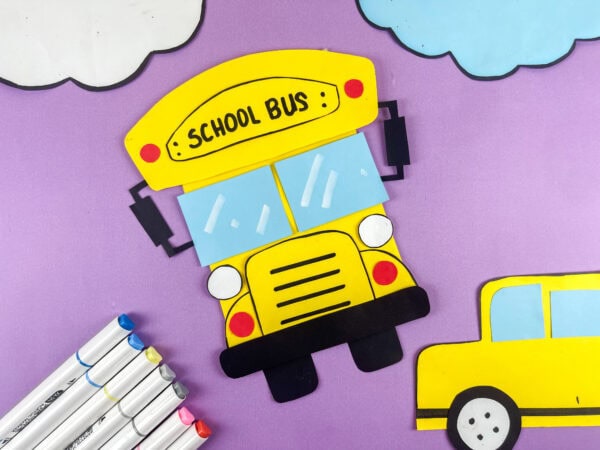
Step 4: Create the Bus Windows
Place the two blue rectangular window pieces onto the bus’s center section.
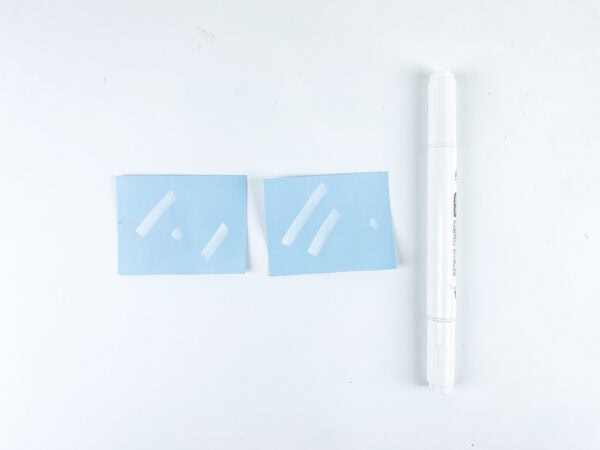
Use a white marker to draw small reflection lines onto the windows so they resemble shiny glass. This little detail makes the bus look extra cute and polished.
Kids can even draw tiny passengers into the windows to personalize their school buses even more.
Check Out: 100+ Fun and Educational Kids Printables (Free Learning Activities)
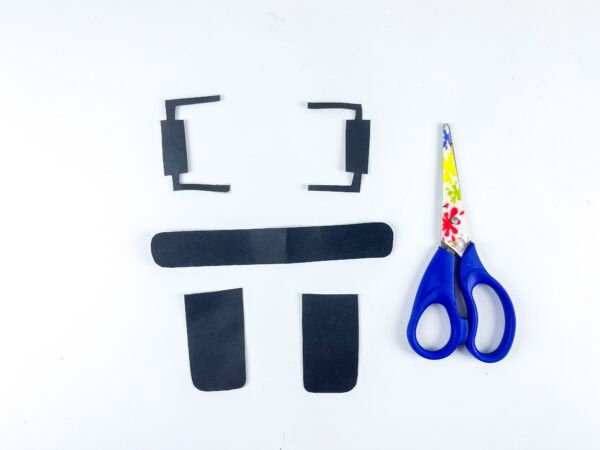
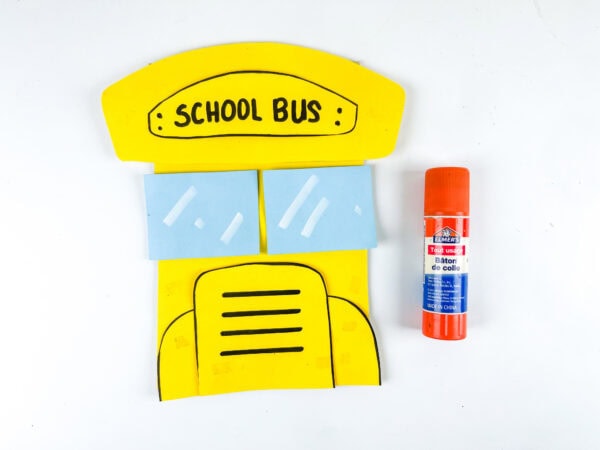
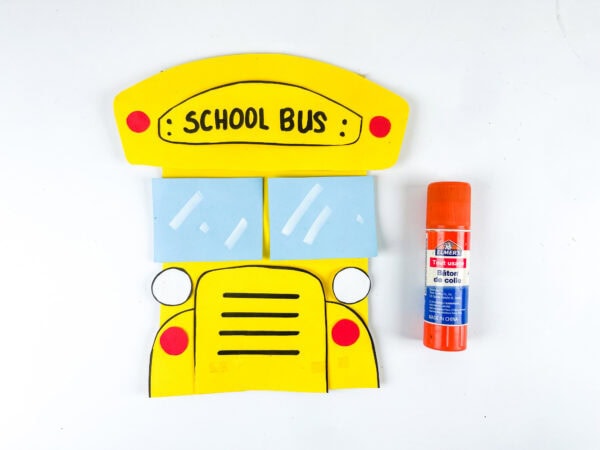
Step 5: Assemble the Front Bus Details
Add the front yellow section near the bottom of the bus, along with the curved side pieces.
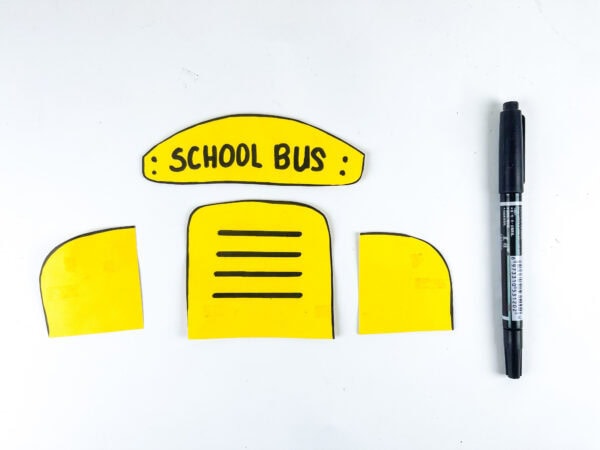
Use the black marker to outline the shapes and draw the horizontal lines in the middle section. These lines create the front grill area and make the bus stand out more clearly.
This part is especially great for preschoolers practicing hand control and tracing skills.
Step 6: Add the School Bus Sign
Place the “School Bus” sign at the top center section.
The bold lettering instantly brings the entire school bus craft together. You can trace over the letters using a thick black marker so the words stand out even more.
This also becomes a fun opportunity for kindergarten students to practice letter recognition while crafting.
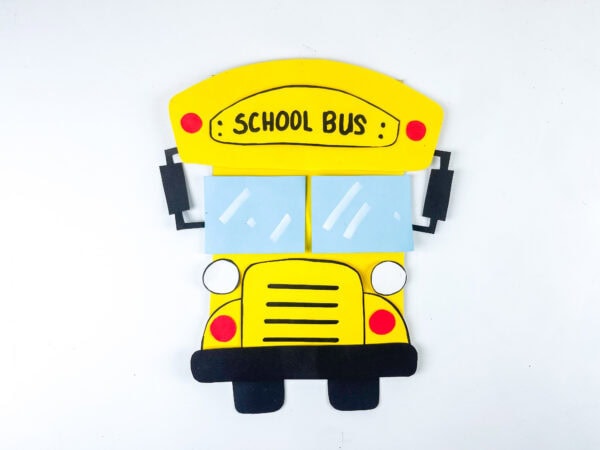
Step 7: Finish the Lights and Mirrors
Add the white and red circle pieces for the lights, then place the black mirrors and bumper sections onto the bus.
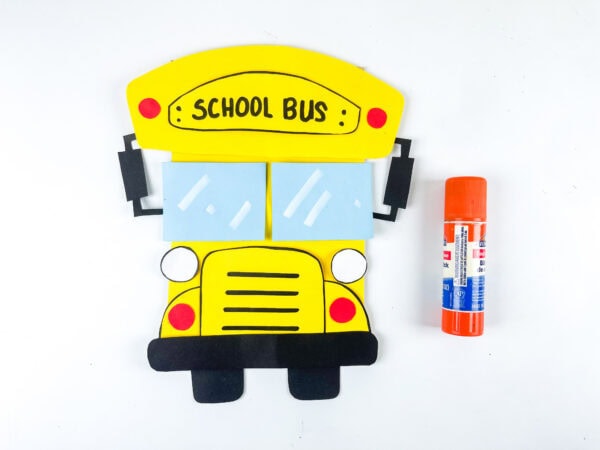
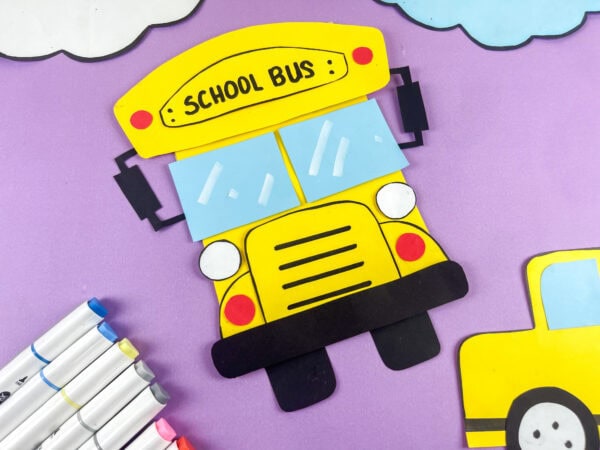
Once all the details are arranged, the finished paper bus looks bright, cheerful, and completely ready for the new school year.
Fun Ways To Customize This Craft
One of the best parts about this school bus craft for kids is how easy it is to customize.
Children can:
- Add their own names to the bus
- Draw themselves inside the windows
- Use glitter paper for shiny lights
- Add extra decorations with a crayon or marker
- Create an entire row of school buses for classroom displays
You could even turn this into a Wheels on the Bus-themed activity by singing the song while crafting. That makes the bus activity even more exciting for preschool or early elementary groups.
Why Kids Love This Bus Craft
This school bus craft is perfect for preschoolers because it combines bright colors, familiar shapes, and hands-on activities all in one fun project.
The cutting, tracing, arranging, and outlining also encourage fine motor skills while keeping little ones engaged from start to finish. Since the shapes are fairly large, even a two-year-old may enjoy helping place some of the pieces onto the bus.

It’s also one of those simple crafts that works for many different age groups. Younger children can focus on assembling the shapes, while older kids can spend more time decorating and personalizing their buses.
Teachers often look for easy back-to-school craft ideas that don’t require expensive supplies, and this project uses materials that many classrooms already have available.
Tips For Making This School Bus Craft Easier
If you’re working with preschool or kindergarten groups, here are a few tips to simplify the project:
- Pre-cut some of the smaller pieces ahead of time
- Print the bus template onto cardstock for sturdier tracing
- Keep extra glue sticks nearby for quicker assembly
- Organize the colored paper by section before starting
- Demonstrate the step-by-step instructions one section at a time
For younger children, adults can also outline the template pieces beforehand so kids simply focus on cutting and assembling.
Great Times To Make This Craft
This school bus craft for kids fits into so many different seasonal activities and school craft ideas.
It’s especially fun for:
- Heading back to school
- The first day of school
- Transportation lessons
- Fall crafts
- Preschool or kindergarten themes
- Fun back-to-school classroom activities
- Easy paper crafting afternoons at home
The cheerful yellow bus instantly evokes the excitement of a brand-new school year.
More School-Themed Crafts to Enjoy
If you enjoyed making this School Bus Craft For Kids, here are a few more fun craft ideas that fit perfectly with school themes, creative projects, and hands-on activities.
- Paper Bag School House Craft – A cute school-inspired craft that turns a paper bag into an adorable little school house full of classroom charm.
- School Backpack Paper Craft – A fun back-to-school activity that lets kids make their own colorful backpack using simple supplies and bright details.
- Kite Torn Paper Craft – A colorful craft that uses torn paper techniques to make a cheerful kite design kids can proudly display.
- Hot Air Balloon Paper Craft – A creative paper activity that lets kids build their own hot air balloon with fun colors and playful details.
- Back to School Scavenger Hunt
- Back to School Sign Countdown
- Back to School Color by Number
This easy school bus craft for kids is such a fun way to celebrate the excitement of going back to school while keeping kids busy with a creative, hands-on project. With bright construction paper, fun bus shapes, and easy crafting steps, the finished craft turns out absolutely adorable every time.
Whether you’re looking for easy paper activities for little ones, a paper-plate school-bus craft alternative, or school craft ideas for kindergarten students, this project is packed with cheerful details that kids will love assembling.

School Bus Craft For Kids
This School Bus Craft For Kids is a fun activity that turns a paper bag into a bright and cheerful school bus. Kids can cut, glue, and decorate colorful pieces to build their own bus design. It’s a great project for back-to-school themes, classroom activities, or creative time at home. The finished bus looks playful, colorful, and full of personality. It also gives kids extra practice with cutting, tracing, and arranging shapes.
Materials
- Paper bag
- Construction paper
- Scissors
- Marker
Tools
- Glue or Glue Sticks
- Printable Template
Instructions
1. Cut Out the Template Pieces
Cut the bus shapes from the colored paper, including the main body, windows, mirrors, lights, and smaller front details. Arrange the pieces nearby so they are ready to use during assembly.
2. Cover the Paper Bag
Attach a large yellow paper section to the front of the paper bag. This creates the main body of the school bus and gives the bag its bright bus shape.
3. Add the Rounded Bus Top
Place the curved yellow section across the top of the paper bag. This piece forms the upper part of the bus and helps create its classic outline.
4. Create the Bus Windows
Attach the blue window pieces to the center section of the bus. Use a white marker to add simple reflection lines or extra details to make the windows stand out.
5. Assemble the Front Bus Details
Add the front bus pieces near the lower section and arrange the curved side details into place. Use a marker to outline the shapes and draw simple lines for the front grill area.
6. Add the School Bus Sign
Place the “School Bus” sign near the top center of the craft. Trace over the letters with a marker to make the wording bold and easy to read.
7. Finish the Lights and Mirrors
Attach the light pieces, mirrors, and bumper details to the front of the bus. Allow everything to dry completely before displaying your finished school bus craft.