
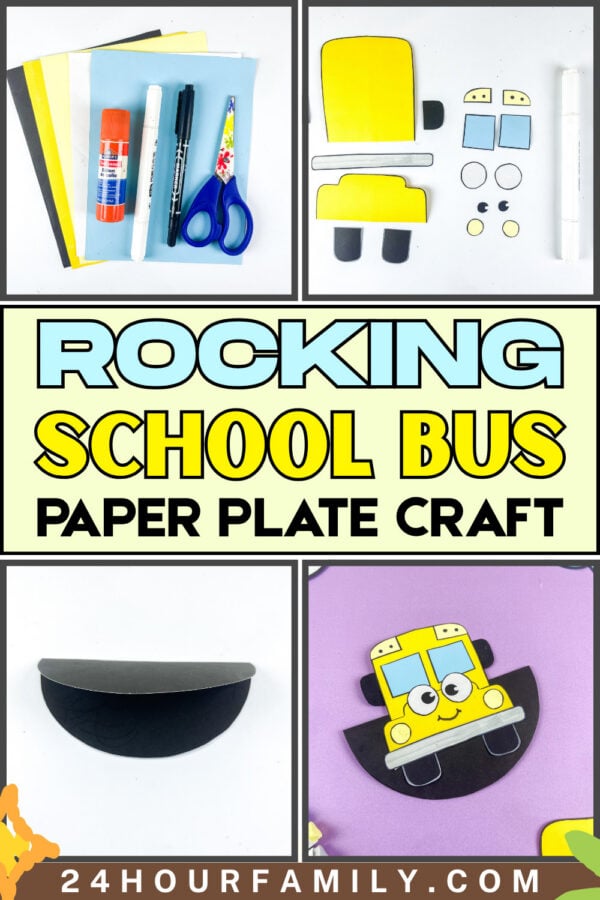
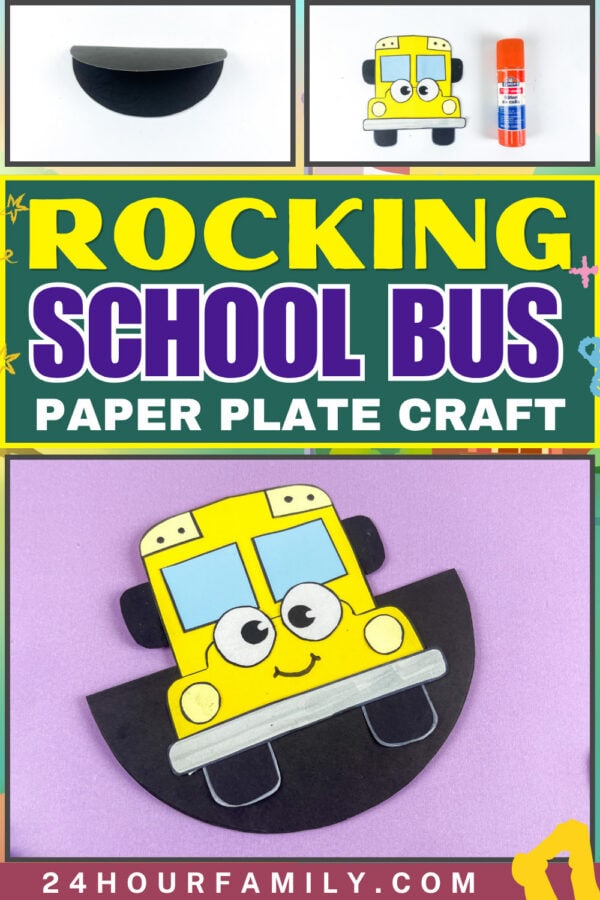
Rocking School Bus Paper Plate Craft – Kids Love It
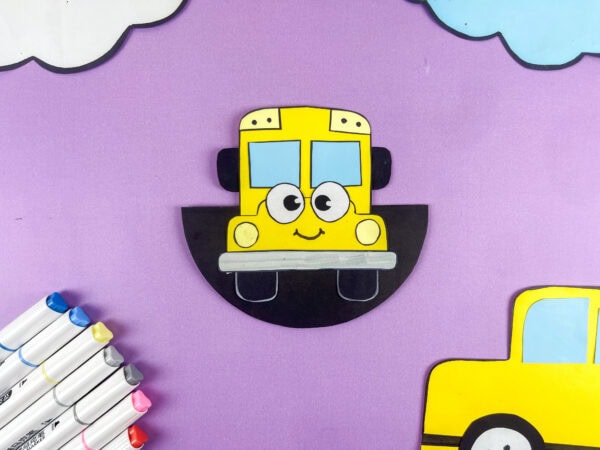
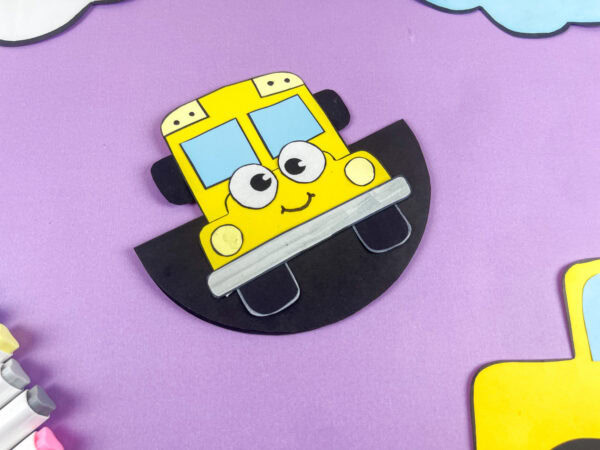
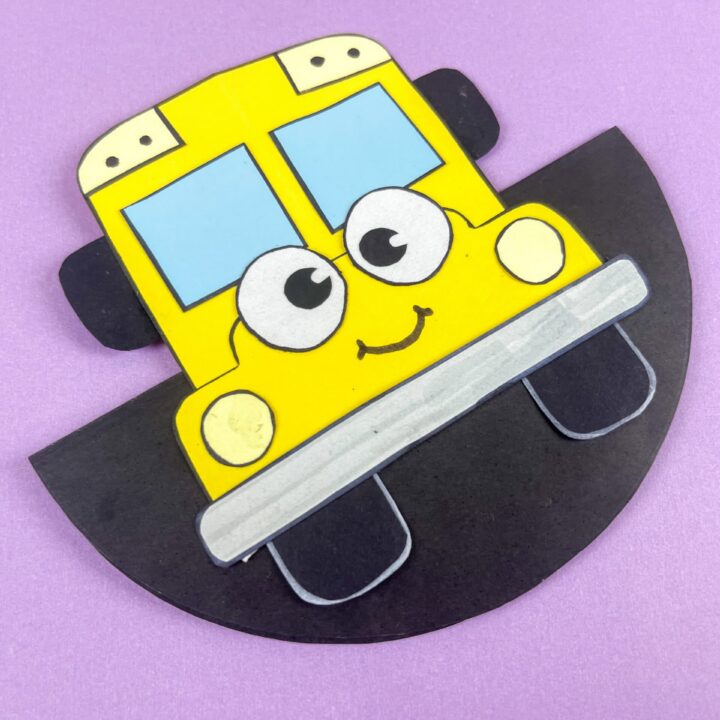
This rocking school bus paper plate craft is one of the most fun and interactive back-to-school projects you can make with kids! A regular paper plate transforms into a cheerful yellow school bus complete with big cartoon eyes, a happy smile, and a rocking design that actually moves back and forth — making it a craft kids will want to play with long after it’s finished.
Whether you’re looking for a creative classroom activity, a homeschool craft, or a simple hands-on project to celebrate the excitement of a brand-new school year, this adorable rocking school bus craft is perfect for preschoolers and early elementary kids.
Rocking School Bus Paper Plate Craft
This paper plate school bus craft is a wonderful activity for preschoolers, kindergarten classes, elementary students, or even a quiet afternoon at home.
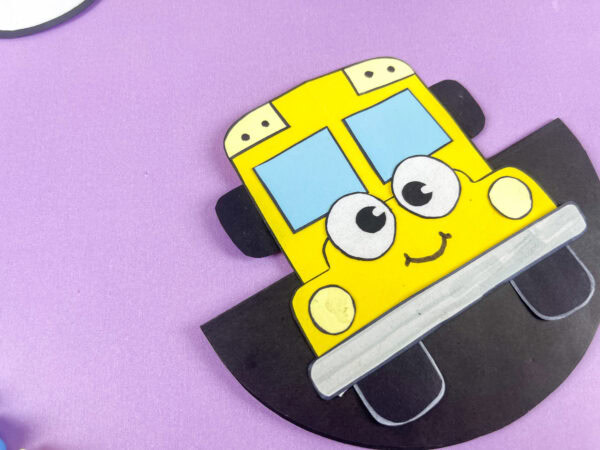
The finished rocking bus looks bright and cheerful while helping kids practice cutting, tracing, arranging shapes, and assembling the little details.
The rounded bottom also gives the school buses a rocking motion, making the finished craft feel even more exciting.
This post may contain affiliate links. As an Amazon Associate and a participant in other affiliate programs, I earn a commission on qualifying purchases. Read our disclosure policy here.
Stock Your Home 9-Inch Paper Plates Uncoated, Everyday Disposable Plates 9KTOJOY 100Pcs Jumbo Wooden Craft Sticks Popsicle Stick 6” Long x 3/4”Wide Treat Ice Pop for DIY Crafts,Home Art Projects, Classroom SuppliesMod Podge Gloss Sealer, Glue & Finish: All-in-One Craft Solution- Quick Dry, Easy Clean, for Wood, Paper, Fabric & More. Non-Toxic – Craft with Confidence, Made in USA, 16 oz., Pack of 1Crayola Construction Paper – 480ct (2pck), Bulk Teacher Supplies, Back to School Essentials For Kids, Classroom Must Have, Arts & Crafts Art PaperGoodyKing Arts and Crafts Supplies for Kids – 1170Pcs+ Craft Art Supply Kit for Toddlers Kids Craft Supplies & Materials Age 4 5 6 7 8 9 – All in One D.I.Y. Crafting School Supplies900 PCS Pom Poms, Multicolor Bulk Pom Poms Arts and Crafts, Soft and Fluffy Craft Pom Poms, Assorted Sizes Pompoms, for Arts and Craft Making Decorations


Materials You’ll Need To Make This Back To School Craft:
Before starting this diy craft, gather all your craft supplies so everything is easy to reach during the activity.
- Construction papers
- Scissors
- Glue
- Markers
- 1 Paper plate
- Tape
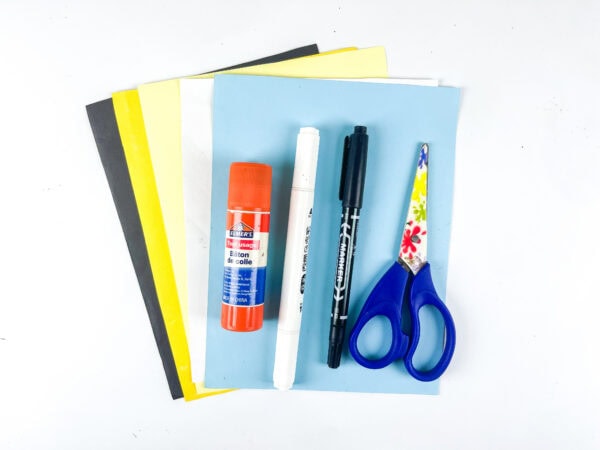
You can also use popsicle sticks, printable templates, paint, or extra color paper scraps if you want to get creative with additional decorations.
How to Make a Rocking School Bus Paper Plate Craft
Step 1: Prepare the Paper Plate Base
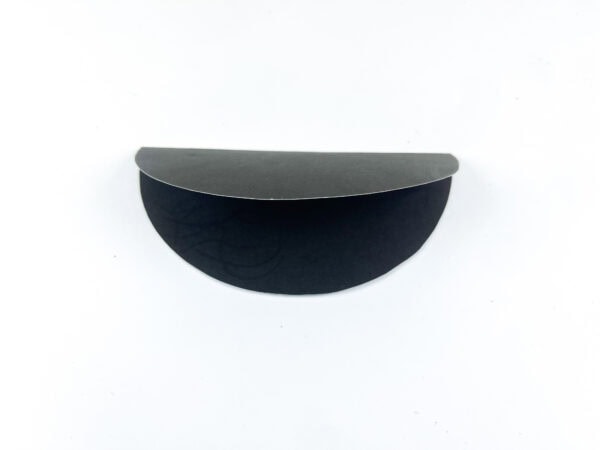
Start by preparing the paper plate that will become the rocking base for the bus. Cut a large circle from black paper, then fold it in half to help create the rocking shape.
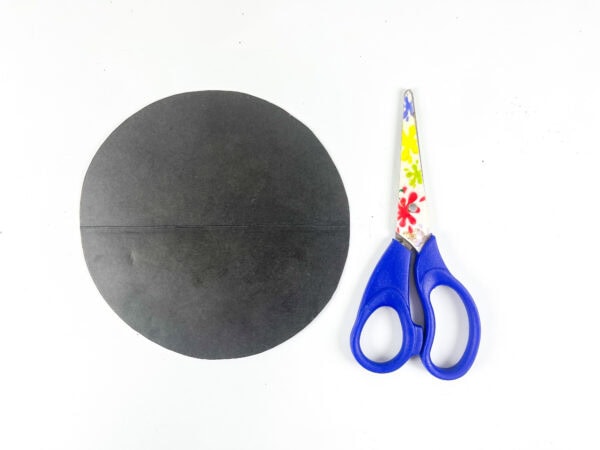
After folding the circle, trim along the fold so the lower section forms a rounded rocking base. This curved shape allows the finished bus to gently rock back and forth like a mini toy.
If you prefer, you can use tape to temporarily hold the folded section while measuring the shape evenly.
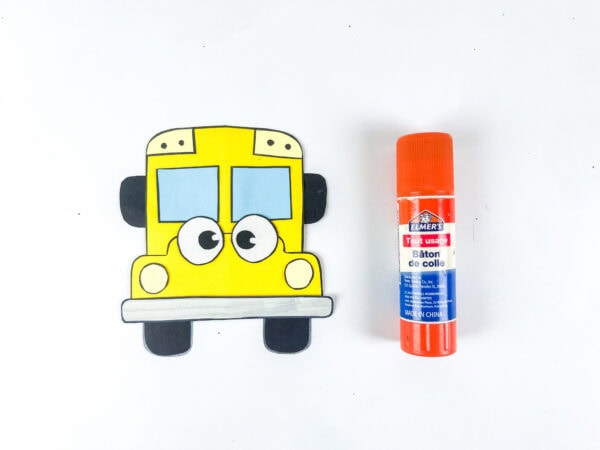
Step 2: Cut Out the Bus Templates
Next, cut all the bus template pieces from construction paper. The main body of the school bus should be yellow, while the windows can be light blue or white. Cut smaller black pieces for the wheels and side mirrors.
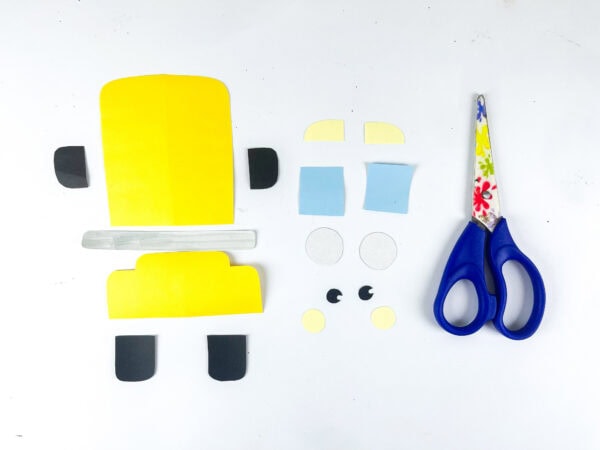
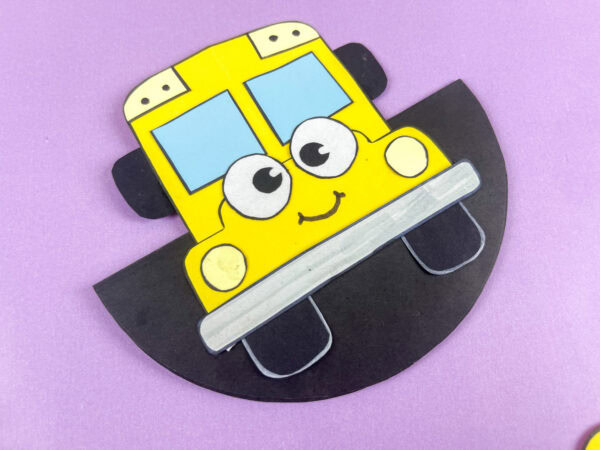
You’ll also need circles for the eyes and lights, along with a long gray strip for the front bumper. The rounded corners help give the school buses a softer and more playful appearance.
This part of the project is wonderful for practicing fine motor skills because kids get to carefully cut shapes of different sizes.
Step 3: Outline the Pieces
Once all the pieces are ready, outline the edges using a black marker. This step makes the shapes stand out while giving the bus a bold cartoon look.
Outline the windows, wheels, lights, and bumper before arranging everything together. You can also include tiny details on the top section of the bus to resemble real school buses.
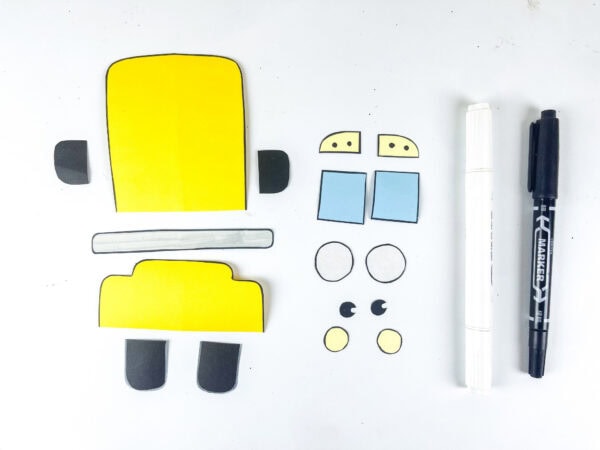
The outlined edges make the entire paper-plate school-bus craft look neat and colorful in pictures.
Step 4: Assemble the Main Bus
Now it’s time to assemble the bus body. Begin by placing the larger yellow section onto the front section and securing everything together with glue.
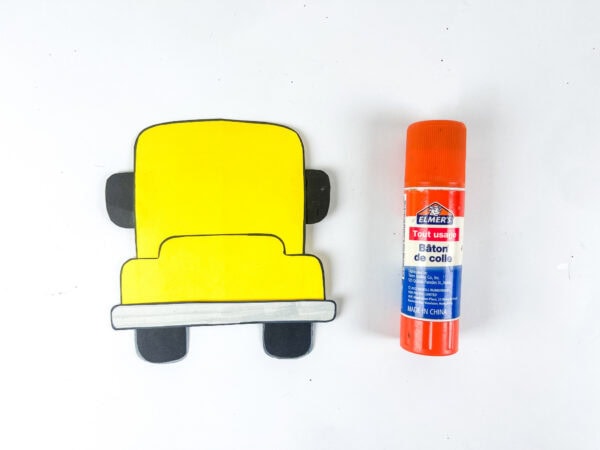
Next, place the bumper near the lower section and position the wheels underneath. Attach the side mirrors to both sides of the bus before placing the windows near the top.
Step 5: Add the Windows and Lights
Place the window sections onto the front of the bus and gently press them into place. Then place the circular lights near the lower corners.
The light-blue windows give the bus a bright, cheerful appearance, while the round lights make the front look more complete.
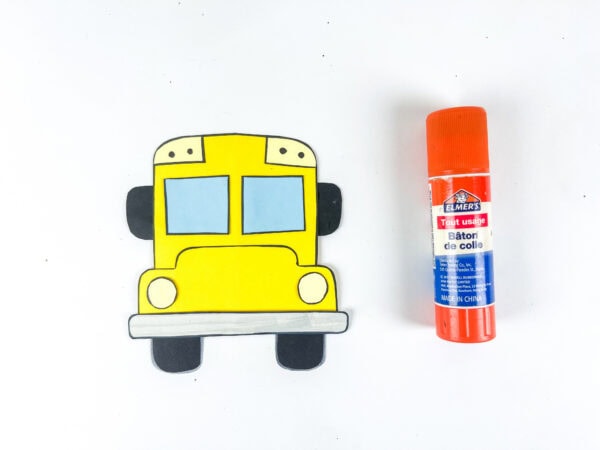
If you want an even more colorful design, you can use different paper colors or let the pieces dry before adding extra details.
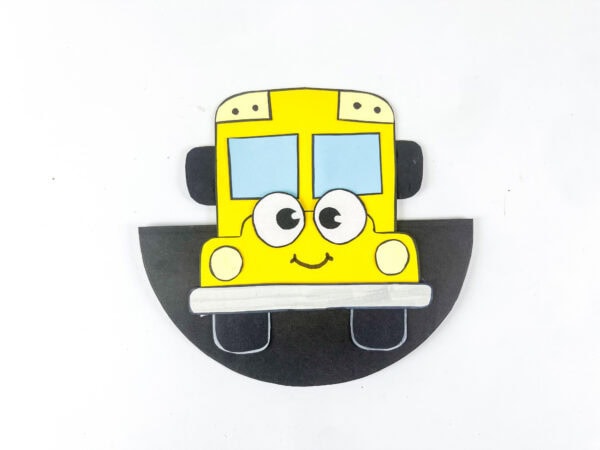
Step 6: Attach the Eyes
The oversized eyes are one of the cutest parts of this school bus craft. Glue the large white eye circles near the center of the bus, then place the smaller black circles inside to complete the look.
You can angle the eyes differently to give each bus its own silly personality. Some children may love making sleepy eyes, while others may prefer giant, excited expressions.
Step 7: Draw the Smile
Use a marker to draw a happy smile underneath the eyes. A tiny curved smile instantly makes the bus look friendly and welcoming.

You can also add eyelashes, rosy cheeks, eyebrows, or even tiny freckles to further personalize your child’s design.
Small details like these help turn every school bus into its own little character.
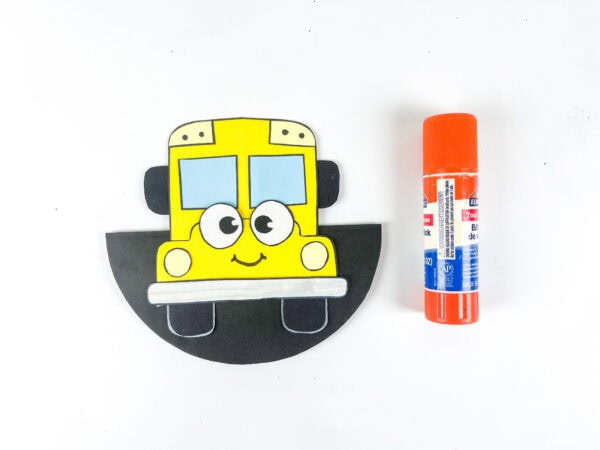
Step 8: Attach the Bus to the Rocking Base
Finally, attach the completed bus to the folded paper plate base using glue or tape. Position the bus near the top center so the rounded bottom can rock smoothly.
Once attached, gently test the rocking motion on a flat surface. The rocking effect gives this back-to-school craft a fun, interactive finish.
Allow everything to dry completely before displaying the finished craft.
Why Kids Love This School Bus Craft
There’s something about school buses that instantly reminds kids of classroom adventures, morning routines, and meeting new friends. This diy craft combines all those familiar memories into one colorful craft that children truly enjoy making.
The rocking feature also adds extra excitement because the finished bus moves back and forth rather than staying flat, as in traditional art projects. That little motion makes the project feel unique while keeping little ones entertained longer.
Ways to Customize Your Rocking Bus
One of the easiest ways to make this rocking school bus paper plate craft even more special is by personalizing the bus details.
Here are a few simple ideas:
- Add your child’s name to the bus windows
- Use paint instead of colored paper
- Place tiny paper passengers inside the windows
- Turn the project into a favorite classroom memory keepsake
- Add glitter or stickers for extra excitement
- Use popsicle stick arms or signs on the sides
- Include classroom numbers or teacher names
These little touches make the craft feel even more personal for the school year.
Perfect for Back-to-School Activities
This easy rocking school bus paper plate craft works wonderfully for classrooms, homeschool setups, daycare centers, or weekend crafting sessions. Teachers can even use the project during transition activities to make children feel more comfortable about going back to school.
For younger children, such as toddlers or preschoolers, adults can cut some of the templates in advance. Older kids may enjoy completing the entire project independently.
Because the craft uses basic supplies, it’s also budget-friendly and easy to repeat with larger groups.
Tips for the Best Results
To make the process smoother, here are a few helpful tips:
- Prepare all the paper pieces before assembling
- Use thicker paper for sturdier school buses
- Let the glue dry fully before attaching the rocking base
- Keep scissors nearby for trimming uneven edges
- Print a printable template if younger children need guidance
- Encourage children to personalize their decorations
These small adjustments can make the entire activity feel more organized and enjoyable.
More Rocking Craft Ideas for Kids
If you enjoyed making this Rocking School Bus Paper Plate Craft, here are a few more rocking activities that bring extra movement and fun to craft time.
- Rocking Turkey Fingerprint Craft – A cute turkey-themed craft that combines fingerprint art with a fun rocking design, perfect for fall activities.
- Rocking Carrot Paper Craft – A bright and playful carrot craft that adds a fun rocking motion to spring or garden-themed projects.
- Rocking Bunny Easter Paper Craft – A sweet bunny craft that’s perfect for Easter celebrations, seasonal lessons, or creative afternoons.
- Rocking Chick Easter Paper Craft – An adorable chick craft with a rocking feature that makes Easter crafting even more fun for kids.
- School Bus Craft for Kids
- Back to School Scavenger Hunt
This Rocking School Bus Paper Plate Craft is such a cheerful way to celebrate the start of a new school year. Between the bright yellow bus, oversized eyes, and rocking bottom, the finished project is packed with charm and personality.
It’s fun and easy enough for younger children while still feeling engaging for older kids who love creative diy activities.
Rocking School Bus Paper Plate Craft
This Rocking School Bus Paper Plate Craft is a fun activity that turns paper and a plate into a bus that rocks back and forth. Kids can cut, decorate, and assemble colorful pieces to build their own smiling school bus character. It’s a great project for back-to-school themes, classroom crafts, or creative afternoons at home. The finished bus looks bright, playful, and interactive. It also gives kids extra practice with cutting, arranging, and decorating.
Materials
- Construction paper in yellow, black, blue, and white
- Glue or glue sticks
- Markers
- Printable School Bus Template
- Paper Plate
Tools
- Kid Safe Scissors
Instructions
1. Prepare the Paper Plate Base
Cut a large circle from black paper and fold it in half to create the rocking base. Trim the folded section into a rounded shape so the finished craft can gently rock back and forth.
2. Cut Out the Bus Pieces
Cut the bus parts from construction paper, including the yellow body, windows, wheels, mirrors, lights, and bumper pieces. Keep the shapes sized to fit neatly onto the front of the craft.
3. Outline the Pieces
Use a marker to outline the edges of the bus pieces. Add details to the windows, wheels, lights, and other sections to give the bus a bold cartoon look.
4. Assemble the Main Bus
Attach the larger bus body section together first. Add the bumper, wheels, side mirrors, and windows, arranging the pieces to build the basic shape of the school bus.
5. Add the Windows and Lights
Place the windows onto the front of the bus and press them into place. Attach the round lights near the lower area to complete the front details.
6. Attach the Eyes
Add the large eye circles near the center of the bus and place the smaller circles inside to finish the eyes. Position them however you like to give your bus its own expression.
7. Draw the Smile
Use a marker to draw a happy smile underneath the eyes. Add extra details like eyebrows, cheeks, or small decorations if you want to personalize the bus.
8. Attach the Bus to the Rocking Base
Secure the finished bus onto the folded base using glue or tape. Let everything dry completely, then place it on a flat surface and test the rocking motion.