
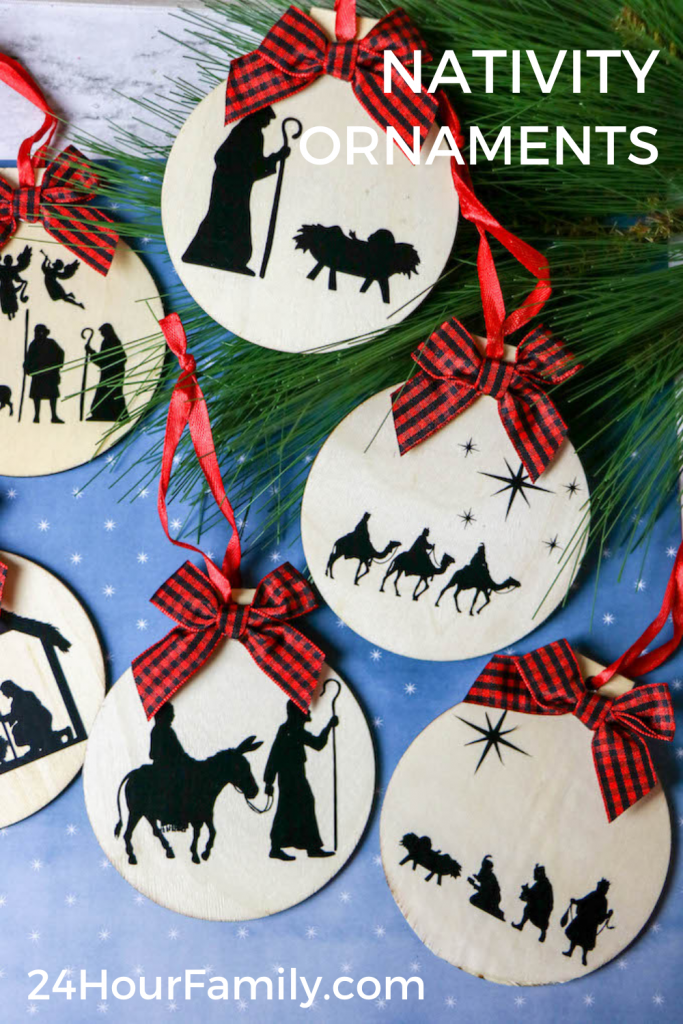
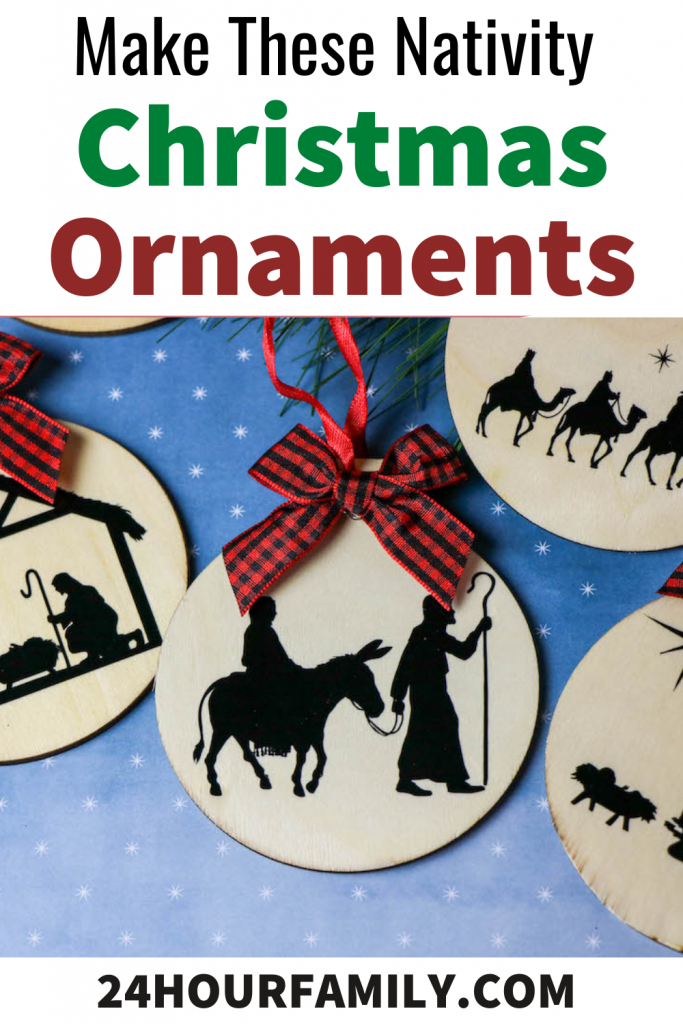
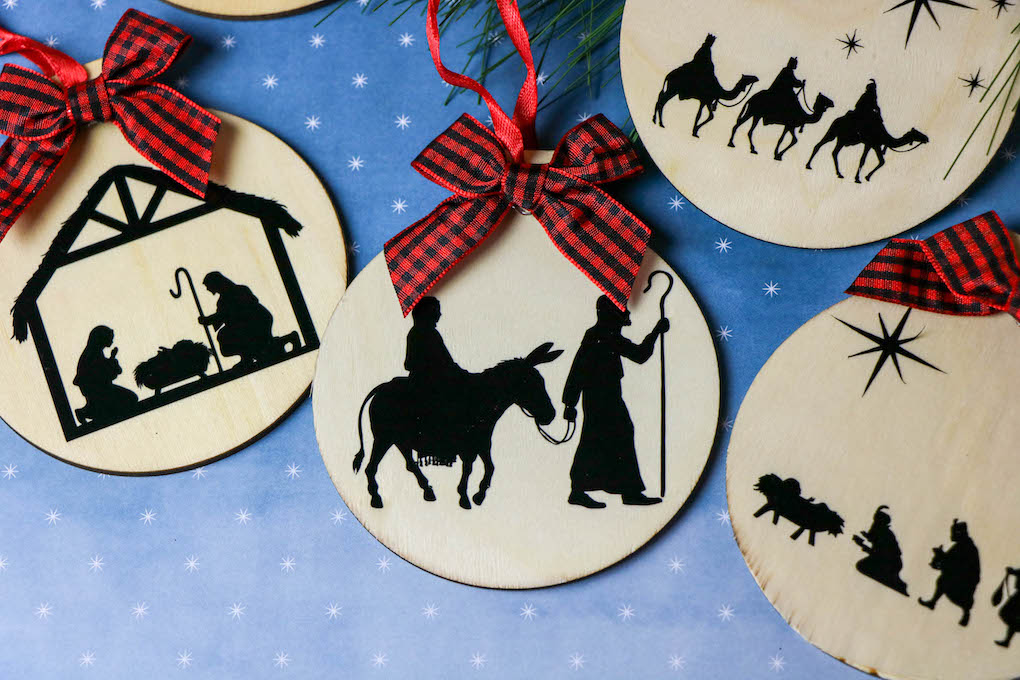
Nativity Ornament using a Free Nativity Silhouette SVG
Are you looking for a Nativity craft this Christmas using your Cricut Design Studio or Silhouette? Christmas is a special time of the year and the reason for the season is to celebrate the birth of our Savior. As we celebrate Christmas and the Nativity, I wanted to make a nativity ornament using this Nativity SVG scene.
Using this FREE Nativity SVG and PNG Craft Files, it’s easy to create this perfect farmhouse-themed Christmas ornament that represents the true meaning of Christmas.
This post may contain affiliate links meaning I get commissions for purchases made through links in this post at no cost to you. Read my disclosure policy here.
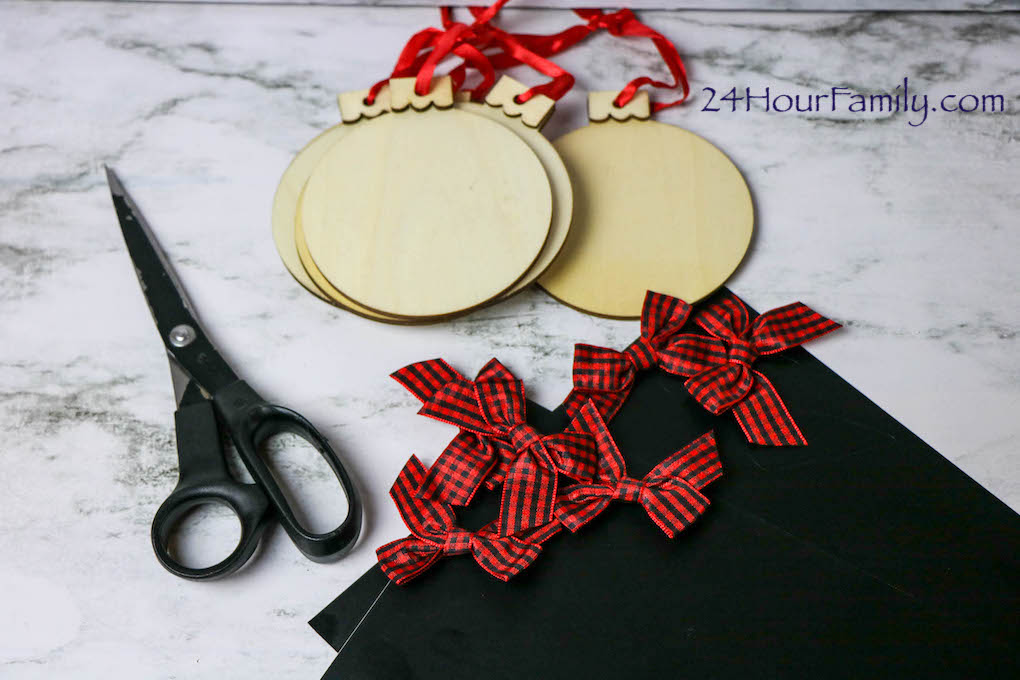
Supplies needed to make this Nativity Silhouette Christmas Ornament:
Wood Slice Ornaments
Transfer tape
Glue dots or hot glue
Scissors
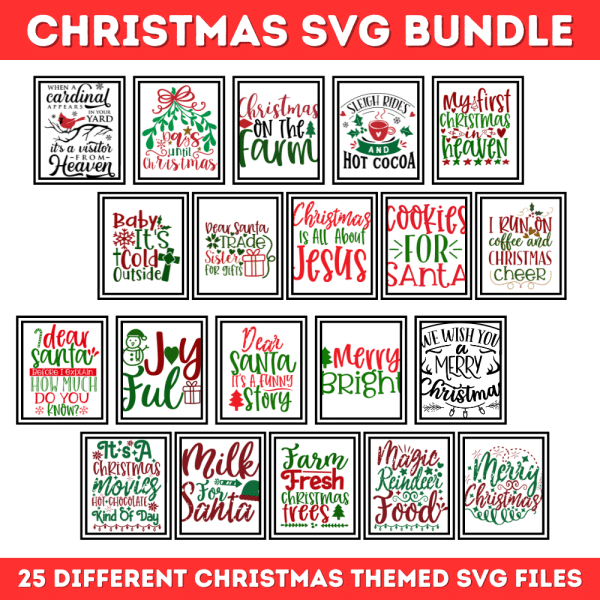
Get the Christmas SVG Bundle Here – 25 Christmas SVG Designs
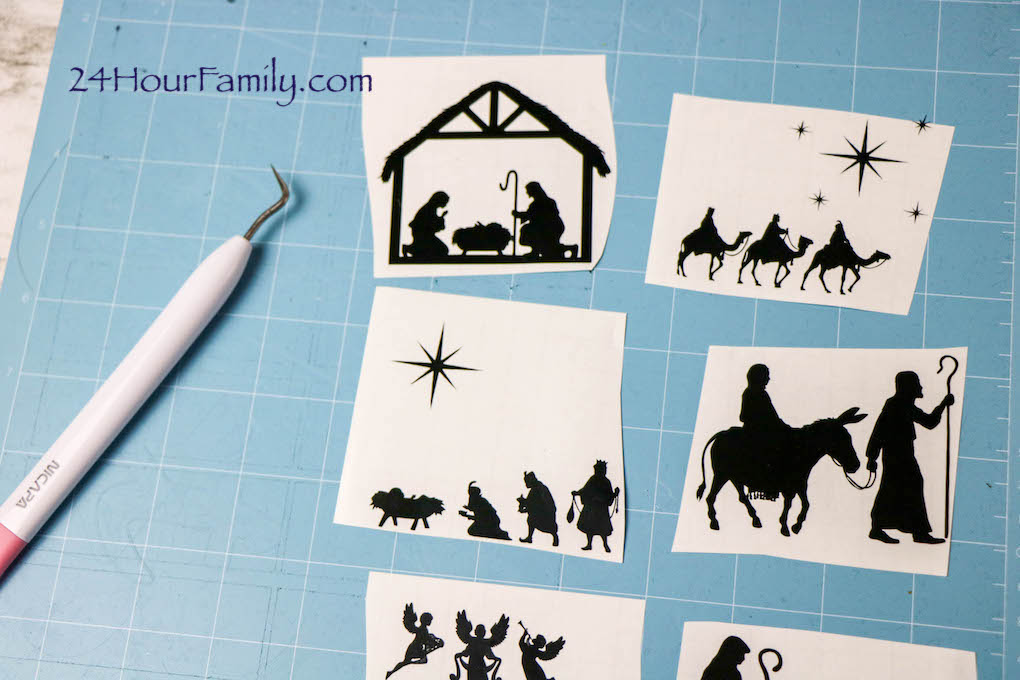
Free Nativity Silhouette Pattern
This Nativity Scene SVG and PNG are free to download and use. This free Nativity scene SVG will help you make your Joseph, Mary, and Baby Jesus Christmas ornament! Just follow the step-by-step directions below to complete this craft.
,
Open the Cricut Design Studio and create a new project.
Upload the Free Nativity SVG to the Cricut Design Studio.

Select to remove the image’s background and save it as a cut file. Insert the image into your project and create the scenes as desired.
Select each scene and size the image to match the dimensions of the ornament.

If all of the details of your ornament will be the same color, click and drag to select the elements for the ornament and select to weld the items together.
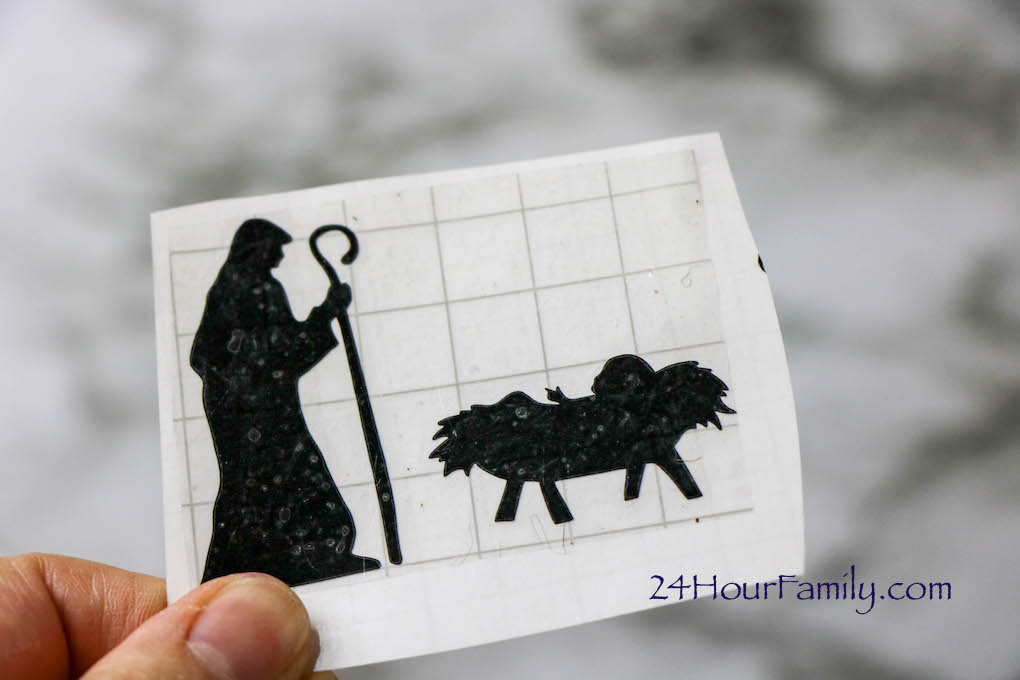
Cut the images from vinyl.
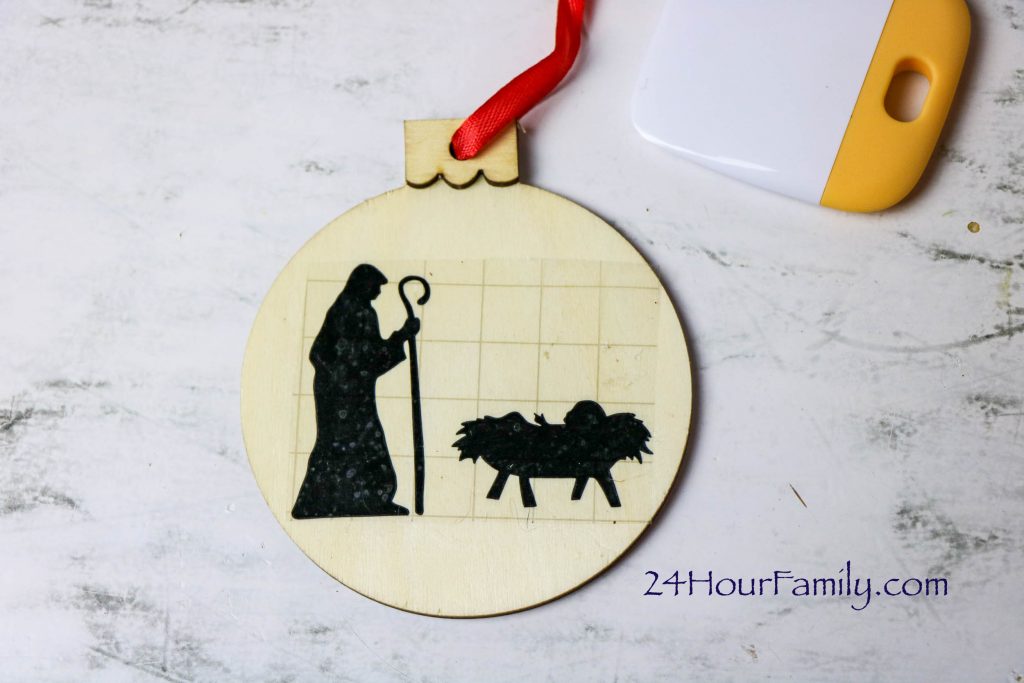
Weed the excess vinyl away and then use transfer tape to move the designs to the ornament. Press firmly or swipe over the transfer tape with a scraper to make sure the vinyl adheres to the ornament. Pull the transfer tape away.
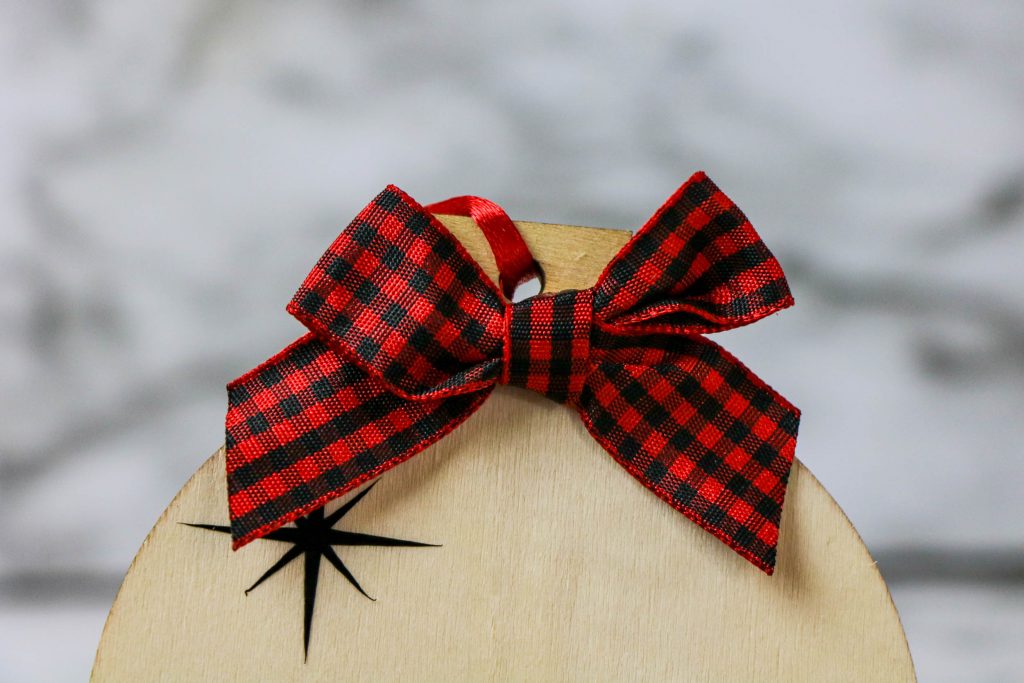
After the vinyl adheres to the ornament, add the decorative ribbon to the ornament.
What is the Difference between a Cricut and A Silhouette?
Regarding cutting machines, two brands stand out: Cricut and Silhouette. Both brands offer a wide range of products that can help you with everything from simple projects to complex designs. So, what is the difference between Cricut and Silhouette?
Cricut machines are designed for many materials, including paper, vinyl, fabric, and wood. They feature a built-in blade that automatically adjusts to the thickness of the cut material. Cricut machines also come with a wide range of design software, making it easy to create custom designs.
Silhouette machines, on the other hand, are primarily designed for cutting paper and vinyl. They feature a small cutting area and require a cutting mat. However, Silhouette machines come with their design software, which includes a library of ready-to-use designs. In addition, Silhouette machines can be connected to a computer so you can use third-party design software.
Download this Free Grinch SVG to Make fun Crafts
Free Mom SVG to Make a Gift for Mom
The Best Rae Dunn Font to Make Christmas Ornaments
Best Rae Dunn Font to Make Christmas Ornaments
Did you make this farmhouse-themed Nativity ornament? Leave a comment and let me know!

Nativity Ornament
As we embrace the spirit of Christmas and reflect on the Nativity story, get inspired to create a special ornament featuring a Nativity scene using this Nativity SVG scene.
Materials
- Cricut cutter machine
- Wood ornaments (wood slice)
- A weeding tool
- Adhesive transfer tape
- Your preferred colored ribbons
- Adhesive tape or glue
- A pair of scissors
Instructions
- Download this Nativity Scene SVG. This complimentary SVG file offers a wonderful opportunity to craft your Joseph, Mary, and Baby Jesus Christmas ornament!
- Let's dive into the creative realm of the Cricut Design Studio! Begin by launching the Cricut Design Studio software on your computer or device. To kick off your creative journey, initiate a new project.
- Import the Free Nativity SVG file into the intuitive and versatile Cricut Design Studio.
- First, carefully remove the background from the image and save it as a cut file. Then, seamlessly integrate the image into your project, ensuring it fits flawlessly.
- Carefully choose each scene, ensuring that the image's dimensions are adjusted to fit the size of the ornament perfectly. Take your time to curate each moment, ensuring that it seamlessly complements the shape and size of the ornament.
- If all the intricate details of your ornament share the same color, simply click and drag to highlight and select these elements. Then, proceed to weld them together for seamless integration, ensuring a cohesive design.
- Now, it's time to transfer your design onto vinyl. Utilize your cutting machine to cut out the images precisely according to your design.
- After cutting the vinyl, carefully weed away the excess material, leaving only your desired design intact. Next, apply transfer tape over the design, gently pressing or swiping it with a scraper to ensure the vinyl adheres securely. Once adhered, carefully peel away the transfer tape.
- Once the vinyl has securely adhered to the ornament, it's time to add the finishing touch with decorative ribbon. Carefully select a ribbon that complements your design and the overall aesthetic you're aiming for.