
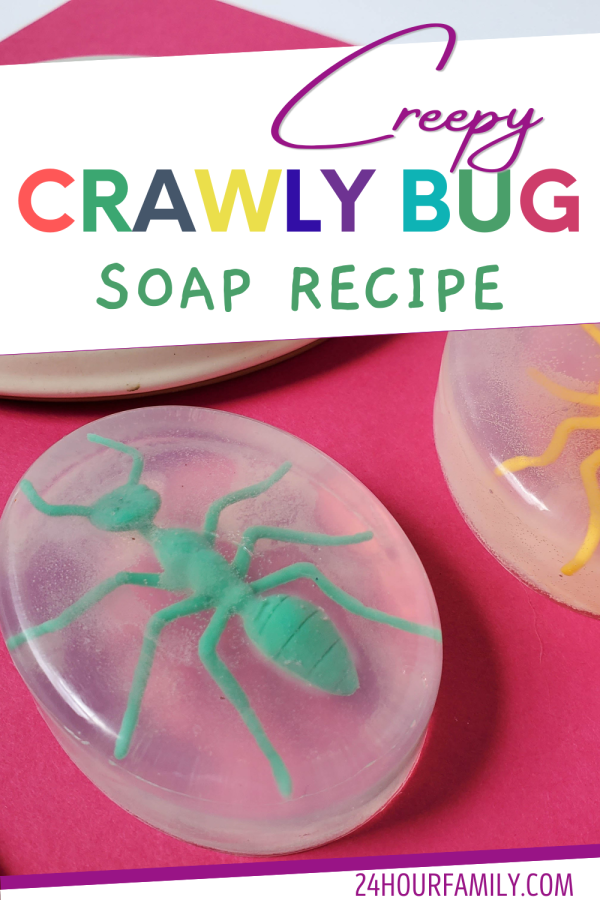
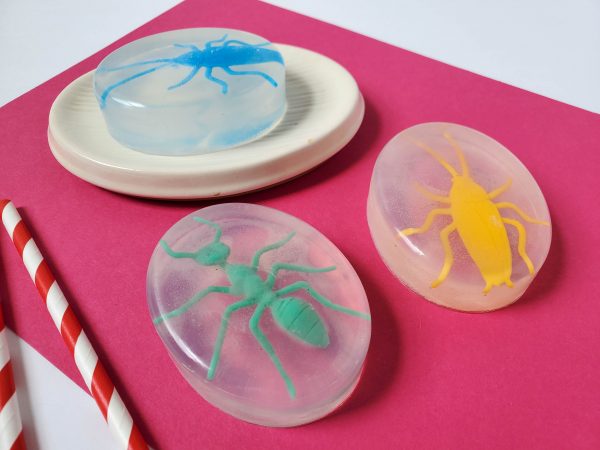
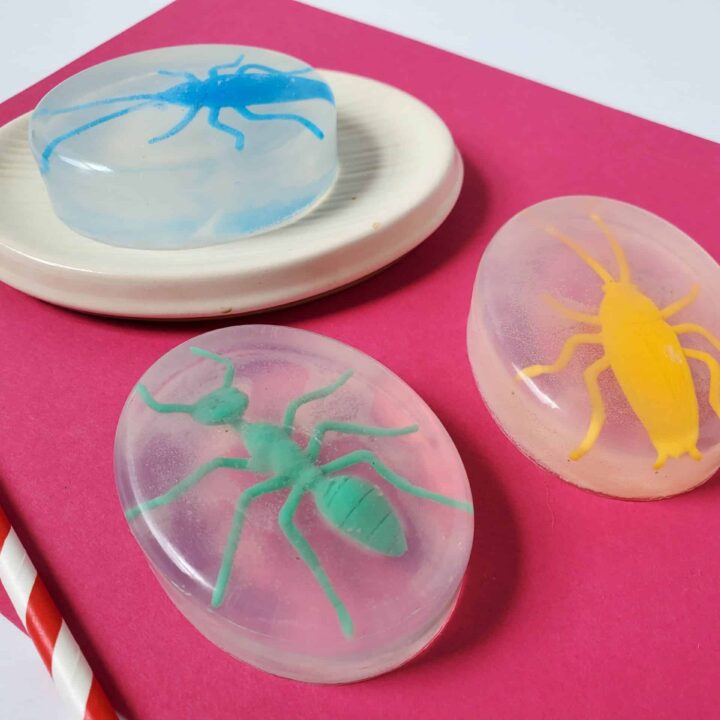
Creepy Crawly Homemade Bug Soap Recipe
If you’re looking for a fun and engaging activity for your kids, this Kids’ Homemade Bug Soap Recipe might be a perfect choice! It’s an easy soap recipe and a great way to safely and creatively teach about creepy crawlies. If you have kids who love bugs, why not get them involved in creating some fun bug-themed soap?
This fun and simple summer craft will keep your kids entertained for hours. With a few craft supplies and tools, you can easily make colorful soaps that will charm any entomologist.
This post may contain affiliate links meaning I get commissions for purchases made through links in this post at no cost to you. Read my disclosure policy here.
Bug Party Crafts Ideas
First, let’s discuss the benefits of making homemade bug soap. It’s a fun and creative activity that can get kids interested in science and nature.
Is it cheaper to make homemade soap? The answer to this question depends on several factors. While homemade soap may require a higher upfront cost for ingredients and tools, it can save you money long term.
Commercially-made soap often contains fillers and chemicals, while homemade soap can be made with natural ingredients that benefit your skin.

How to Make Soap
Additionally, making soap at home allows you to customize the ingredients to suit your needs and preferences.
Now, how do you make soap for preschoolers? When making soap for preschoolers, it’s essential to consider their safety and skin sensitivities. Here are some tips to keep in mind:
Use natural and organic ingredients: Preschoolers’ delicate skin can benefit from using natural and organic ingredients to prevent skin irritation and allergic reactions.
Avoid strong fragrances: Strong fragrances can be overwhelming for young children, who may not enjoy the smell.
Keep it simple: Preschoolers may not have the attention span or patience for complicated soap-making processes. Keep the recipe simple and easy to follow.
Use age-appropriate tools: Choose tools that are safe and easy for preschoolers to handle, such as plastic utensils and molds.
The Very Hungry Caterpillar: 50th Anniversary Golden EditionTen Little LadybugsBugs! Bugs! Bugs!: (Bug Books for Kids, Nonfiction Kids Books)


By making their soap, kids can learn about the different ingredients used in soap-making and the benefits of using natural and organic ingredients.
Ingredients Needed to Make Creepy Bug Soap
Now, let’s get to the recipe! This easy soap recipe for kids is perfect for beginners and requires only a few simple ingredients:
- Clear Glycerin Soap Base – ½ pound for three soaps (9 – 1”x1” cubes). Use a full pound of soap to make six bars of soap.
- Oval Soap Mold
- Assorted bug toys (you can also find these at Dollar Tree)
- Microwave-safe measuring cup
- Wooden craft stick
- Spray bottle filled with rubbing alcohol (optional)

For this homemade bug soap recipe, follow these steps:
Cut soap into 1” x 1” cubes and place in a measuring cup.
Heat on high in the microwave for 30 seconds. Remove from the microwave and stir until well combined. If not completely melted, heat in 10-second increments, stirring between each heating session, until entirely melted.
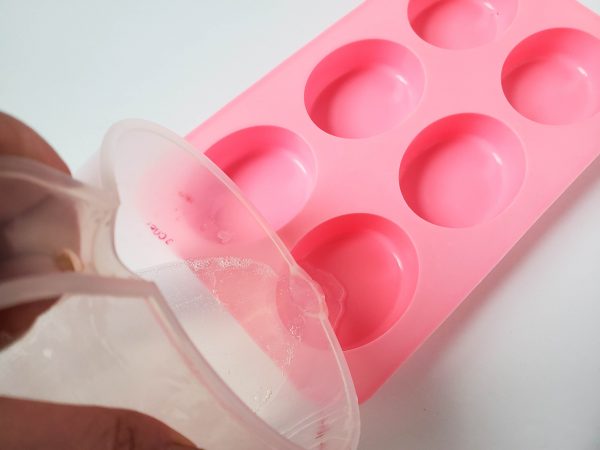
Pour a small amount of soap into each mold to fill the bottom.
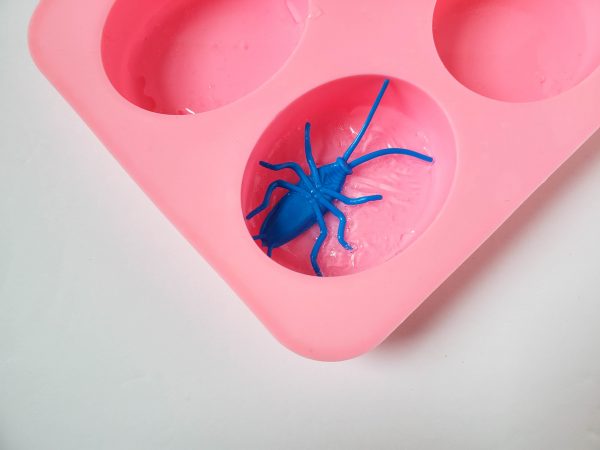
Place a bug into each mold, face down (because the bottom is the top on these molds), and move it around to fit as necessary.
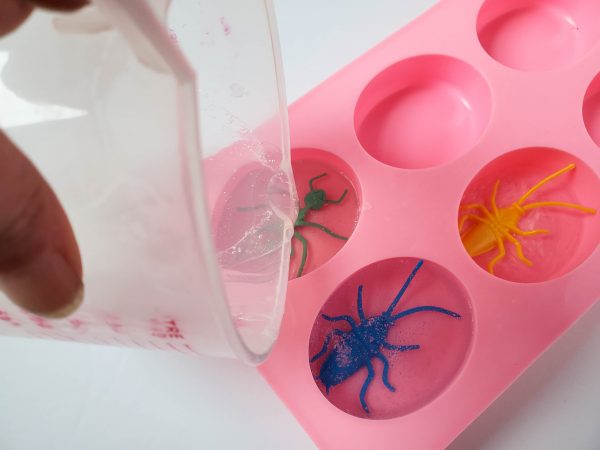
Fill the rest of each mold with soap.
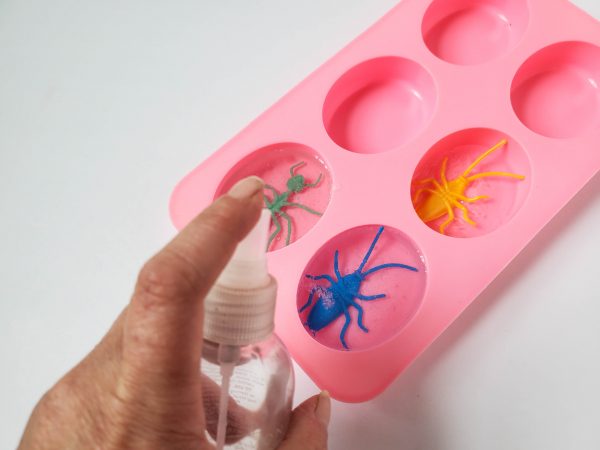
(Optional) Spray the top of each soap-filled mold with alcohol to reduce bubbles.
Allow the soap to set for at least an hour before removing it from the mold.
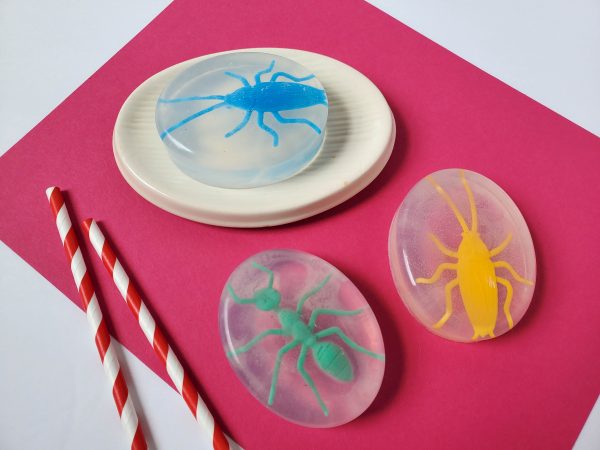
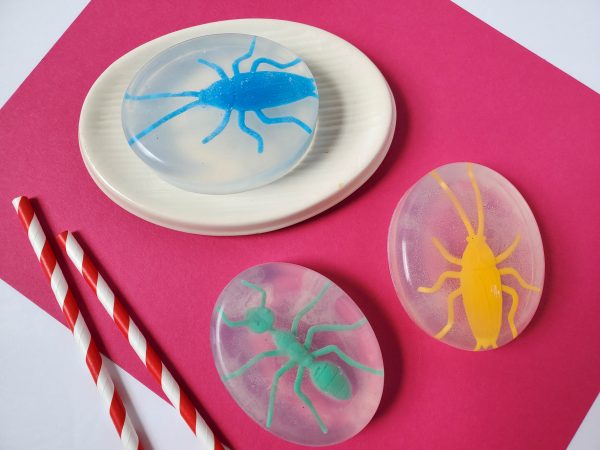
Voila! Your homemade bug soap is now ready to use.
Now that you’ve got your soap, what can you do with it? Here are some bug party craft ideas and bug crafts that your kids are sure to love:
Bug-Inspired Bath Time: Kids can use their homemade bug soap during bath time to learn about different insects while getting clean. Please encourage them to identify the bugs in their soap and talk about their characteristics.
Bug Race: Create a bug race by placing a few plastic bugs on a large plate or in a shallow container filled with water. Have kids use their homemade bug soap to help their chosen bug move across the water.
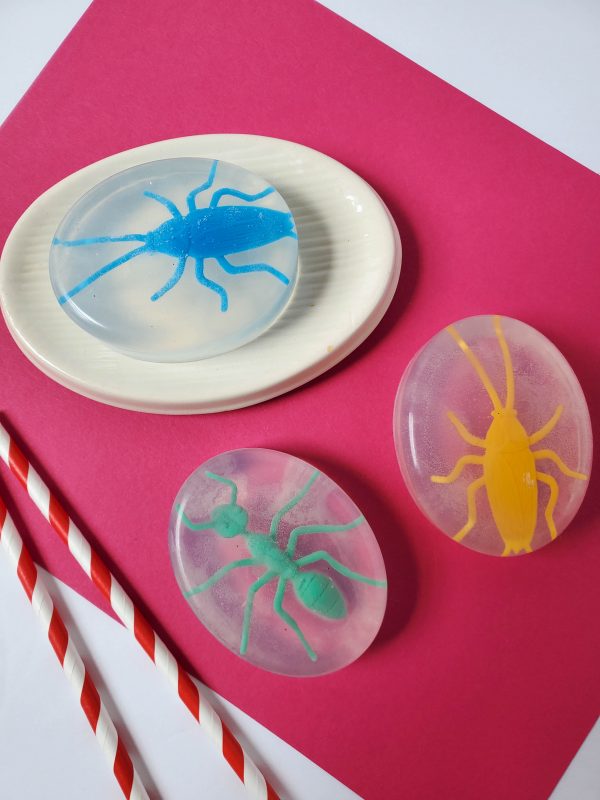
Bug Soap Bars: Once your kids have mastered the art of making homemade bug soap, encourage them to create their unique bug soap bars by adding different colors, scents, and bug toys.
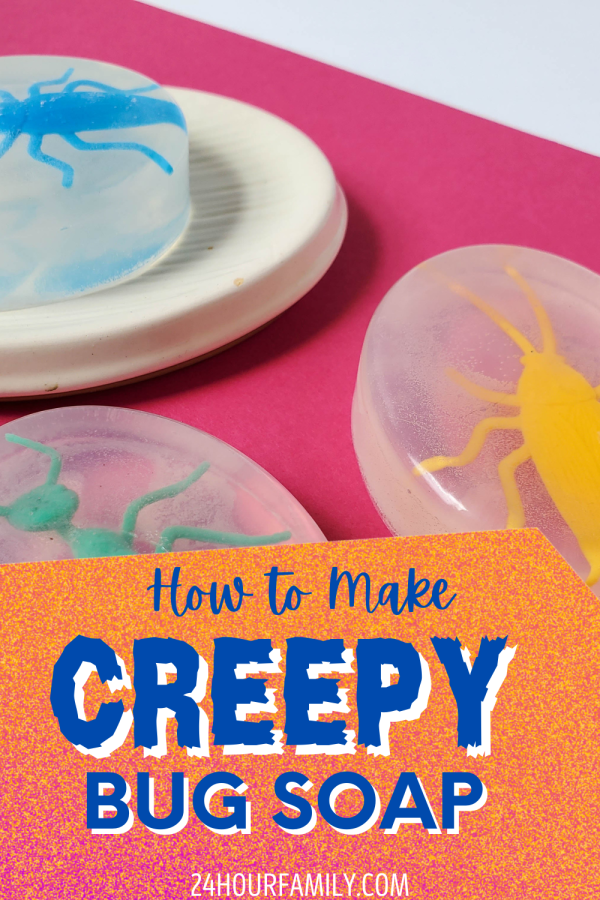
Creepy Crawly Bug Soap
Making homemade bug soap is not only an easy recipe for kids, but it’s also a fun and educational activity that can help develop their creativity, problem-solving abilities, and interest in science and nature.
By incorporating bug party craft ideas and bug crafts, your kids can continue to learn and have fun with their homemade bug soap even after it’s been made. Try it and see what creepy crawlies you can discover in your soap!
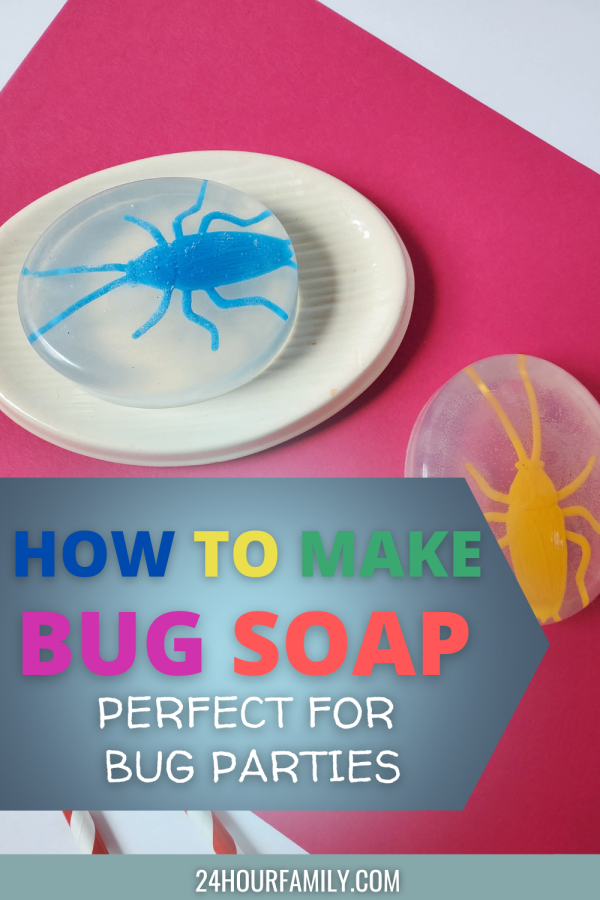
How to Make Bug Soap
These bug soaps make a fun and educational craft for kids, perfect for gifts, party favors, or just a playful bath-time surprise! 🛁🪲 Let me know if you'd like this turned into a printable instruction sheet too!
Materials
- Clear Glycerin Soap Base – Use ½ pound to make 3 soaps (cut into 9 one-inch cubes). For a larger batch of 6 soaps, use a full pound.
- Oval Silicone Soap Mold
- Assorted Bug Toys – Mini plastic bugs from Dollar Tree work great!
- Microwave-Safe Measuring Cup – Preferably glass for easy pouring
- Wooden Craft Stick – For stirring the melted soap
- Spray Bottle with Rubbing Alcohol (optional) – Helps eliminate air bubbles
Instructions
- Cut the Soap Base:
Slice the glycerin soap base into 1-inch cubes. You'll need about 9 cubes for a batch of 3 soaps. Place the cubes in your microwave-safe measuring cup. - Melt the Soap:
Microwave the soap cubes on high for 30 seconds. Remove and stir with your wooden craft stick. If the soap hasn’t completely melted, continue microwaving in 10-second intervals, stirring each time, until the soap is entirely liquid. - Prepare the Soap Mold:
Pour enough melted soap into each mold cavity to lightly coat the bottom. This thin layer helps hold the toy in place. - Add the Bug Toys:
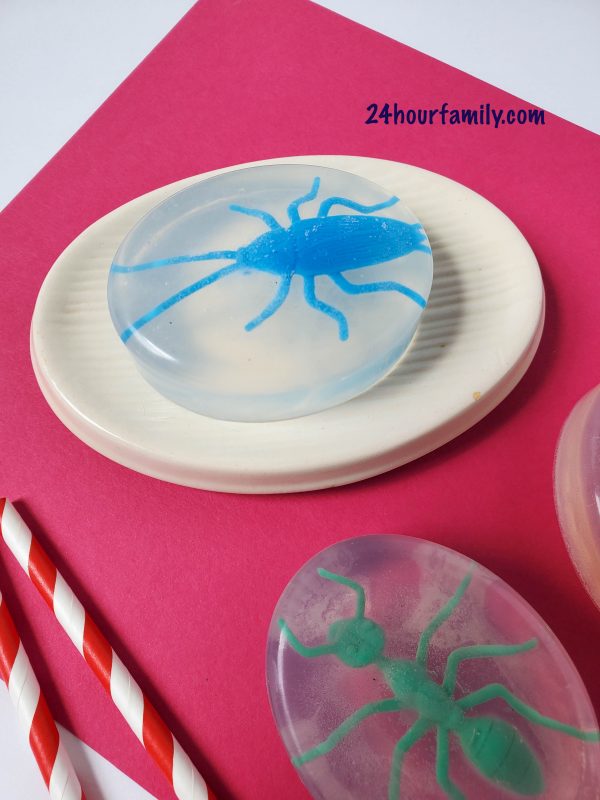
Carefully place a plastic bug into each mold cavity. Make sure the bug is face down—this ensures it will be visible on the top of the finished soap. Gently press or reposition if needed so it sits well within the mold. - Fill the Molds:
Once your bugs are in place, slowly pour the remaining melted soap into each mold, covering the bug altogether. - Remove Bubbles (Optional):
Lightly spritz the surface of the filled molds with rubbing alcohol to pop any bubbles that rise to the top. - Let the Soaps Set:
Allow the soaps to cool and harden at room temperature for at least 1 hour. Once fully set, gently remove them from the molds.