
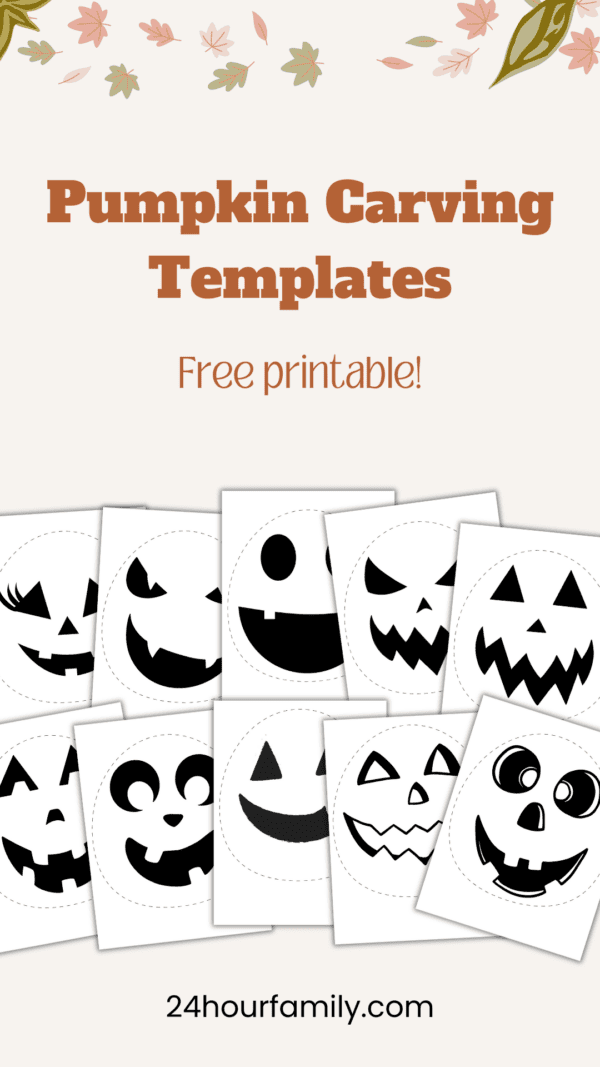
10 Printable Pumpkin Carving Templates (Free to Print)
As Halloween approaches, it’s time to prepare for one of the best parts of spooky season: pumpkin carving! Whether you’re a beginner or a pro, having access to free printable pumpkin carving templates can take your Halloween masterpiece to the next level.
In this post, we’ll cover everything you need to know to create the perfect pumpkin, from choosing the best patterns to finding the right tools and tips to make your pumpkin patch the star of the neighborhood.
Pumpkin Carving Stencils Require Adult Supervision
Why Use Pumpkin Carving Templates?
Pumpkin carving is a timeless tradition that brings together friends and family for festive fun. Whether you want intricate designs or something simple for young kids, pumpkin carving patterns make the process easy.
This post may contain affiliate links. As an Amazon Associate and a participant in other affiliate programs, I earn a commission on qualifying purchases. Read our disclosure policy here.
Five Little Pumpkins: A Rhyming Pumpkin Book for Kids and ToddlersIt’s Pumpkin Day, Mouse!: An Adorable Picture Book, Perfect for Autumn and Halloween Reading (If You Give…)There Was an Old Lady Who Picked a Pumpkin! (Scholastic Reader, Level 1)Big PumpkinHello, World! From Seed to PumpkinToo Many Pumpkins


The best way to ensure a great finished product is by using printable stencils. These provide a clear guide, ensuring the final result is as close as possible to your vision.


Free Printable Pumpkin Carving Stencils
One of the best parts about pumpkin carving is the endless variety of designs you can choose from. Free printable pumpkin carving stencils are the way to go if you’re looking for spooky, funny, or classic pumpkin designs.
Below are ten templates you can easily print and use for your next pumpkin masterpiece:
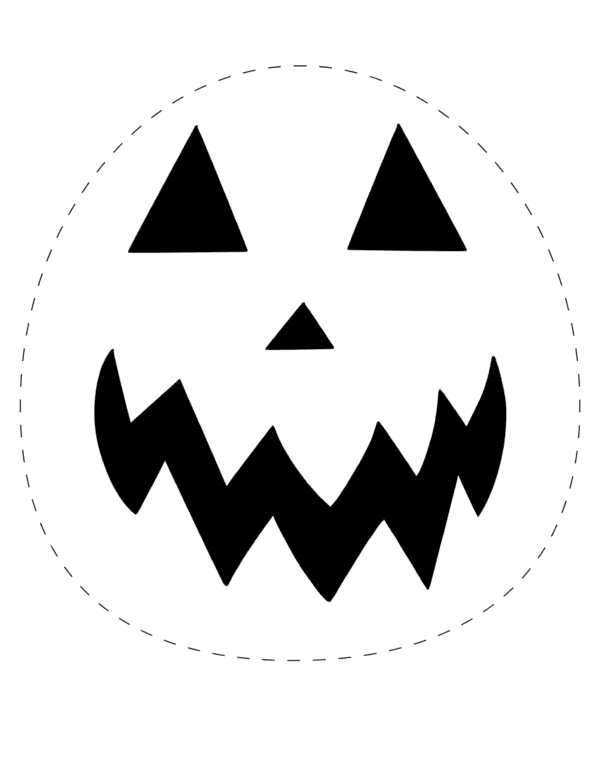

Classic Jack-o’-Lantern: A timeless design for those who love tradition.
Jolly Jack: A playful, smiling face perfect for young kids.
Sinister Eyes: For a more sinister look, try this intricate design.
This post may contain affiliate links. As an Amazon Associate and a participant in other affiliate programs, I earn a commission on qualifying purchases. Read our disclosure policy here.


Wicked Grin: An ideal pattern for carving out something a little creepy.
Happy Pumpkin: This cute, happy design adds a lighthearted touch to Halloween night.
Laughing Pumpkin: This playful pattern is perfect for a humorous Halloween look.


Spider Web: An intricate pattern for those looking for more of a challenge.
Bats in the Night: An easy pattern that still gives off those spooky season vibes.
Grinning Pumpkin: A friendly pattern for kids and beginners.
All of these free pumpkin carving stencils are printable and perfect for any skill level, from beginner to advanced.


Whether you’re looking for an easy pattern for the little ones or more detailed, custom patterns for your Halloween masterpiece, these stencils will ensure you have the perfect pattern to follow.
Essential Tools for Pumpkin Carving
Before you dive into creating your pumpkin design, make sure you have the right tools on hand. Here’s a simple checklist of what you’ll need:
- Serrated knife: Used to cut out the top and carve larger shapes.
- Small saw or drill: To handle intricate designs and tight corners.
- Spoon or scooping tool: To clean out the pumpkin’s interior.
- Pumpkin carving kit: These kits often use specialized tools to make carving easier.
- Newspaper: To cover your work surface and make cleanup easier.
With the right tools in hand, you’ll be ready to create some amazing pumpkin patterns!
More Fun Pumpkin Carving Templates and Crafts:
Step-by-Step Guide to Carving Your Pumpkin


Ready to get started? Follow this easy guide:
- Gather a sharp knife, a spoon, a pumpkin carving kit (or a small saw or drill), and some newspaper to cover your work surface.
- Carefully cut a hole in the top of the pumpkin for the lid. Make sure to angle your blade inward to create a ledge for the lid to sit on.
- Next, use a spoon to scoop out the seeds and pulp from the inside of the pumpkin. Be careful not to damage the pumpkin’s walls.
- Print the template you want to use. Trim excess paper, leaving a 1/2 4-inch border around the pattern. Make relief cuts in the template to ensure the pattern is smooth on the surface.
- Poke holes through the pattern using a push pin or pumpkin poker tool from a carving kit. Once the paper is fully transferred, please remove it.
- Now, cut out the shapes using a carving kit knife or a small saw, whichever works best for your design.
- Add a light and place the lid back on.
Pro Tip: Don’t rush the process! Take your time to ensure the final product is as clean and precise as possible.
Printable Pumpkin Carving Templates
Pumpkin carving is a fun way to celebrate all things Halloween, and using free printable pumpkin carving stencils ensures you have the perfect guide for creating amazing patterns. With a little bit of practice and the right tools, you can create a pumpkin that shines bright on Halloween night.
So grab your pumpkin, your carving kit, and one of these fantastic stencils. And remember, happy carving!

Printable Pumpkin Carving Templates
Pumpkin carving is one of the most fun and festive activities of the fall season, especially as Halloween approaches. Whether you’re a seasoned pumpkin carver or a beginner looking to create a simple design, having access to free printable pumpkin carving templates can make the process easier and more enjoyable. In this post, you’ll find a collection of free pumpkin carving templates and step-by-step instructions to help you bring your Halloween pumpkins to life!
Materials
- A pumpkin (choose one that is the right size for your design)
- Carving tools (pumpkin carving kits or a sharp knife)
- A spoon or pumpkin scoop (to remove seeds and pulp)
- A printer (to print out the templates)
- Tape or pins (to attach the template to the pumpkin)
- A marker (to trace the design)
Instructions
- Print out your chosen pumpkin template.
- Prepare your pumpkin. Begin by cutting a circular hole around the pumpkin’s stem. This will serve as your pumpkin lid.
- Use a spoon or pumpkin scoop to remove the seeds and pulp inside the pumpkin.
- Scrape the inside walls of the pumpkin to about 1 inch thick, which you’ll be carving. This will make the carving process easier and ensure a cleaner cut.
- Secure the printed template to the front of your pumpkin using tape or pins. Ensure the design is centered and positioned how you want it to appear.
- Use a marker or pen to trace over the lines of the template. If your pumpkin is round or curved, you may need to make small adjustments to ensure the design fits.
- With the design traced onto the pumpkin, begin by cutting along its outer edges. Use a small, sharp carving tool for intricate details and larger tools for simple cuts. Take your time, especially around tight corners or detailed design sections.
- Once the carving is complete, clean up the edges of your cuts to make the design pop. You can use a small knife or toothpick to remove any excess pumpkin flesh from the details.
- Place a candle or battery-powered light inside the pumpkin to illuminate your design.