
Reindeer Paper Bag Craft (Free Printable Template)
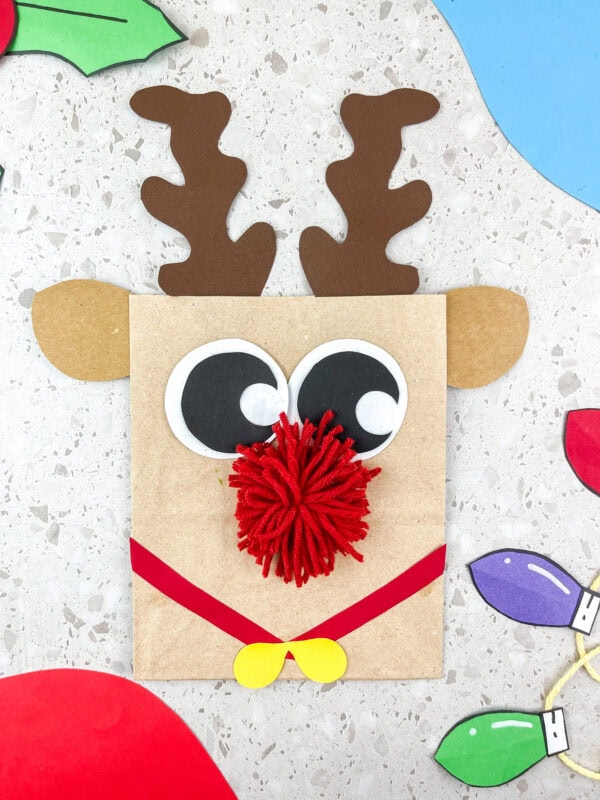
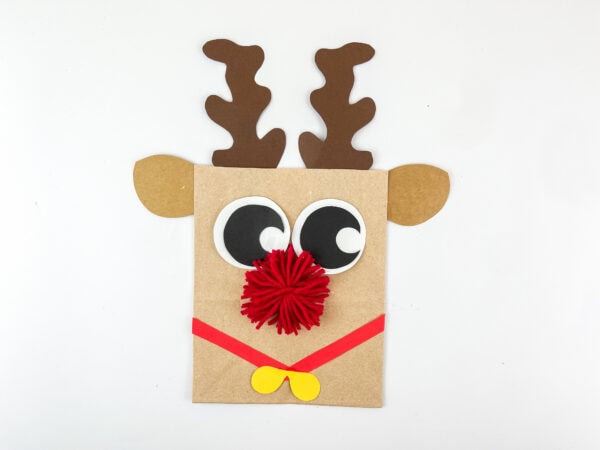
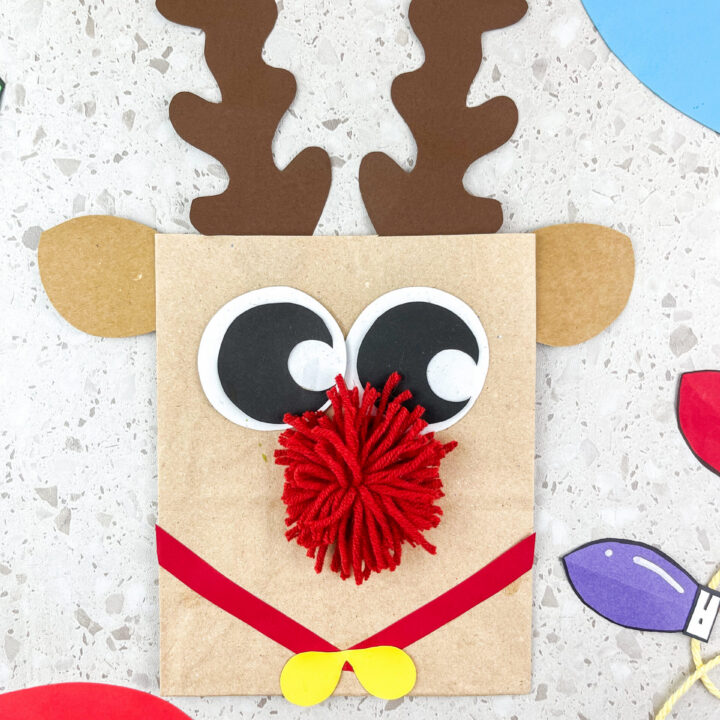
Turn a brown lunch sack into a cute Christmas reindeer with branching horns, big eyes, and a fluffy yarn nose. This Reindeer Paper Bag craft can become a small gift holder, a festive decoration, or a character you can talk to.
The template helps kids create the shapes without drawing everything freehand. Add this fun project to your Christmas crafts and printables, or pair it with our Pin the Nose on Rudolph printable game for a holiday activity.
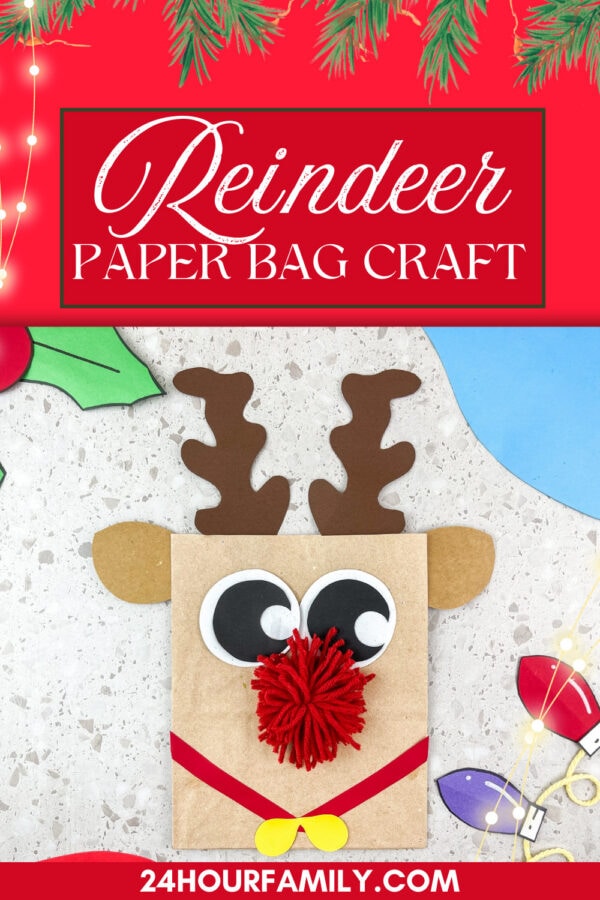
Reindeer Paper Bag Craft with a Free Printable Template
Supplies Needed:
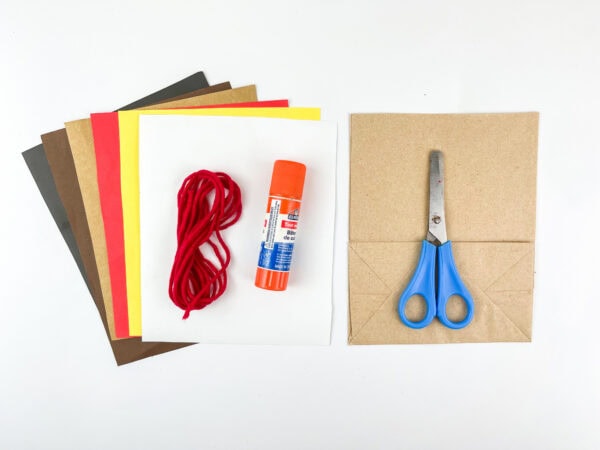
- Brown paper lunch bag
- Free printable reindeer template
- Brown, white, black, red, and yellow construction paper
- Yarn for the nose, or a colored circle
- Glue stick for lightweight shapes
- Small amount of school glue or suitable craft adhesive for yarn
- Child-safe scissors, with adult supervision as needed
- Pencil and black marker
- Optional cardstock for sturdier head decorations
- Optional double-sided tape or adhesive shapes for a no-glue version
Hot glue is unnecessary. Flat facial features make the simplest version for younger children. Avoid loose googly eyes, pom poms, and other small decorations for kids who might put them in their mouths.
What Size Paper Bag Works Best?
Start with an ordinary brown lunch sack, often approximately 5 inches wide and 10 to 11 inches tall. Sizes vary, so compare one printed pattern with your actual supplies before preparing a classroom set.
For preschoolers, standard lunch sacks offer plenty of room to arrange decorations. Very small favor pouches leave less room for the face and may be difficult to use as puppets.
For a talking character, check that the child can slide a hand inside and operate the bottom flap comfortably. Toddlers may find a smaller size easier to hold, but they will need closer assistance with assembly and play.
Print and Prepare the Reindeer Template
Start by printing one template at Actual Size or 100% scale. Check the shapes against your lunch sack before preparing multiples. Adjust the scale if your supplies are a different size.
Cut out the outlines and trace them onto the matching construction paper. Use cardstock for reusable patterns or head decorations that need extra support.
For children who prefer ready-made shapes, a parent can prepare everything beforehand. Place one set beside each lunch sack so kids can focus on arranging the face.
If you want a different reindeer activity without a lunch sack, try our reindeer paper plate craft.
How to Make the Reindeer Paper Bag Craft
1. Choose a Treat Bag or Puppet
Decide how the finished creation will be used before attaching the face.
For a treat bag: Stand the container upright with the opening at the top. Decorate one broad side, keeping the opening clear.
For a talking character: Lay the sack flat with its folded bottom flap facing up and positioned at the top. Follow the moving-mouth instructions below so decorations do not hold the flap closed.
2. Cut the Paper Pieces
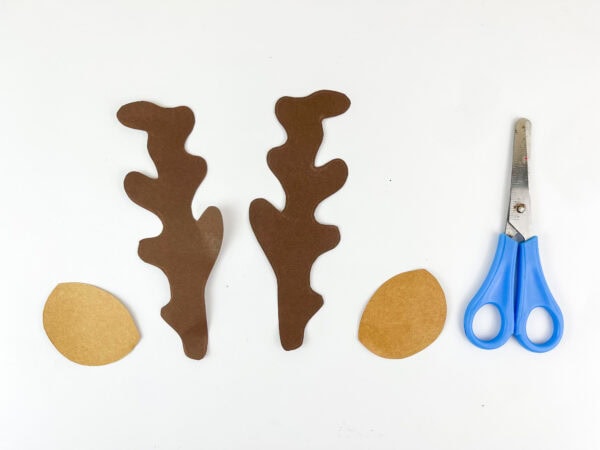
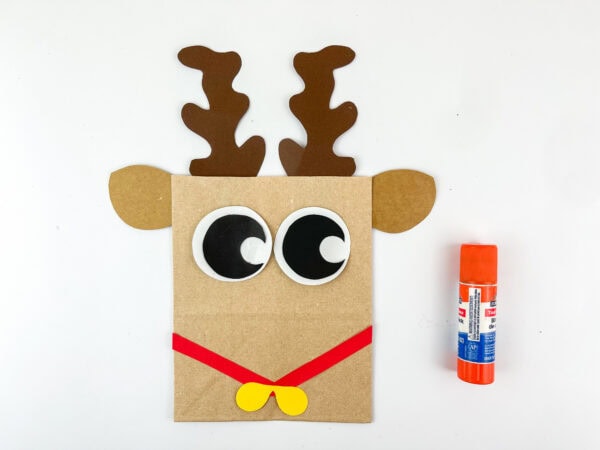
Use the template to cut out the antlers, ears, white eye shapes, black pupils, and colorful decorations.
Arrange everything on the surface before gluing. Children can experiment with different eye positions and angles until they like their character’s expression.
3. Attach the Antlers and Ears
Glue the branching shapes behind the upper edge of the decorated area so they extend above the head. Attach the ears on either side.
Keep adhesive away from the inside of the gift holder and, for the movable version, away from the folding section.
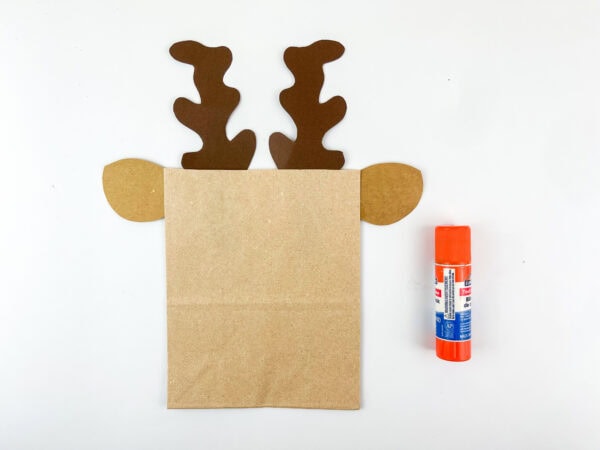
For an alternative to the template’s head decorations, trace your child’s hands onto brown construction sheets. Our handprint reindeer craft offers another creative way to use little hand shapes in a Christmas project.
4. Make the Eyes
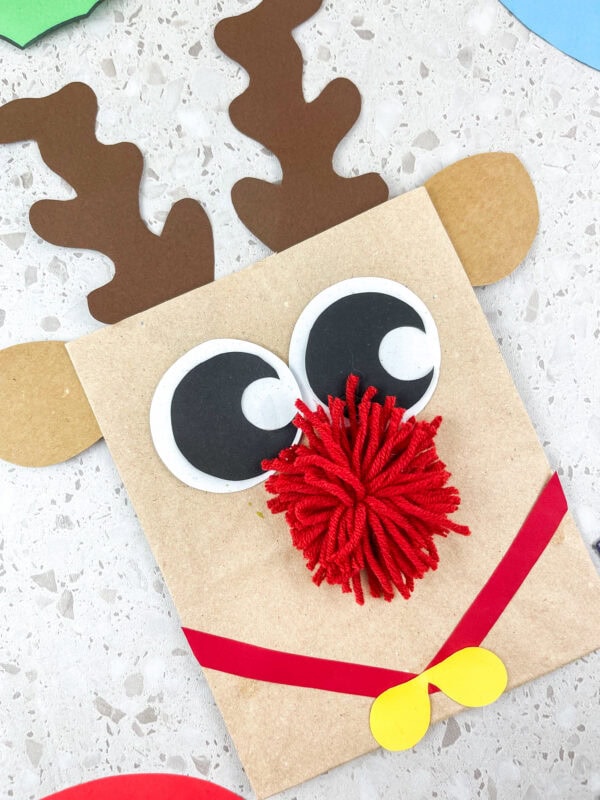
Glue the black pupils onto the white circles, then attach them to the front.
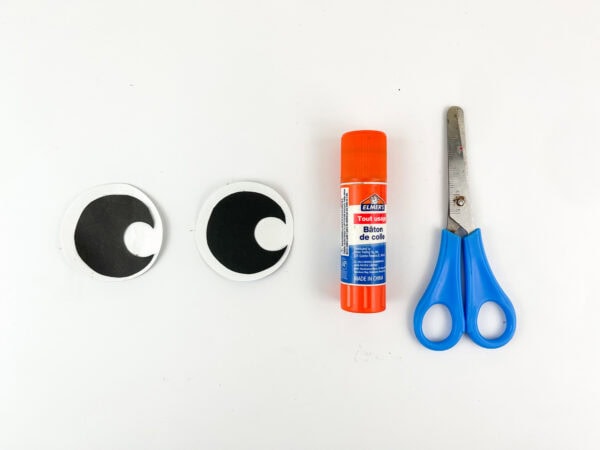
Children can make their character look straight ahead or glance to one side. Draw eyebrows or eyelashes with a black marker if desired.
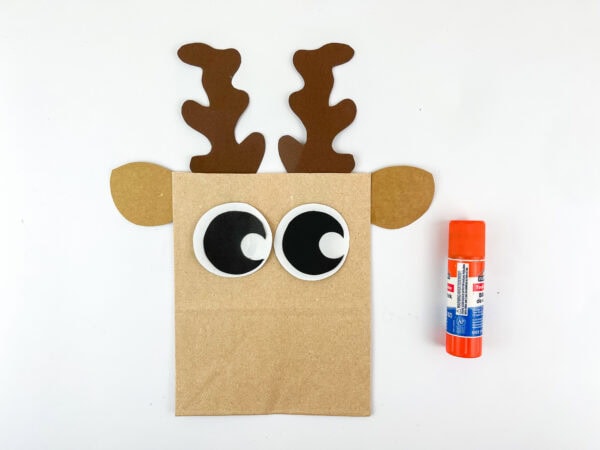
Flat eyes keep the design lightweight and avoid the need for small plastic components.
5. Add the Red and Yellow Details
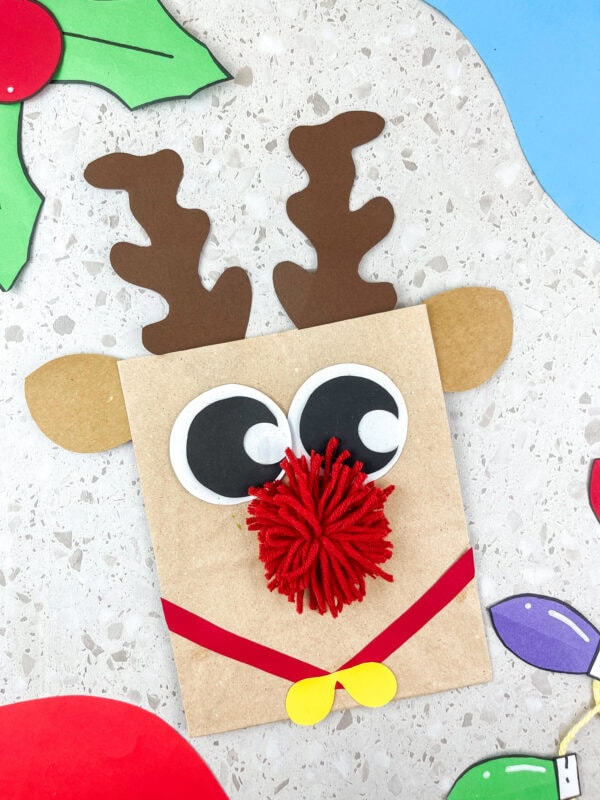
Attach the red strips and yellow decoration to create the collar or bow detail shown in the project photos.
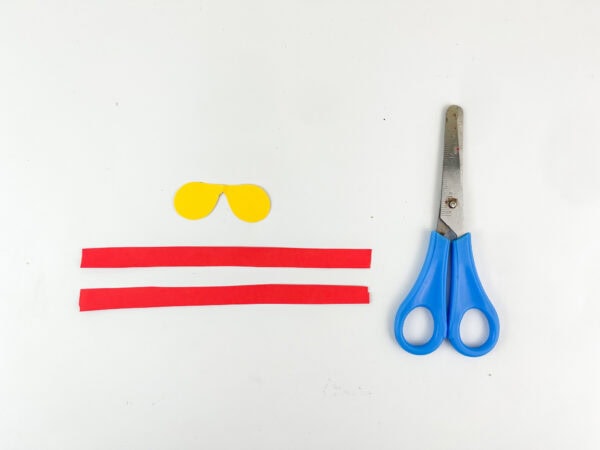
For a scarf variation, cross two colored strips below the face. Older children can snip short fringe cuts into the ends. Keep this decoration below the folding section so the mouth can still open.
6. Make Rudolph’s Red Yarn Nose
An adult can help make a small yarn pom-pom:
- Wrap yarn around two or three fingers several times, keeping it loose.
- Slide the loops off and tie a separate strand firmly around the middle.
- Snip the loops at both ends.
- Trim into a rounded shape over a tray.
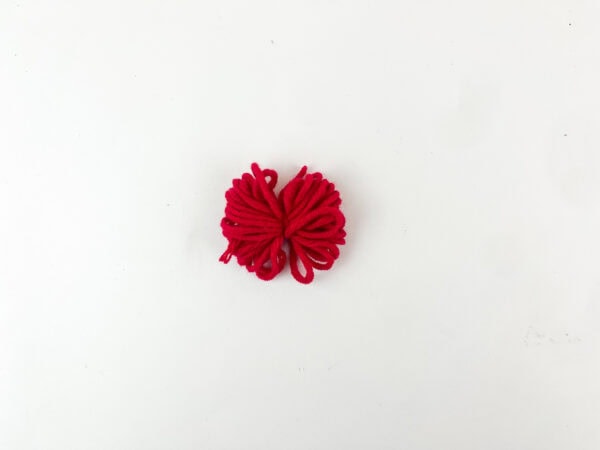
Use a small dab of suitable adhesive to attach the fluffy nose below the eyes. Keep the project on a level surface until the adhesive has dried.
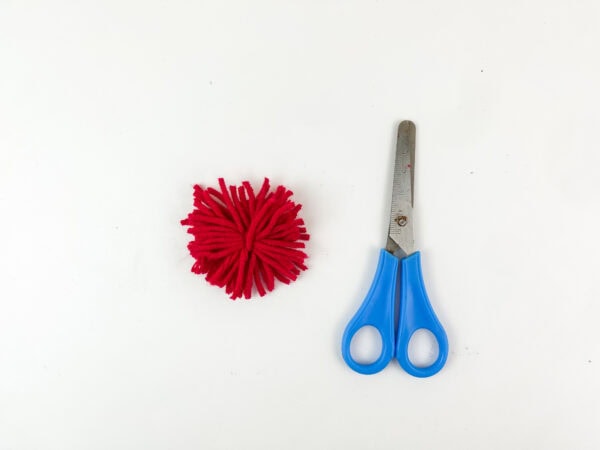
For an easier version, attach a red circle instead. You can also choose brown or black for one of Santa’s other reindeer.
If your family enjoys handmade Christmas keepsakes, make a fingerprint reindeer ornament as a separate project.
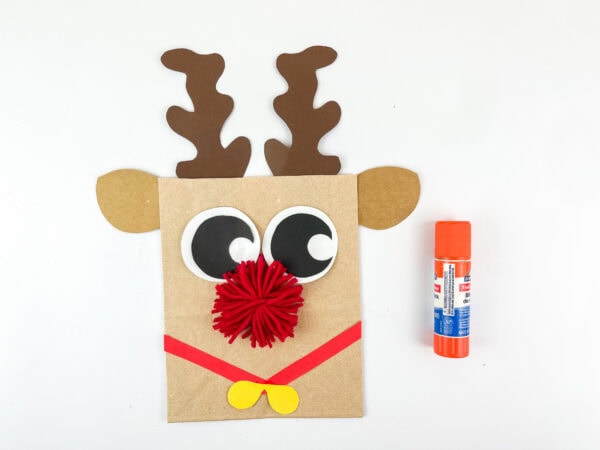
7. Allow the Decorations to Set
Leave your creation flat until all decorations are secure. Check the nose and upper details before adding gifts or playing with it.
A Christmas color-by-number worksheet keeps children busy while the adhesive dries.
Make a Reindeer Paper Bag Puppet with a Moving Mouth
The folded bottom of the lunch sack becomes the moving upper face.
Place the flattened sack with the bottom flap facing you and the open end pointing down. Put your hand inside before decorating to see which part lifts.
Build your reindeer paper bag puppet this way:
- Attach the eyes and nose to the outside of the moving flap.
- Secure the upper-head decorations behind that flap without fastening them to the body.
- Draw a mouth, or add a separate shape, in the area revealed when you lift the flap.
- Position the collar or scarf below the folding section.
Do not attach a large face piece across the opening. Any decoration, tape, or adhesive connecting the moving section to the body can prevent the mouth from opening.
Once dry, slide your hand through the open end. Place your fingers behind the bottom flap and your thumb against the body below it. Open and close your hand gently to make your character talk.
Pair Rudolph with a Santa paper bag puppet for a short Christmas show. Try this simple exchange:
Santa: “Rudolph, are you ready?”
Rudolph: “My nose is shining!”
Santa: “Then let’s help deliver some Christmas cheer!”
Children can invent a new ending or introduce a Santa stick puppet as another character.
No-Glue and Hot-Glue-Free Options
An ordinary glue stick works well for lightweight shapes. Use a small amount of school adhesive or suitable craft glue for yarn, and allow extra drying time.
For a no-glue version:
- Replace the yarn nose with a self-adhesive circle.
- Secure the upper decorations with short strips of double-sided tape.
- Use stickers for pupils and collar details.
- Draw smaller features directly onto the surface.
A parent can prepare the tape tabs and lift difficult backing edges. Keep adhesive strips away from the moving flap opening.
The flat version is a useful choice when you want to avoid drying time and bulky embellishments.
Adjust the Craft for Different Ages
Toddlers and Preschoolers
Have an adult prepare the shapes. Offer a few at a time and let children choose where to place them.
Choose lightweight shapes for the eyes, nose, and other facial details. An adult can finish narrow or fiddly details. Budget about 15 to 20 minutes for a simple, pre-cut version, with breaks as needed.
Explore our Christmas crafts for preschoolers for more easy crafts suited to little hands.
Kindergarten
Let each student trim larger shapes, arrange the face, and use a glue stick with supervision. Prepare narrow or detailed components in advance if needed.
For a writing activity, ask children to write their names on the back of their finished projects. Set aside approximately 20–30 minutes for putting everything together, with additional time for the adhesive to set.
Older Children
Encourage students to trace and prepare their own shapes, make a yarn nose, or design a scarf. They can also adapt the flap into a talking mouth and write a short script.
Allow about 30 to 40 minutes for children to trace and cut out their own shapes. A reindeer moving eyes craft is another option for kids who enjoy making moving characters.
Classroom Setup for Twenty Children
For a class of twenty, plan about 30 to 45 minutes, including the demonstration and cleanup, with pre-cut supplies. Allow longer if students will prepare everything themselves. These are planning estimates rather than tested class timings.
Before the lesson:
- Make one sample using the same supplies and printing scale.
- Prepare twenty sets of shapes and a few spare eyes and noses.
- Write student names on the back before assembly.
- Place glue sticks and scraps in shared table trays.
- Set aside a labeled drying space.
- Prepare yarn noses ahead of time, or use flat circles.
Demonstrate each step of the activity one at a time. For younger groups, attach the upper head details first, then hand out the eyes, noses, and collar decorations.
Early finishers can play a Christmas memory matching game at a separate table while their projects dry.
Use Your Reindeer as a Christmas Gift Bag
Gently open the dried container and check that the decorations stay attached. Fill it with lightweight items so the surface does not strain or tear.
These reindeer gift bags also work for classroom exchanges during the holiday season. Ask the teacher what fillers are allowed before purchasing them. Possible choices, subject to school rules and the children’s ages, include:
- A handwritten holiday note
- A bookmark or pencil
- A sticker sheet
- A small drawing
- An approved, individually wrapped snack
Check food restrictions, allergy procedures, and rules about small toys. Use an appropriate food-safe inner bag for edible gifts.
Add a Printable Gift Tag
Choose one of our Merry Christmas gift tags and write the recipient’s name on it. Tape it to the front or attach it to a folded top after filling.
Our Santa gift tags offer another option for classroom or family presents.
For a DIY reindeer gift label, cut a cardstock rectangle and write:
A Little Reindeer Cheer!
To: __________
From: __________
Draw a colorful nose in the corner or add a small circle. These are label wording ideas; the craft template does not include a separate tag design.
Displaying and Storing Paper Bag Reindeer
For display, stand finished holders on a shelf or line them up on a classroom table. A little crumpled tissue inside can help an empty one hold its shape.
Keep your creations away from water, heaters, candles, and frequently opened doors where the upper decorations might catch.
Once the creations are completely dry, arrange them horizontally inside a low storage container. Place a protective sheet between them and leave space around yarn noses. Avoid heavy stacks that could bend delicate details or flatten the decorations.
For a damaged character, reinforce the inside with tape, keeping the moving section free.
Download the Free Reindeer Template
Use the download option below to get the reindeer craft template. Make one copy at 100% scale, check it against your paper bag, and prepare the shapes before starting.
Choose the gift bag layout or the moving-mouth design before attaching the face.
More Reindeer Crafts and Christmas Activities
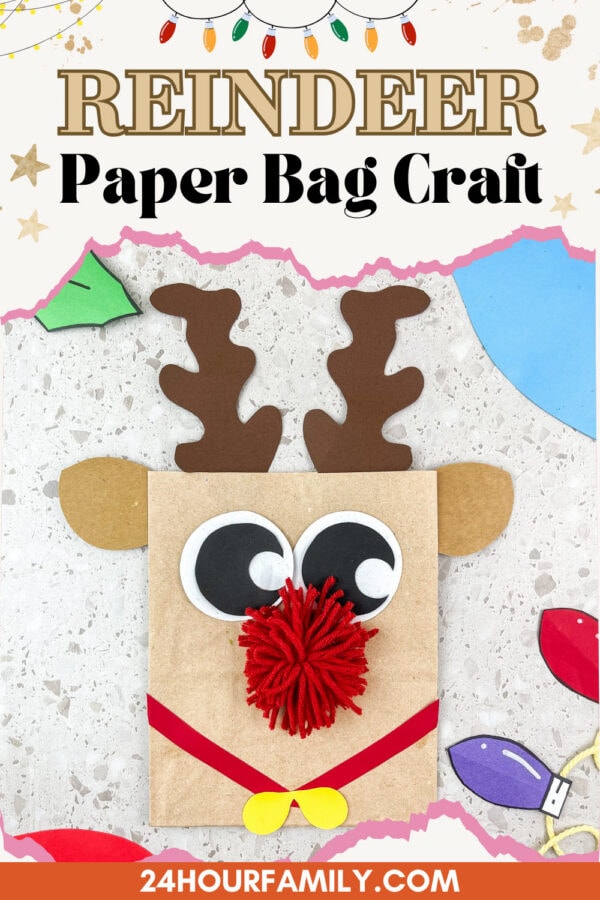
Keep the reindeer theme going with a reindeer toilet paper roll craft or a popsicle stick reindeer ornament.
For a party after crafting, play Pin the Nose on Rudolph. You can also browse our Christmas paper plate crafts for another project using everyday supplies.
Why Won’t My Reindeer Puppet’s Mouth Open?
Check for adhesive, tape, or other decorations bridging the bottom flap and body. The flap must lift freely. Attach the eyes and nose to the moving section, and keep the scarf below it.
Can I Make This Without Yarn?
Absolutely. A flat red circle makes a quick, lightweight Rudolph nose and works especially well for younger kids or classroom batches.
Is a Glue Stick or School Glue Better?
Use a glue stick for flat decorations. A small amount of school glue or suitable craft glue may hold yarn more effectively, but it needs time to dry. Test your chosen supplies before preparing a group project.
Can Children Make It Without a Template?
Yes. Draw simple ears and antlers, prepare white and black eye circles, and add a colored nose. The pattern is especially useful for children who prefer an outline or teachers preparing matching sets.
Can I Use the Same Bag as a Puppet and Treat Bag?
A decorated lunch sack can serve either purpose, but keep the layout and handling in mind. Empty it before pretend play, keep the flap movable, and use a food-safe inner liner for edible gifts. A separate container for each purpose will usually hold up better.
Reindeer Paper Bag Craft
Make an adorable paper bag reindeer puppet—perfect for holiday story time and pretend play. With the free reindeer template, kids print, cut, and glue antlers, ears, eyes, and a big red nose onto a lunch bag. Then, they add a cozy “scarf” and yarn accents. It’s quick to prep, great for fine-motor practice, and easy to customize for classrooms or family craft night.
Materials
- One brown lunch bag
- Reindeer template
- Brown, white, black, red, and yellow paper
- Red yarn or a red paper nose
- Glue stick
- Small amount of school or craft glue if using yarn
- Optional cardstock or tape
Tools
- Printer
- Pencil
- Scissors
- Black marker
Instructions
- Print the template at 100% scale and check its fit against your bag.
- Trace and cut the paper pieces.
- Choose the layout: opening at the top for a gift bag, or bottom flap facing up for a puppet.
- Attach the antlers and ears.
- Add white eyes and black pupils.
- Attach the red and yellow collar or bow details.
- Add a yarn nose with suitable glue or use a red paper circle.
- Let the glue dry before filling or playing.
Notes
Put the eyes and nose on the moving bottom flap. Keep the mouth opening free of glue and place the collar below it.
