
Ruth Bible Craft For Kids
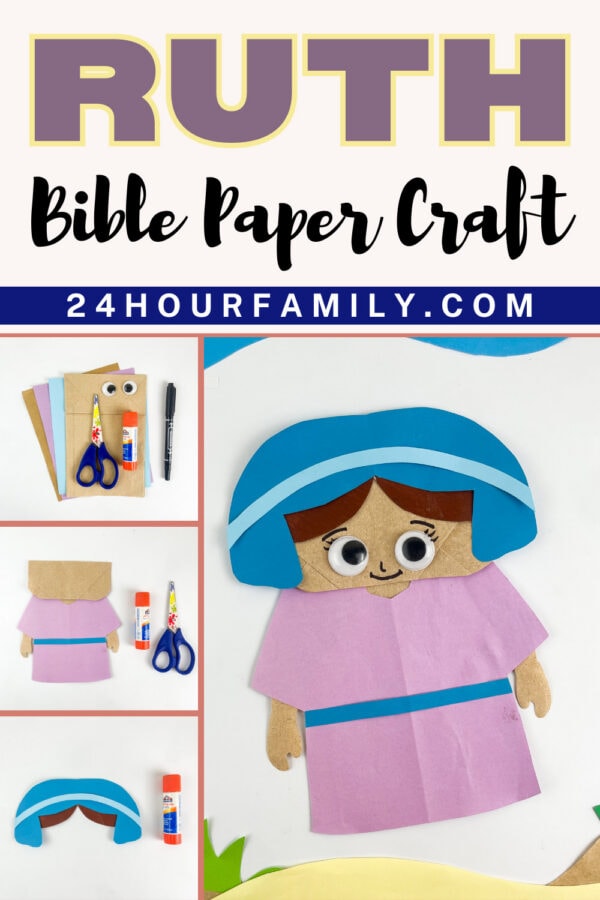
The story of Ruth gives children a beautiful example of loyalty, kindness, courage, and trust in God. This Ruth Bible craft for kids turns a simple paper lunch bag into a character puppet children can use to retell the story in their own words.
With the printable template, construction paper, and a few basic craft supplies, kids can create Ruth and then use their finished puppets during a Sunday school lesson, homeschool Bible study, or quiet activity at home. The movable paper bag mouth makes this project especially fun for storytelling and dramatic play.
What Is the Story of Ruth About?
Ruth was a woman from Moab who married into Naomi’s family. After both women experienced painful losses, Naomi decided to return to Bethlehem. She encouraged Ruth to remain in Moab, but Ruth chose to stay with her mother-in-law.
Ruth’s loving promise is recorded in Ruth 1:16:
“Where you go I will go, and where you stay I will stay. Your people will be my people and your God my God.”
In Bethlehem, Ruth worked hard gathering leftover grain in the fields so she and Naomi would have food. This practice was called gleaning. The field belonged to Boaz, who had heard about Ruth’s faithfulness to Naomi. He treated Ruth with kindness, made sure she was safe, and allowed her to gather plenty of grain.
Boaz later became Ruth’s kinsman-redeemer and married her. Their son, Obed, became the grandfather of King David. Ruth is also named in the family line of Jesus in Matthew 1:5.
For children, the story can be summarized simply: Ruth stayed faithful, worked diligently, showed love to Naomi, and trusted God even when she did not know what would happen next. God cared for Ruth and used her life as part of a much bigger plan.
Why Kids Will Enjoy This Ruth Paper Bag Puppet
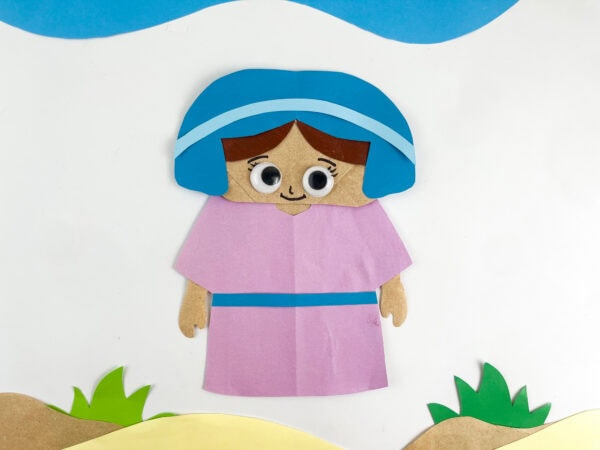
This Bible craft gives children something they can create, hold, and use after the lesson is over. Instead of making a project that is only displayed, children can move the puppet’s mouth and act out conversations between Ruth, Naomi, and Boaz.
It also helps children practice:
- listening and story sequencing;
- cutting, tracing, and gluing;
- fine motor coordination;
- imaginative play;
- speaking and retelling;
- connecting a Bible character with the lesson’s main idea.
The craft works especially well for preschool, kindergarten, and elementary-age children. Younger children may need an adult to pre-cut the smaller pieces, while older children can trace and assemble the entire puppet independently.
Get the Ruth Craft Template
Download and print the template before beginning. Print it at 100% or “actual size” so the pieces fit a standard paper lunch bag.
This post may contain affiliate links. As an Amazon Associate and a participant in other affiliate programs, I earn a commission on qualifying purchases. Read our disclosure policy here.
AJM Brown Paper Lunch Bags 40 Count Crafty DAB GLUES DAB N STIC SchoolElmer’s Disappearing Purple School Glue Sticks Washable 22 Grams 3 CountHuhuhero Kids Scissors, 5” Safety Toddler Scissor Blunt Tip with Cover, Small Craft Cutting Paper Scissors for Child Kid Age 4-7 8 9, Assorted Colors, 4 PackCrayola Construction Paper, 120 SheetsCrayola 587722 Non-Washable Markers, Broad Point, Classic Colors, 10/Set


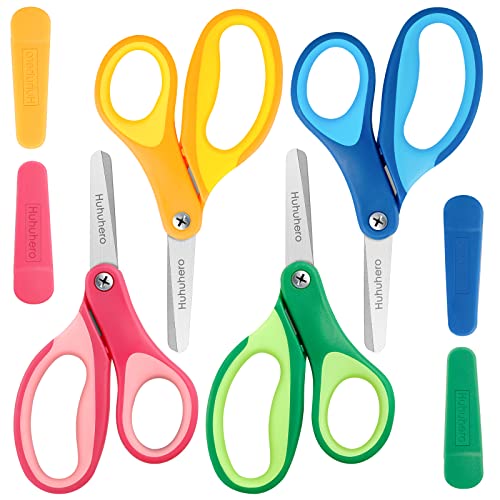


Supplies for the Ruth Bible Craft:
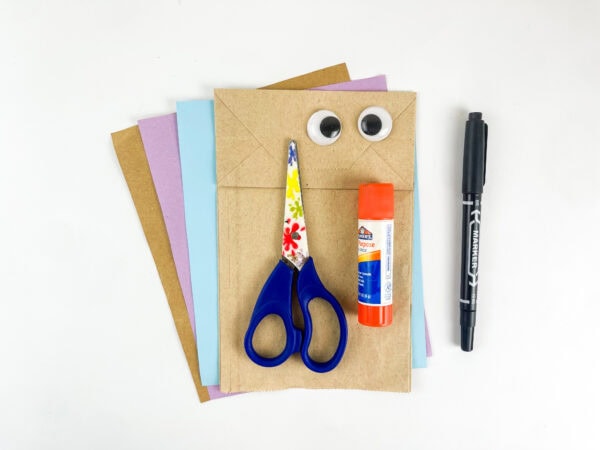
You will need:
- Free printable Ruth craft template
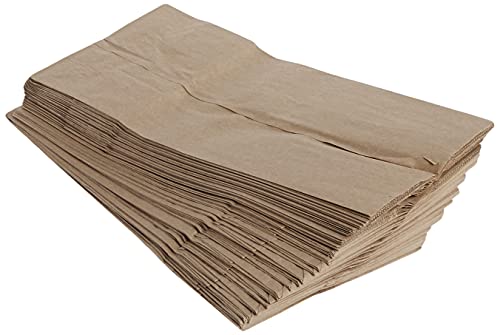
- One brown paper lunch bag
- Construction paper or cardstock
- Pencil
- Child-safe scissors
- Glue stick
- Two googly eyes
- Black marker
- Brown marker, crayon, or construction paper for Ruth’s hair
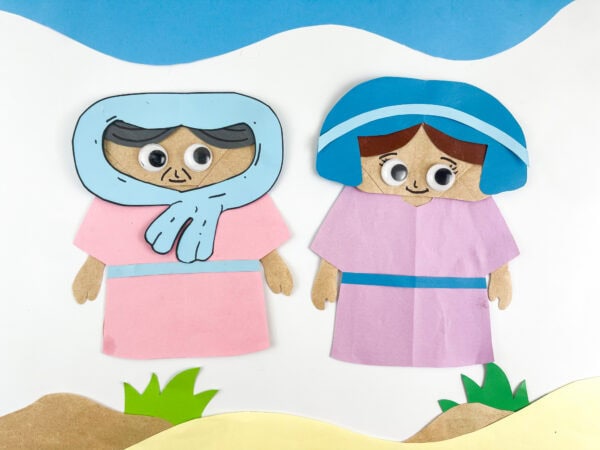
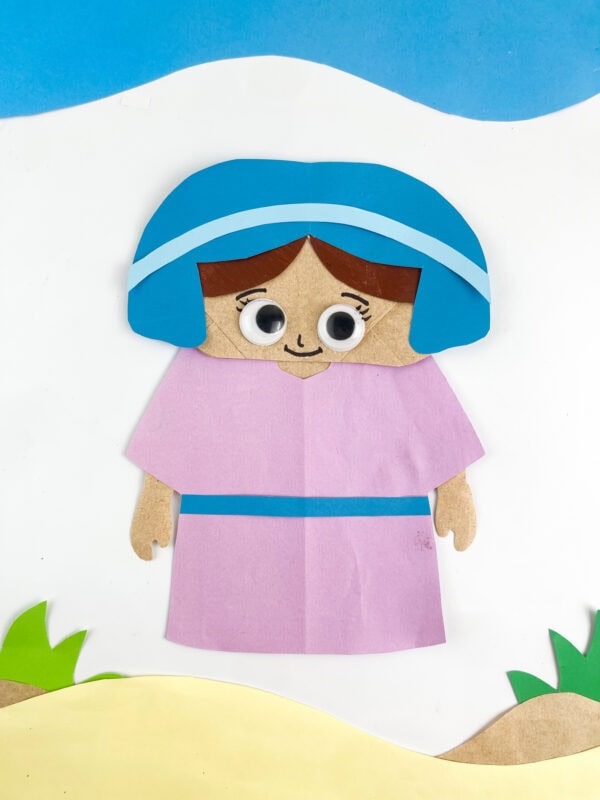
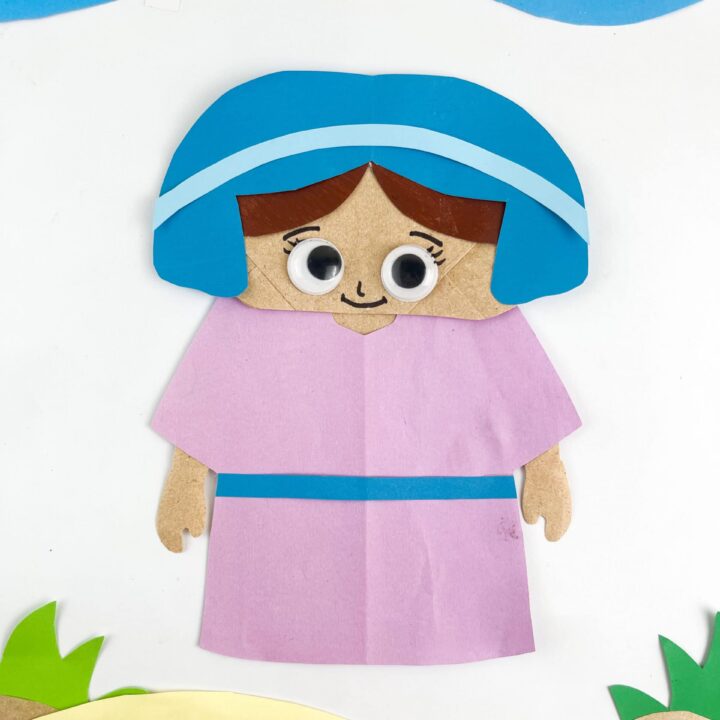
For the version shown in the photos, use kraft or tan paper for Ruth’s face and arms, purple paper for her dress, dark blue paper for her head covering and belt, light blue paper for the accent band, and brown for her hair. Children can also choose their own colors.
You can easily download and print the template before class so everything is ready to go.
How to Make the Ruth Bible Paper Bag Craft
Prepare the Pieces
Start by tracing the pattern pieces onto your chosen colors of paper. You can use soft colors like pink, blue, and brown, similar to the example shown.
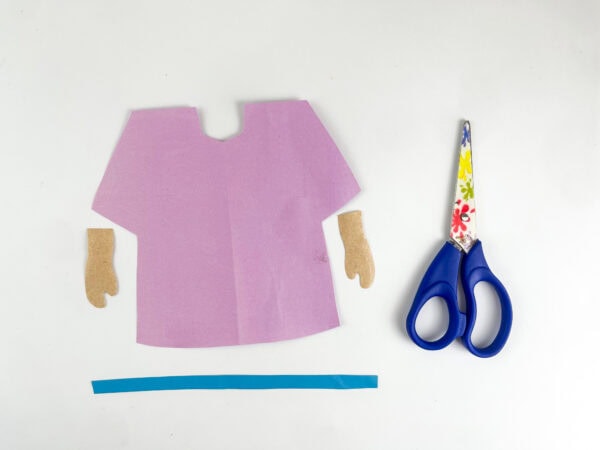
Carefully cut out the dress, hands, hair, head covering, and belt pieces.
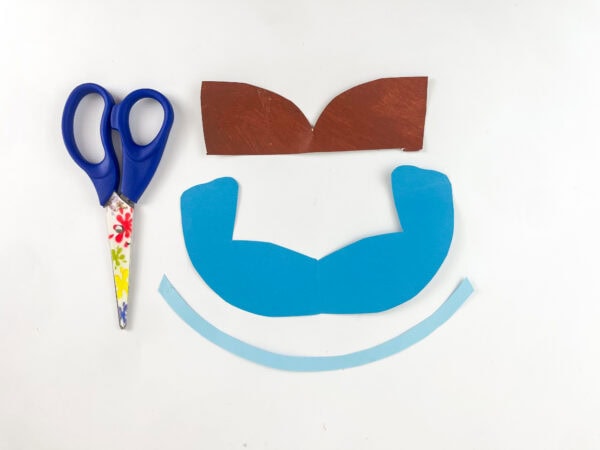
This step is perfect for older children, while younger learners may benefit from having the pieces prepared ahead of time.
Assemble Ruth’s Clothing
Take the dress shape and attach the hand pieces to the sides. Add the belt strip across the middle of the dress.
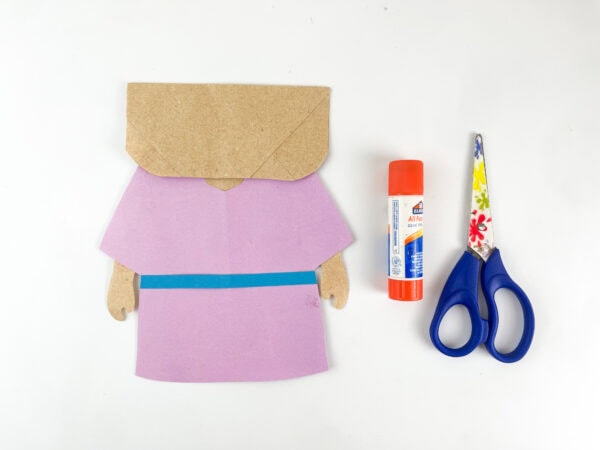
This is a great time to let children choose their favorite color combinations and personalize their puppet.
Create the Hair and Head Covering
Next, assemble Ruth’s hair and head covering. The bright blue head covering shown in the sample adds a beautiful touch, but kids can choose any color they like.
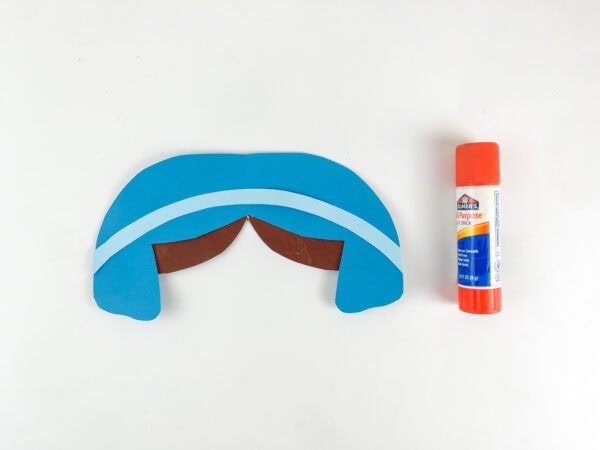
Attach the hair piece underneath the head covering using glue.
Attach Everything to the Bag
Place the dress onto the front of the paper bag and secure it in place.
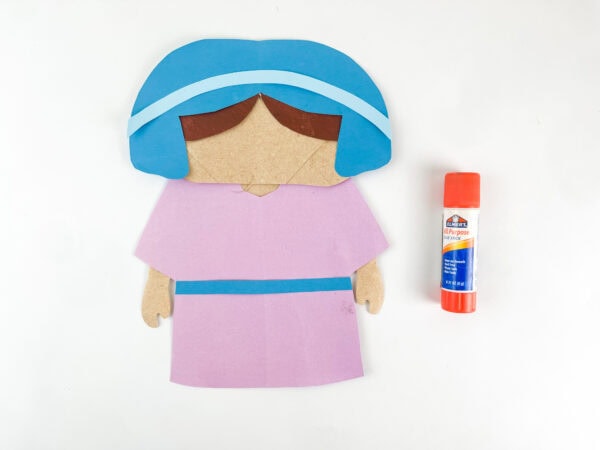
Then attach the completed head section to the top flap of the bag. When the flap moves, the puppet becomes more engaging and creates a simple 3D effect that kids love.
Add the Face
Attach the googly eyes and use a marker to draw the nose, eyelashes, and smile.
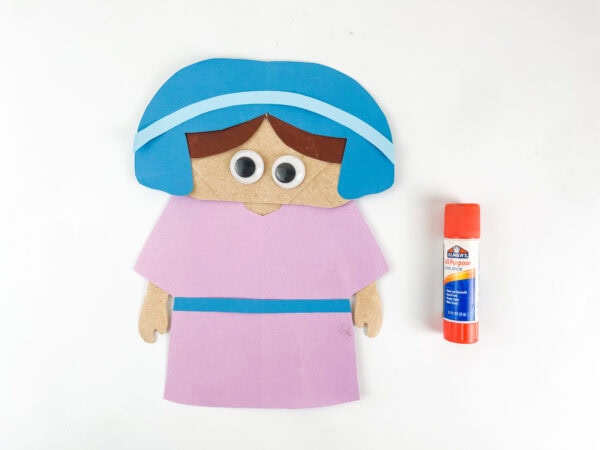
This is where the personality of each puppet really starts to shine.
Finish and Enjoy
Allow the glue to dry completely before using the puppet.
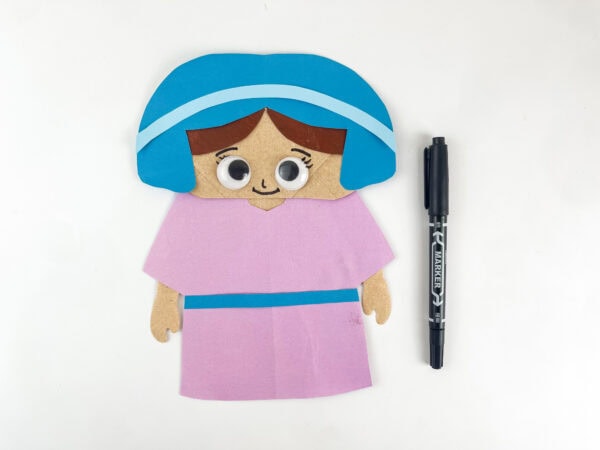
Now children can use their completed Ruth puppet to retell the story and share what they learned.
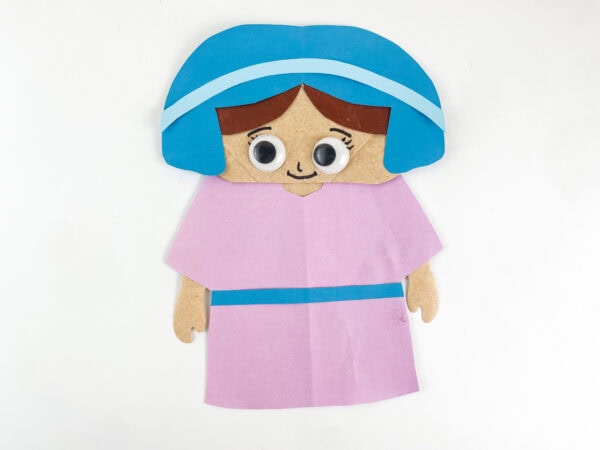
How to Use the Ruth Puppet in a Bible Lesson
After children complete their puppets, invite them to use Ruth’s character to retell important parts of the story. You could read a line of narration and let the children respond with Ruth’s words or actions.
Try these simple prompts:
- Naomi is returning to Bethlehem. What does Ruth decide to do?
- What does Ruth promise Naomi?
- How does Ruth help provide food for them?
- Who owns the field where Ruth gathers grain?
- How does Boaz show kindness to Ruth?
- What can we learn from Ruth about loving our families?
- How did God care for Ruth and Naomi?
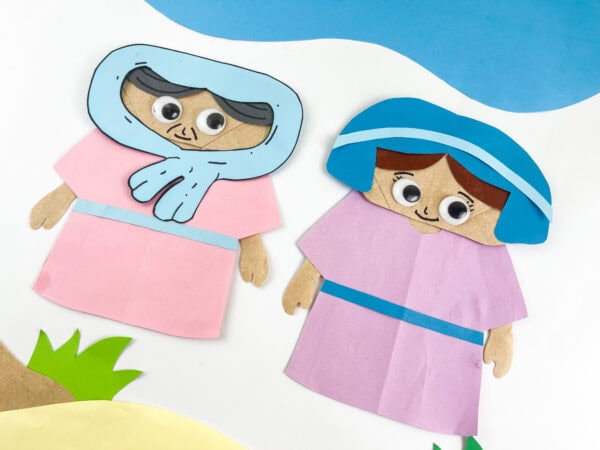
For a group lesson, make additional paper bag puppets for Naomi and Boaz. Divide children into small groups and ask them to act out Ruth 1 and 2. Younger children can repeat short phrases, while older students can plan a beginning, middle, and ending for their puppet show.
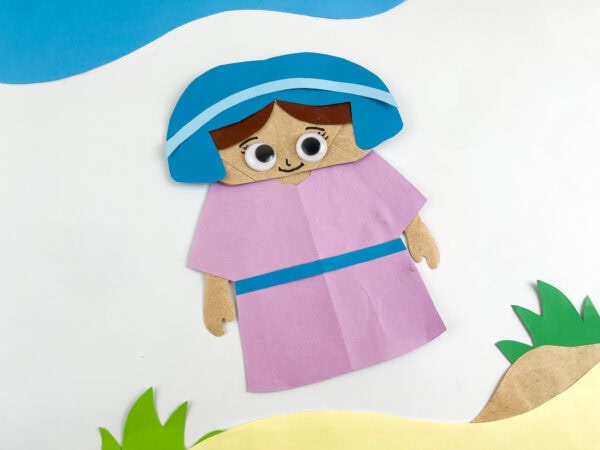
Ruth Bible Lesson Ideas for Kids
Main lesson
God is faithful, and we can show faithful love to others.
Ruth could not see how her story would end when she chose to remain with Naomi. She simply took the next faithful step. Her choices showed loyalty, compassion, courage, and a willingness to work.
Memory verse
Ruth 1:16 is the verse most closely associated with the story:
“Where you go I will go, and where you stay I will stay.”
For preschoolers, use the shortened phrase, “Where you go, I will go.” Let children make their puppets repeat the words one phrase at a time.
Character words
Write these words on a board and ask children how each one appears in Ruth’s story:
- loyalty;
- kindness;
- faithfulness;
- courage;
- hard work;
- family;
- provision;
- redemption.
Gleaning activity
Cut grain shapes from yellow or tan paper and scatter them around the room. Ask children to “glean” the pieces by gathering what has been left behind. Write one word from the memory verse on each piece, then work together to arrange the verse in the correct order.
Explain that gleaning meant collecting grain that remained after the harvesters had passed through a field. Ruth worked hard to gather food for herself and Naomi, and Boaz made sure she was treated generously and protected.
Kindness discussion
Give each child a paper grain shape and ask them to write or draw one way they can show faithful kindness this week. Ideas might include helping a family member, sitting with someone who feels alone, sharing, praying for a friend, or keeping a promise.
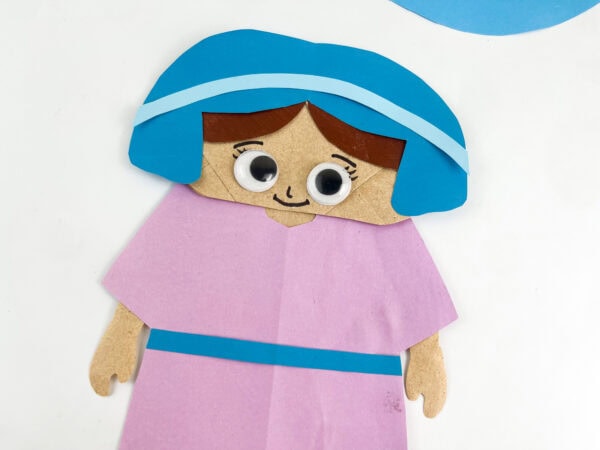
Age Adjustments
For toddlers and preschoolers
- Pre-cut the detailed pieces.
- Use glue dots or double-sided tape to reduce drying time.
- Replace googly eyes with large paper eyes.
- Focus on one main truth: “Ruth loved Naomi, and God cared for them.”
- Let children choose colors and attach the larger pieces.
For kindergarten through second grade
- Let children cut the template and trace the larger shapes.
- Read a short version of Ruth 1–2 before crafting.
- Practice Ruth 1:16 together.
- Use the completed puppets for a partner retelling.
For older elementary children
- Have students assemble the puppets independently.
- Read selected passages from all four chapters of Ruth.
- Discuss what a kinsman-redeemer was in the story.
- Ask children to identify moments of loyalty, kindness, provision, and redemption.
- Let small groups write and perform a short puppet-show script.
Tips for Making This Craft with a Group
- Print one template per child, or make several sturdy tracing sets from cardstock.
- Sort construction-paper pieces by color before class.
- Write each child’s name inside the bag before crafting begins.
- Place glue sticks, scissors, and markers in small supply bins for each table.
- Pre-cut the narrow headband and belt for younger children.
- Keep one completed Ruth puppet at the front of the room as a visual guide.
- Allow 20 to 30 minutes for assembly, depending on the children’s ages.
If class time is limited, trace and cut the paper pieces before the lesson. Children can focus on assembling the puppet and adding individual facial details.
More Bible Crafts and Printables for Kids
Continue your Old Testament lessons with these related activities:
- Bible Crafts and Printables
- Deborah Bible Craft
- Joshua Bible Craft
- Abraham Father of Nations Craft
- Armor of God Shoes of Peace Craft
- Armor of God Sword of the Spirit Craft
- Adam and the Garden of Eden Craft
This Ruth Bible craft for kids gives children a memorable way to explore one of the Bible’s most moving stories of love and faithfulness. As they cut, glue, and play with their paper bag puppets, they can remember that Ruth stayed beside Naomi, worked diligently, and trusted God one step at a time.
The finished puppet is more than a cute craft. It becomes a storytelling tool children can use to repeat the lesson, share it with their families, and remember that God can work through ordinary acts of loyalty and kindness.
What is the story of Ruth about?
The story of Ruth is about loyalty, faith, and God’s provision. After the death of her husband, Ruth chose to stay with her mother-in-law, Naomi, and travel with her back to Bethlehem. Ruth worked in the fields to gather food, eventually met Boaz, and became part of the family line of Christ.
What Age Range Works Best for This Craft?
This craft can be enjoyed by kids at different skill levels. Younger children, including preschool learners, may need help with assembly, while older kids can complete most of the project independently. It is a great addition to homeschool lessons, church programs, and Sunday school classes.
Can I use this craft in a Sunday school lesson?
Absolutely! This Ruth Sunday School craft pairs perfectly with a Bible lesson about Ruth’s loyalty to Naomi and God’s faithfulness. It can be used as part of your storytelling time, review activity, or small group discussion.
How does this craft help children learn the Bible?
Hands-on projects help kids connect with the lesson in a meaningful way. As they build their puppet, they learn about faithfulness, kindness, and trust in God. The completed puppet also gives them a fun way to retell the story and remember important details long after the lesson is over.
Can I use this craft with a preschool Bible lesson?
Yes! This project can easily be adapted for a preschool Bible class. Pre-cut the pieces ahead of time and focus on simple truths such as Ruth helping Naomi, trusting God, and showing love to others.
Ruth Bible Paper Bag Craft
This Ruth Bible Paper Bag Craft is a fun and simple way for children to create a favorite Bible character. Kids will enjoy assembling Ruth's outfit, hair, and face using easy-to-cut paper pieces. It also helps build cutting, gluing, and fine motor skills. The finished puppet is perfect for Bible lessons, storytelling, or imaginative play. It's a great activity for home, homeschool, or church.
Materials
- Printable Ruth craft template
- Brown paper lunch bag
- Construction paper or cardstock
- Two googly eyes
- Glue stick
- Black marker
Tools
- Pencil
- Child-safe scissors
Instructions
1. Cut Out the Craft Pieces
Trace and cut out all the pieces from the construction paper, including the dress, hands, hair, head covering, and belt. Place the pieces on your work surface so they're ready to assemble.
2. Assemble the Outfit
Glue the hand pieces onto the sides of the dress. Then attach the belt across the middle to complete Ruth's outfit.
3. Build the Head
Glue the hair underneath the head covering, making sure the pieces line up neatly. Press them down firmly before attaching them to the paper bag.
4. Attach Everything to the Bag
Glue the completed dress onto the front of the paper bag. Then attach the head section to the top flap so the finished puppet can move when the flap is lifted.
5. Add the Face
Glue the googly eyes onto the face. Use a marker to draw the nose, eyelashes, and a friendly smile.
6. Let It Dry and Display
Allow the glue to dry completely before using the puppet. Once finished, use it during Bible lessons, storytelling, or display it with other Bible character crafts.
