
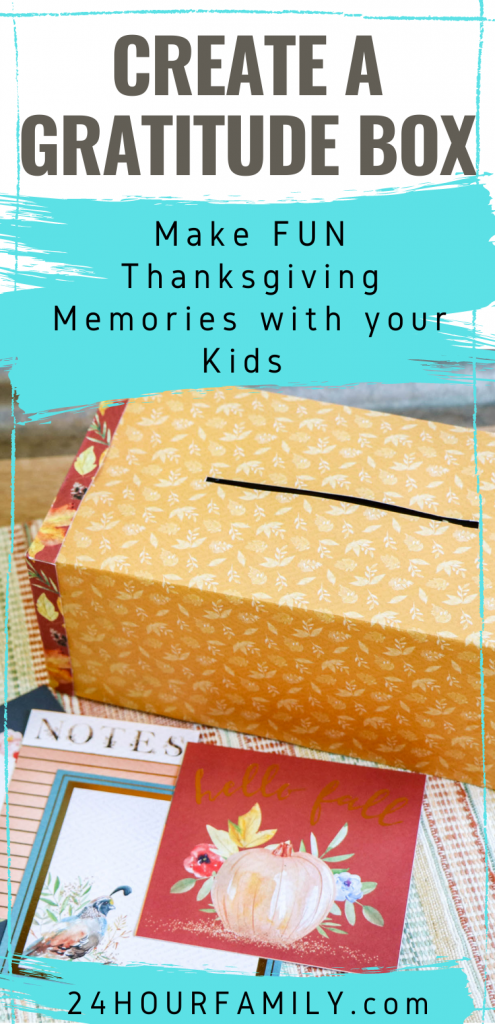
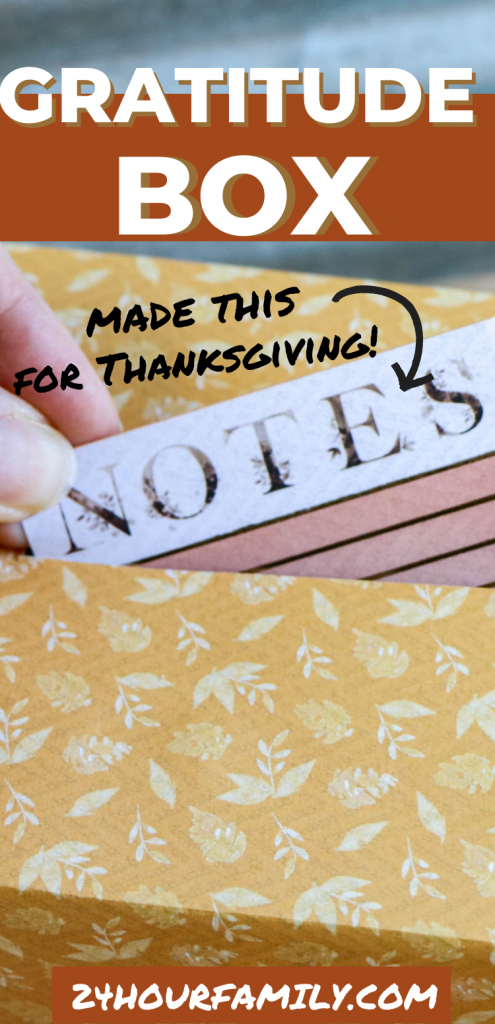
How to Create a Gratitude Box
If you need a Thanksgiving Craft idea for your family, this gratitude box will make the perfect family craft project. A gratitude box is a small or large box that you can place anywhere in the home.
Write the things you are grateful for each day on small pieces of paper, fold them, and put them in the box. By the time you fill the box and are getting ready to celebrate Thanksgiving with loved ones, you can go through the box and read aloud all the different things that you are grateful for in life.
How to Make a Gratitude Box
To make a gratitude box, you’ll need a few basic supplies. A small box is ideal, but you can use anything easy to decorate and personalize. Creating the box can be just as meaningful as using it, so take your time and make it your own.
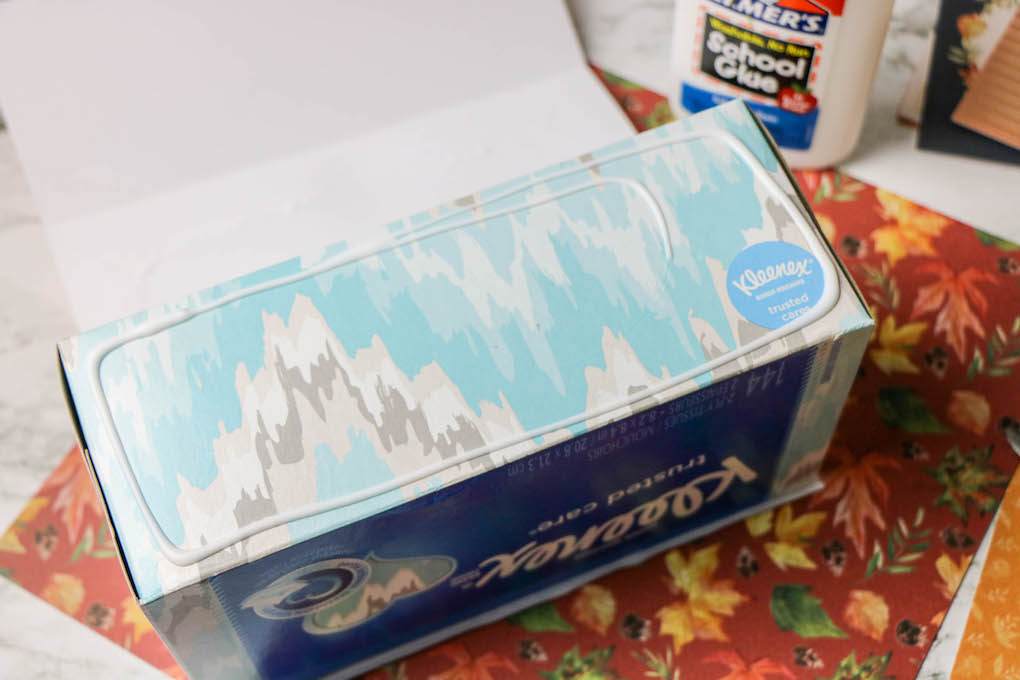
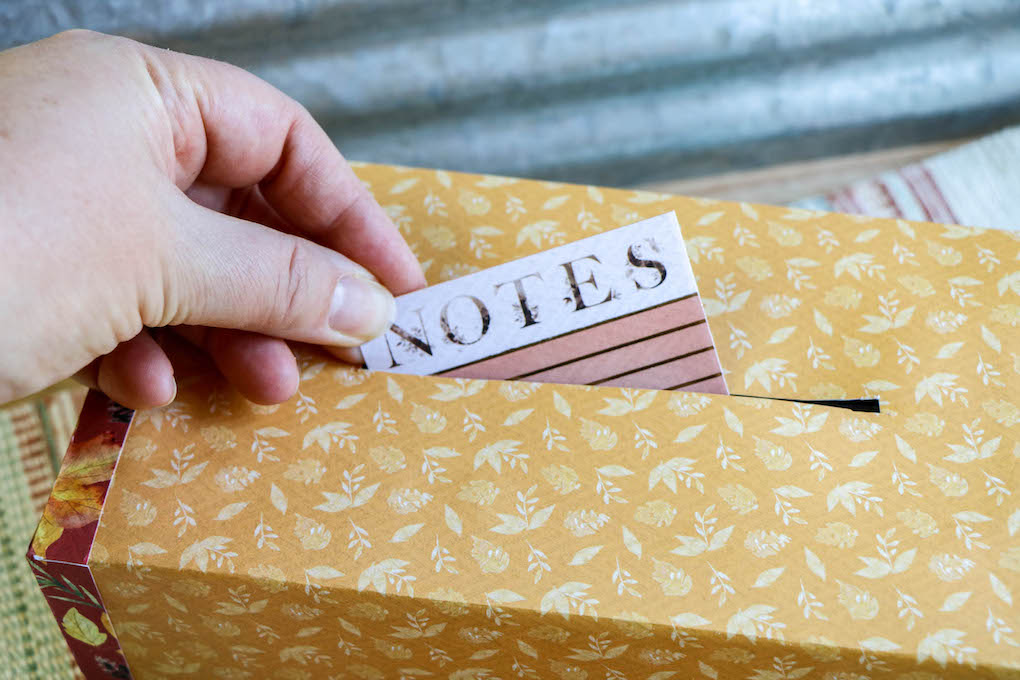
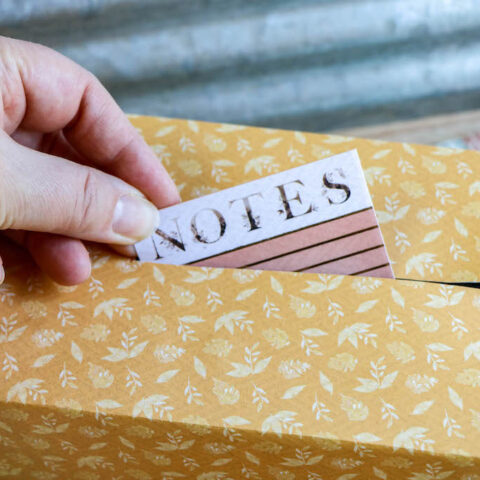
We used an old tissue box to create this gratitude box, but you could also use a shoe box. You can cover it with construction paper, leaving the slot open for all the small pieces of paper that will include your reasons for being grateful.
This post may contain affiliate links. As an Amazon Associate and a participant in other affiliate programs, I earn a commission on qualifying purchases. Read our disclosure policy here.
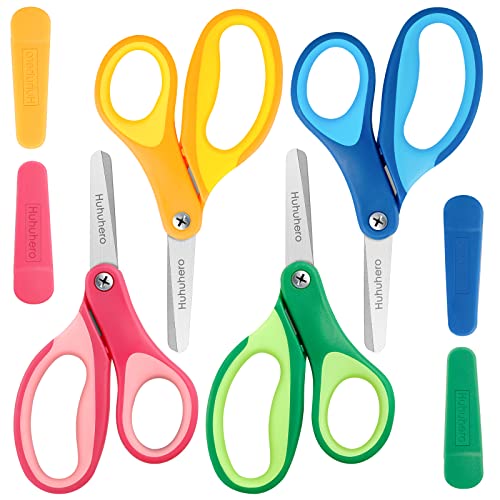
Tru-Ray Construction Paper, 10 Vibrant Colors, 9 Huhuhero Kids Scissors, 5” Safety Toddler Scissor Blunt Tip with Cover, Small Craft Cutting Paper Scissors for Child Kid Age 4-7 8 9, Assorted Colors, 4 PackElmer’s All Purpose School Glue Sticks, Acid-Free and Washable, Clear, 7 Grams, 30 Count – Ideal for Craft Projects, Scrapbooking, Classroom, Home, Office, Teacher Supplies, #1 Teacher BrandOrigami Paper Double Sided Color – 200 Sheets – 20 Colors – 6 Inch Square Easy Fold Paper for BeginnerCrayola Pip-Squeaks Washable Marker Set (65ct), Holiday & Christmas Gifts for Kids, Coloring Set, Art Supplies for Kids, Drawing & Craft Kit, Travel Activity, 4+Crayola Ultra Clean Fine Line Washable Markers (40ct), Colored Markers for Kids, Fine Tip, Coloring Book Art Supplies, Gifts for Kids, Ages 3, 4, 5


Suppose you do not want to cover the tissue box in construction paper. In that case, you can paint over it or glue on embellishments, such as artificial flowers and gemstones.
Supplies needed to make a gratitude box:
Tissue box or Shoe Box
Scrapbook paper (or Paint)
Scissors
Stickers or other embellishments, optional
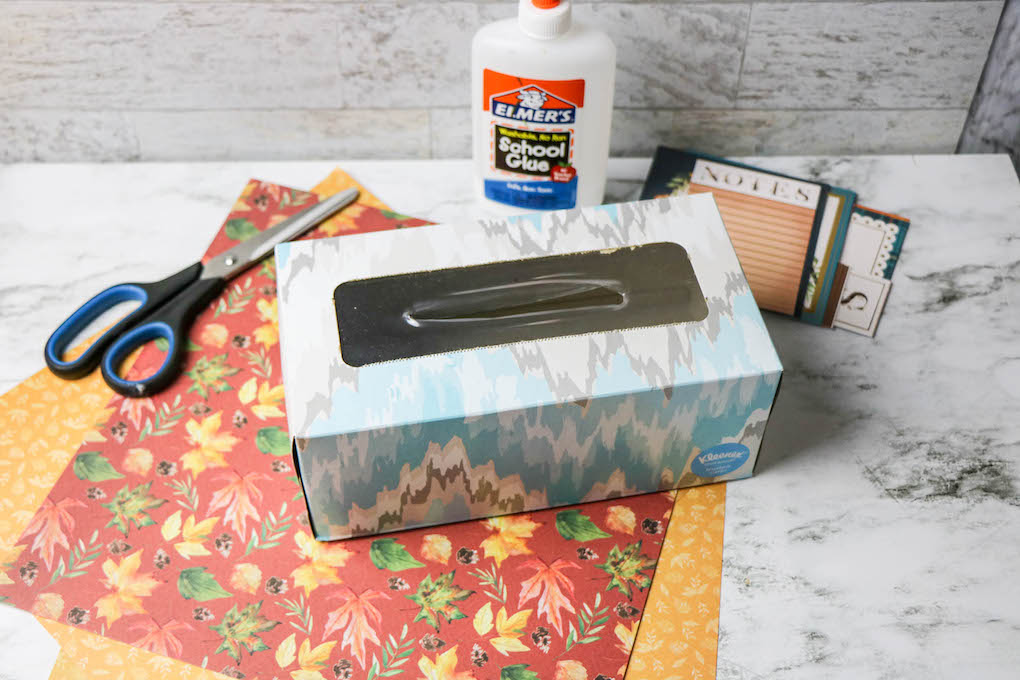
Lay the tissue box against the scrapbook paper to measure where to cut. Cut the scrapbook paper to fit. Cut a line through the scrapbook paper where the tissue box opening is located.
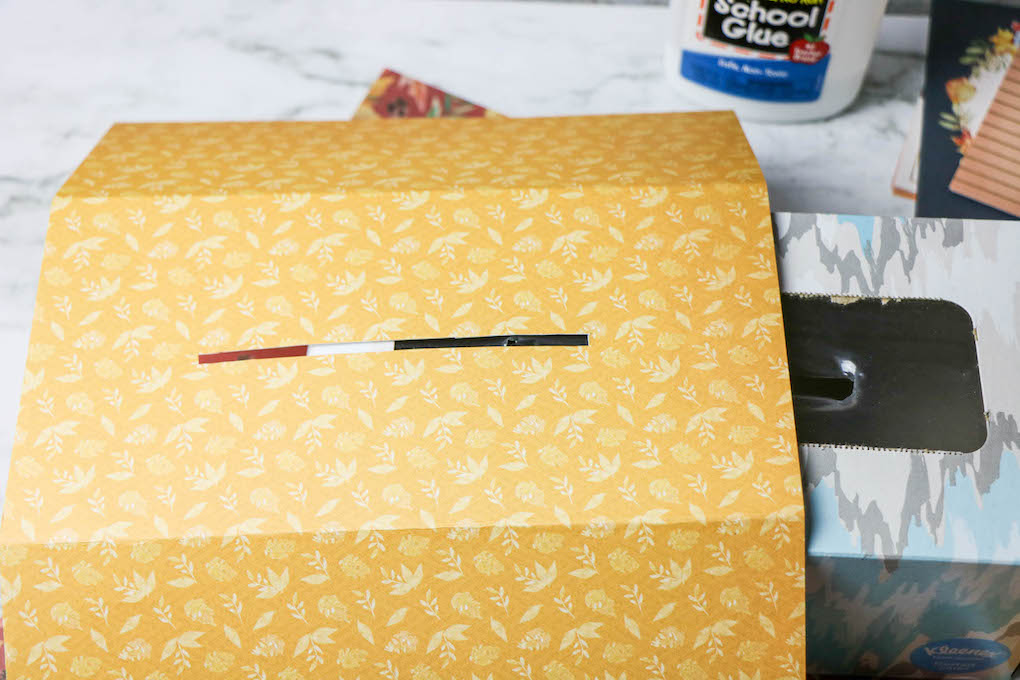
Glue the scrapbook paper into the tissue box and allow it to dry completely.
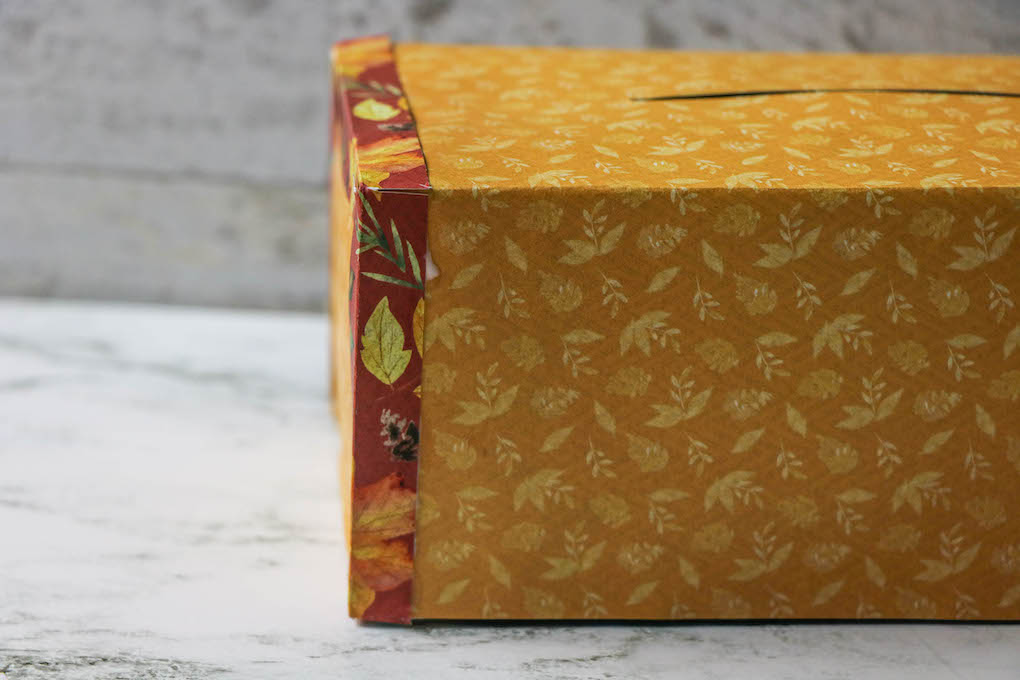
If desired, cover the edges where the scrapbook paper meets by cutting 1-inch strips from a coordinating scrapbook paper. Fold the paper strips in half to create a sharp edge. Glue the strips to the box’s corners and let them dry.
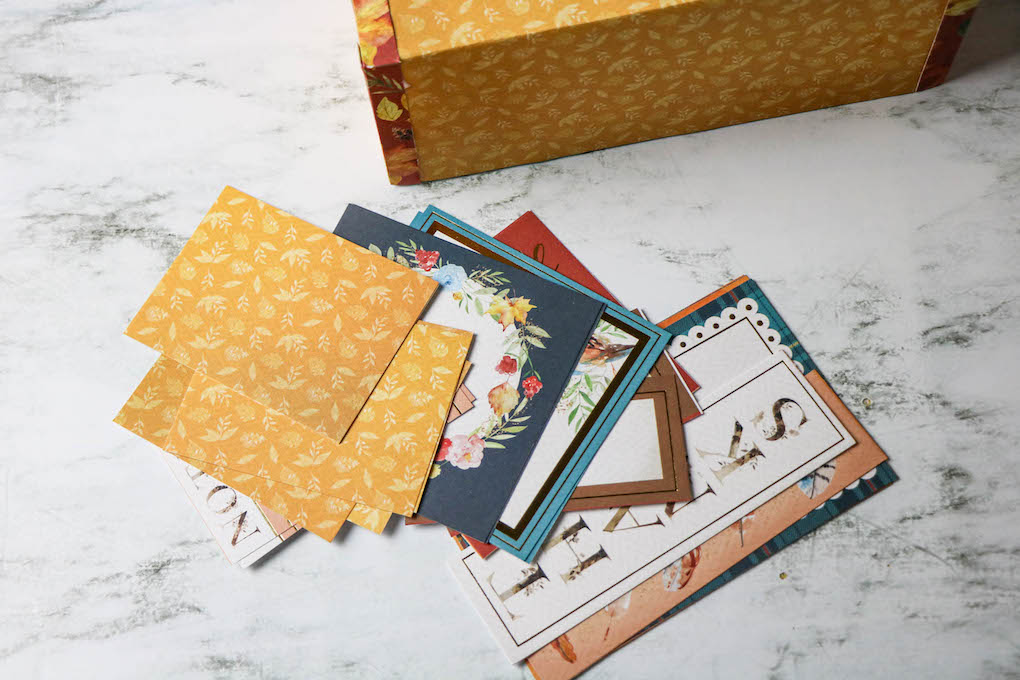
Decorate the box creatively with stickers or other decorations you prefer. Cut the remaining scrapbook paper into smaller pieces to use for notes.
To use, each day for a set number of days (i.e. each day from November 1st until Thanksgiving,) ask children to write down one thing for which they are thankful and place it into the Gratitude Box.
Optionally, on the last day, you can remove the notes and ask the children to guess who wrote which note.
More Thanksgiving Crafts and Printables:
Turkey Feather Craft Using a Raisin Box
Pumpkin Life Cycle Worksheets (Free Printable)
21 Free Christian Thanksgiving Coloring Pages
More ideas that would work when making a Gratitude Box:
And here is a fun idea for an Easy Gratitude Game you can play as a family. A gratitude game can provide many benefits, including promoting positivity, improving relationships, enhancing empathy, encouraging mindfulness, fostering gratitude, and serving as a fun, engaging activity for the entire family.
Painted Mason Jars
Mason jars work perfectly as gratitude boxes. While they are not boxes, you can still paint and decorate them to make them look even prettier.
You may need to use a knife to cut a slit in the lid of these mason jars, giving you an easy, convenient way to put your small notes into the jar.
If you are going for a fall theme with your mason jars, you can cover them with colorful artificial leaves and tie ribbon around their lids. And check out this adorable Mason Jar Reindeer Craft!
What to Put in Your Gratitude Box
Each day, you can put something else you are grateful for in the gratitude box. These are a few of the things you may be genuinely thankful for:
- Loving family
- Good friends
- Steady, reliable job
- Food to eat
- A comfortable home
Of course, you can add anything you want and anything you’re most grateful for on a note, and put it in your gratitude box.
How to Use a Gratitude Box
Daily Gratitude Practice
Using a gratitude box can be an effective way to cultivate a daily gratitude practice. Each day, take a few moments to reflect on what you are grateful for and write it down on a small paper. These can be simple things like a delicious meal, a kind gesture from a friend, or a beautiful sunset.
Once you have written down your gratitude note, fold it and place it in the gratitude box. This simple act of gratitude can help you focus on the positive aspects of your life and increase your feelings of happiness and contentment.
Reviewing Gratitude Notes
The Thanksgiving season is perfect, so take some time to review the gratitude notes in your box. This can be a powerful way to reflect on the good things in your life and see gratitude patterns over time.
Using a gratitude box can be a simple and effective way to cultivate a daily gratitude practice and increase feelings of happiness and contentment. By taking a few moments to reflect on what you are grateful for and storing those notes in a gratitude box, you can create a powerful tool for cultivating a positive mindset.

Remember that gratitude is a mindset that can be developed with practice. Incorporating a gratitude box into your daily routine can shift your perspective and experience more joy and contentment.
Consider these ideas when you want to create a gratitude box. Making one of these boxes is an excellent way for you and your loved ones to show thanks for all the beautiful things you all have in life.
How to Make a Gratitude Box
Looking for a heartwarming Thanksgiving craft to bring your family together? Look no further than the Gratitude Box!
Materials
- A recycled tissue or shoe box
- Scrapbook paper
- Adhesive tape or glue
- A pair of scissors
- Embellishments like stickers
Instructions
- Start by laying the tissue box flat on the scrapbook paper to get a feel for the dimensions. Take your time to ensure it's positioned just right. Once you've got your measurements, grab some scissors and carefully cut the scrapbook paper to fit the size of the tissue box. Locate the opening of the tissue box on the scrapbook paper and cut a neat line through the paper.
- Grab your trusty glue and carefully apply it to the back of the scrapbook paper. Press the scrapbook paper into the tissue box with steady hands, ensuring it adheres evenly to all sides. Once the scrapbook paper is in place, it's time to let our Gratitude Box dry completely.
- To add a polished finishing touch to our gratitude box, we can cover the edges where the scrapbook paper meets. Grab some coordinating scrapbook paper and cut 1-inch strips. Fold each paper strip in half to create a sharp edge. Using your trusty glue, carefully apply it to the corners of the box where the scrapbook paper meets. Then, gently press the folded paper strips into place.
- Gather up your favorite stickers, embellishments, or any other decorations you have on hand. This is your chance to personalize the box and make it uniquely yours! Once you're satisfied with the decorations, it's time to use the remaining scrapbook paper. Cut it into smaller pieces to use as note cards for writing messages of gratitude.