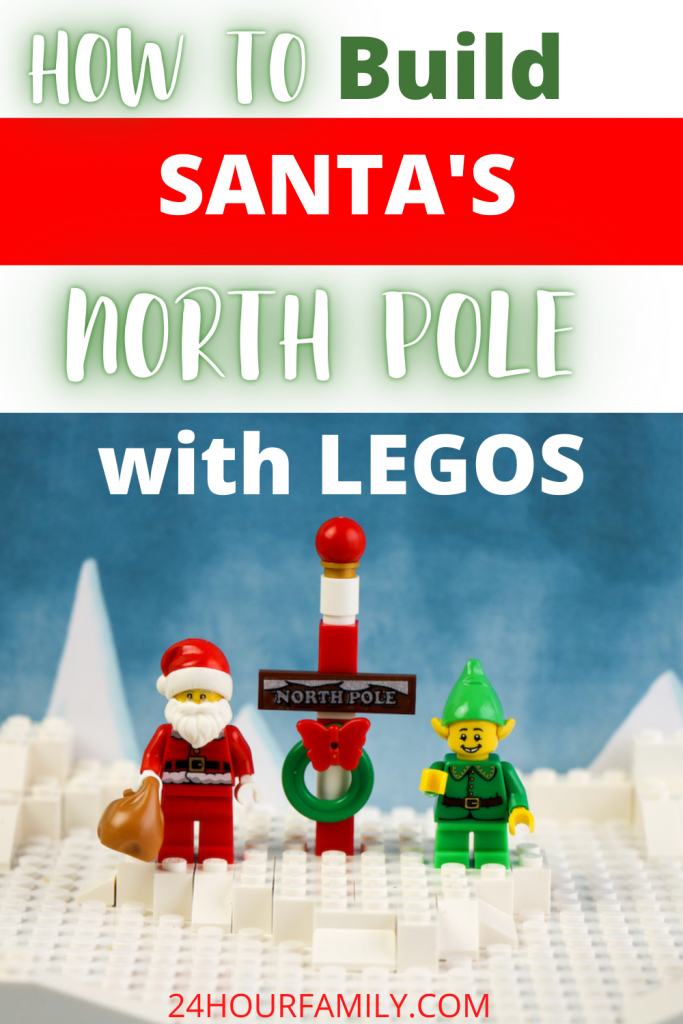
How to Build a LEGO North Pole
If your children enjoy playing with LEGOs, you can teach them how to build a Lego North Pole with these building blocks. There is nothing quite as exciting as replicating the design of the North Pole and Santa’s workshop. This LEGO North Pole set up rocks!
When the holiday season approaches, I look for fun and creative ways to get crafty with my kids. The children enjoy playing with Lego sets and look forward to building something new and different, so they were naturally excited to learn how to build a LEGO North Pole. It requires step-by-step instructions and takes a bit of time, but it is a fun way to spend time with the children while getting them excited for Christmas. For building ideas, check out more Lego Crafts ideas here.

Why You Should Build a North Pole?
Creating the LEGO Santa workshop excites children because they envision what they would expect the North Pole to look like, especially around Christmas when Santa, Mrs. Claus, and all their elves are working around the clock to get ready to bring the children gifts. You can’t go wrong making this LEGO North Pole!
Whether your children still believe in Santa Claus, they can enjoy putting together the North Pole with LEGO Santa. This activity keeps the kids busy while improving fine motor skills and helping with concentration. It is one of those activities that you can do together.
How to Build a LEGO North Pole
Follow these simple instructions if you want to build the North Pole and LEGO Santa Claus. You may want to let each child help with certain parts of the building process to create Santa’s workshop design. The first thing you need to do is make sure that you have the following items to help with building the LEGO North Pole:
This post contains affiliate links, which means I receive commissions for purchases made through the links in this post at no cost to you. Read my disclosure policy here.
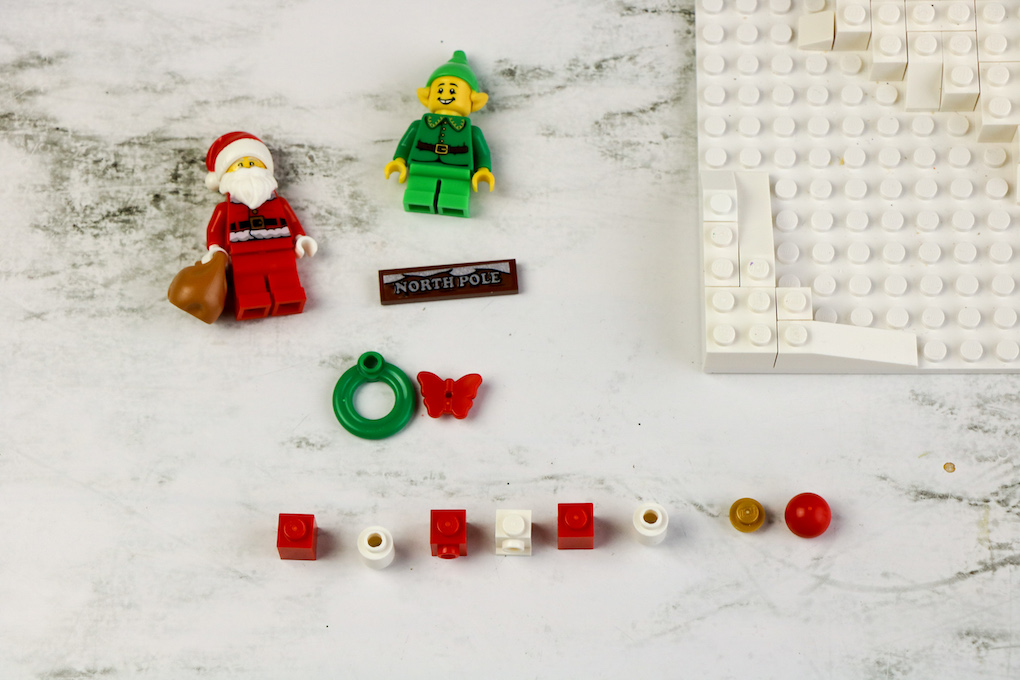
Materials Needed to Build a Lego North Pole:
Santa and Santa’s Elves Minifigures
Green round Wreath
Brown Flat Plate
Red Bricks
Gold Bricks
Assorted Bricks in Different Colors
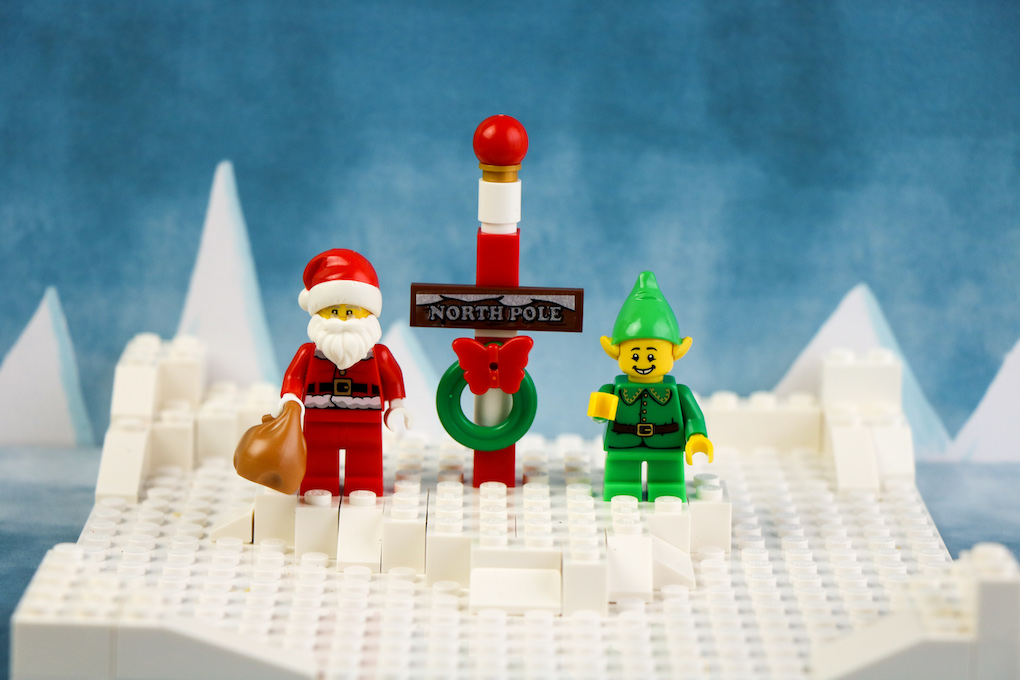
Building Santa’s workshop should be relatively easy if you have these components. The steps involved include setting up your white base plate and placing bricks in a specific order to create what appears to be the North Pole. For example, you will use a gold brick as the doorknob to the workshop and place the green round wreath on the front of the structure you create with your bricks.
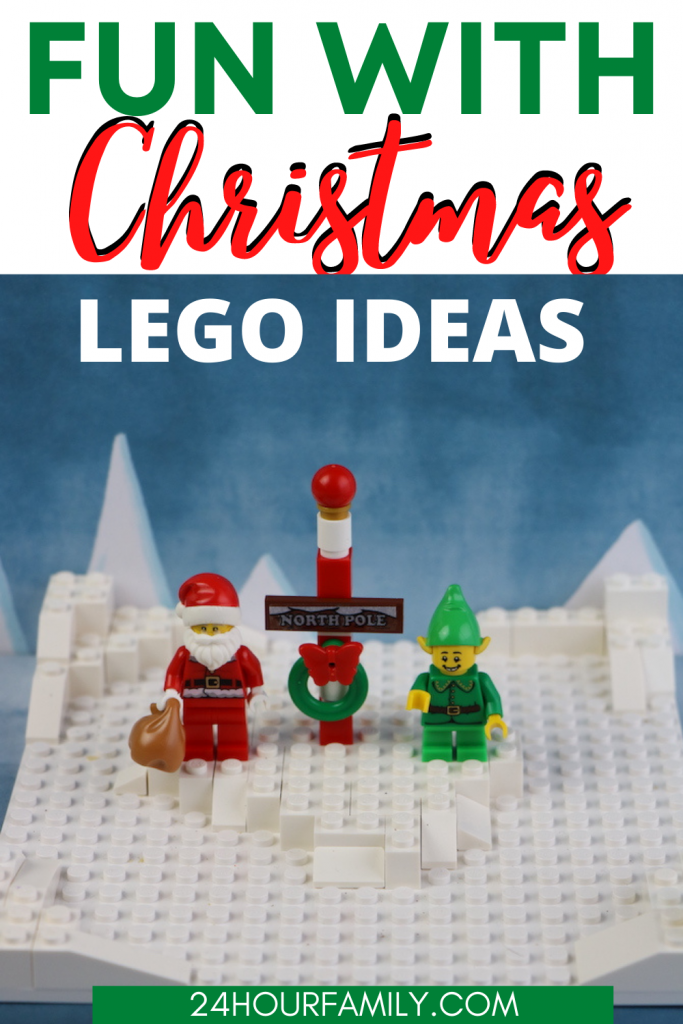
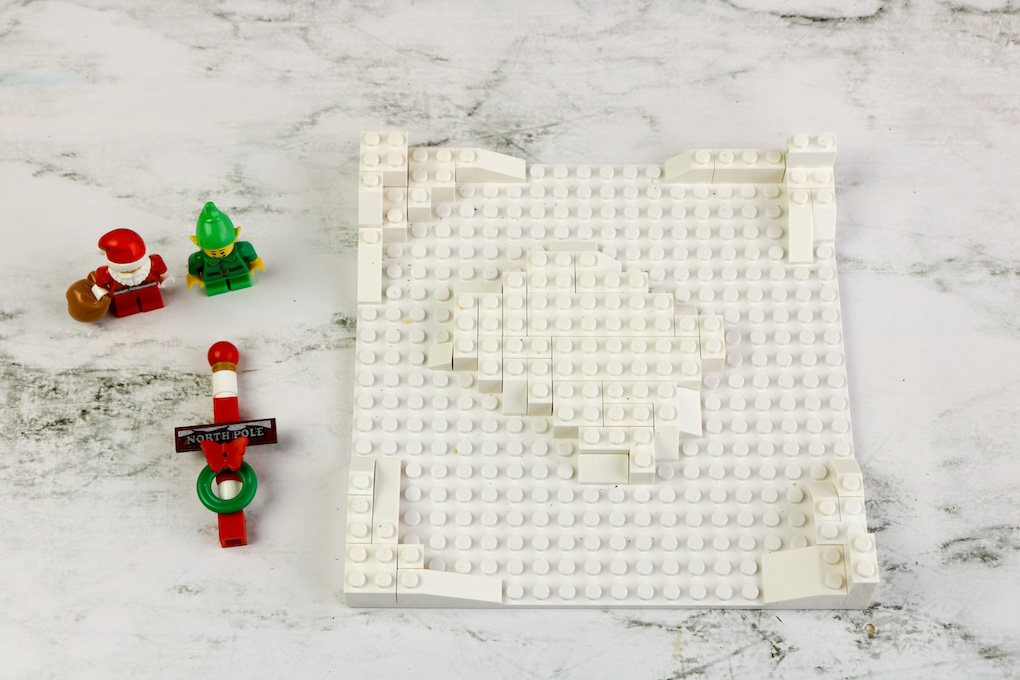
Create a winter landscape on the white base plate using various white bricks.
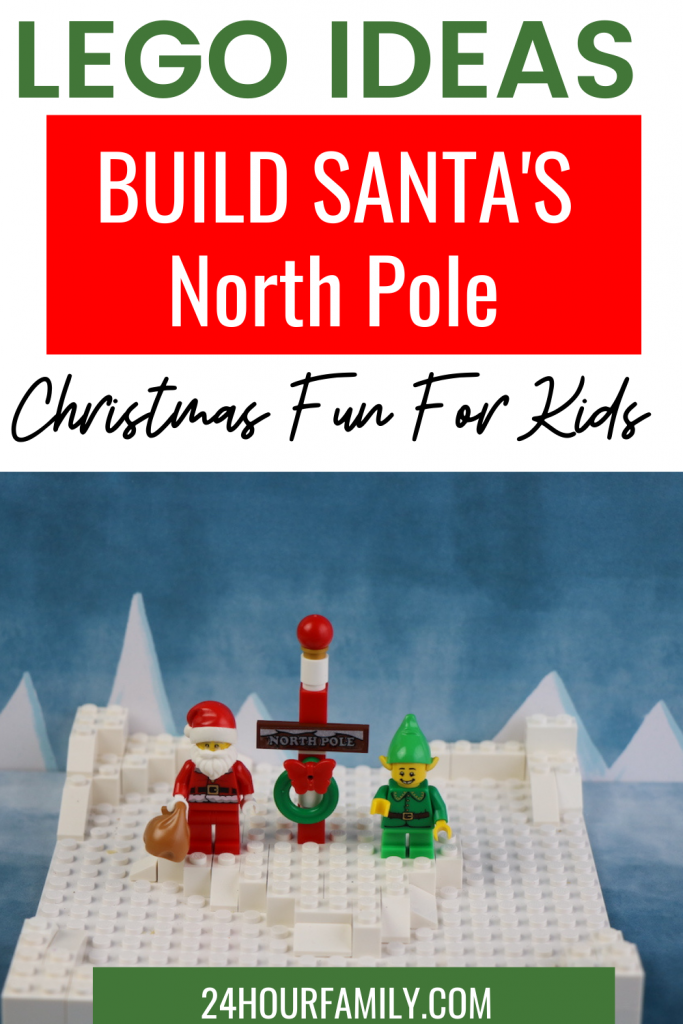
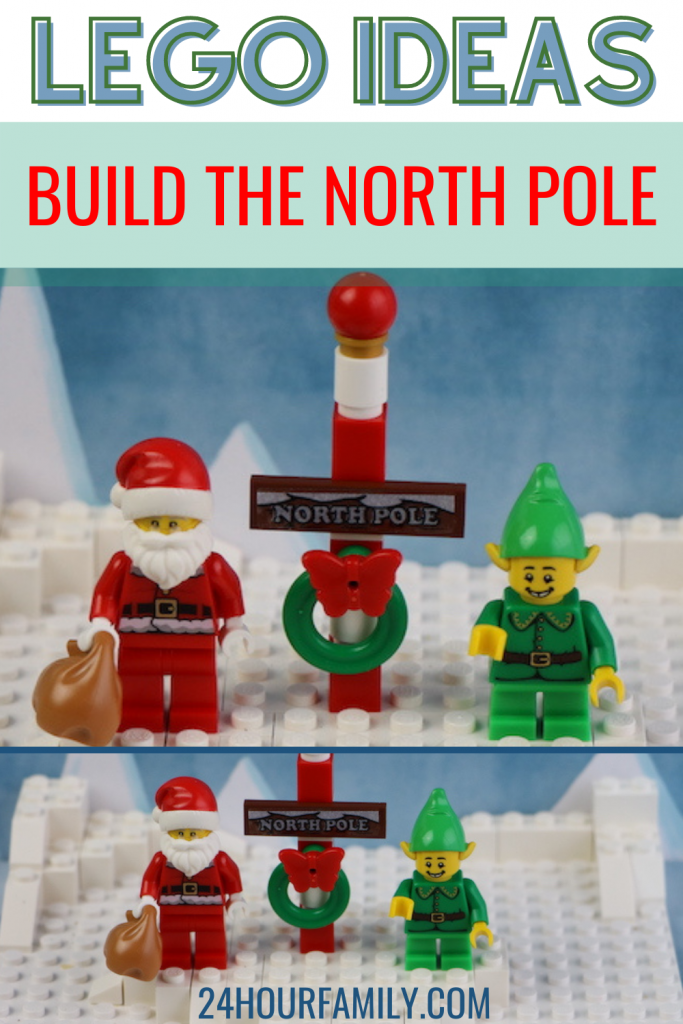
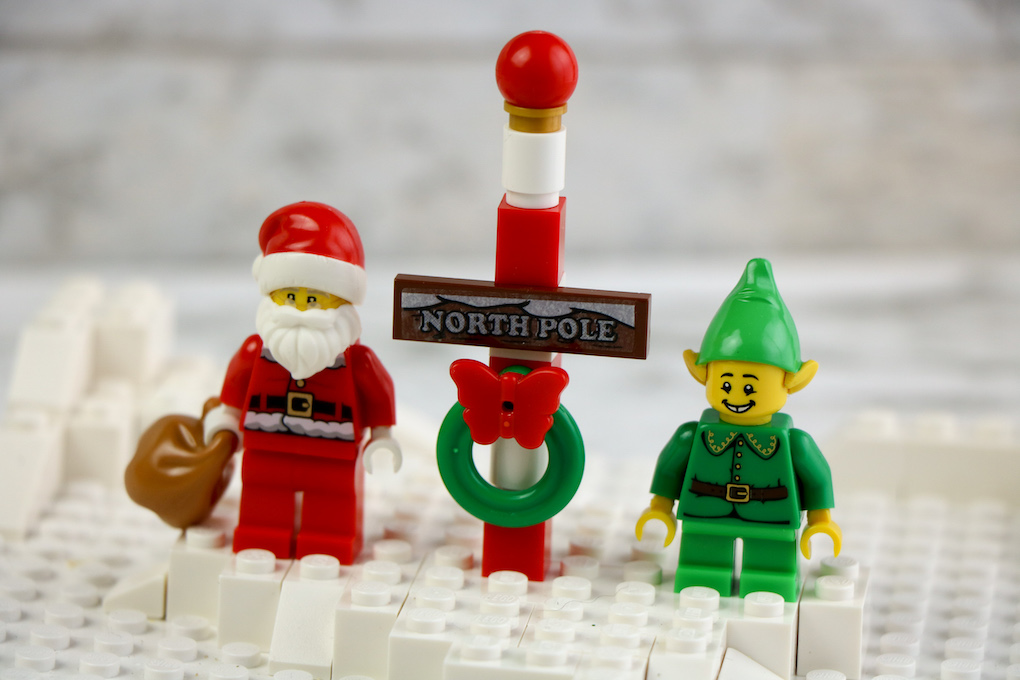
In the middle of the landscape, create a pole of bricks in this order from bottom to top: 1 red 1×1 brick, 1 white 1×1 round brick, 1 red 1×1 brick with knob, 1 white 1×1 brick with knob, 1 red 1×1 brick, 1 white 1×1 round brick, 1 gold 1×1 round plate, and 1 red 1×1 round ball.
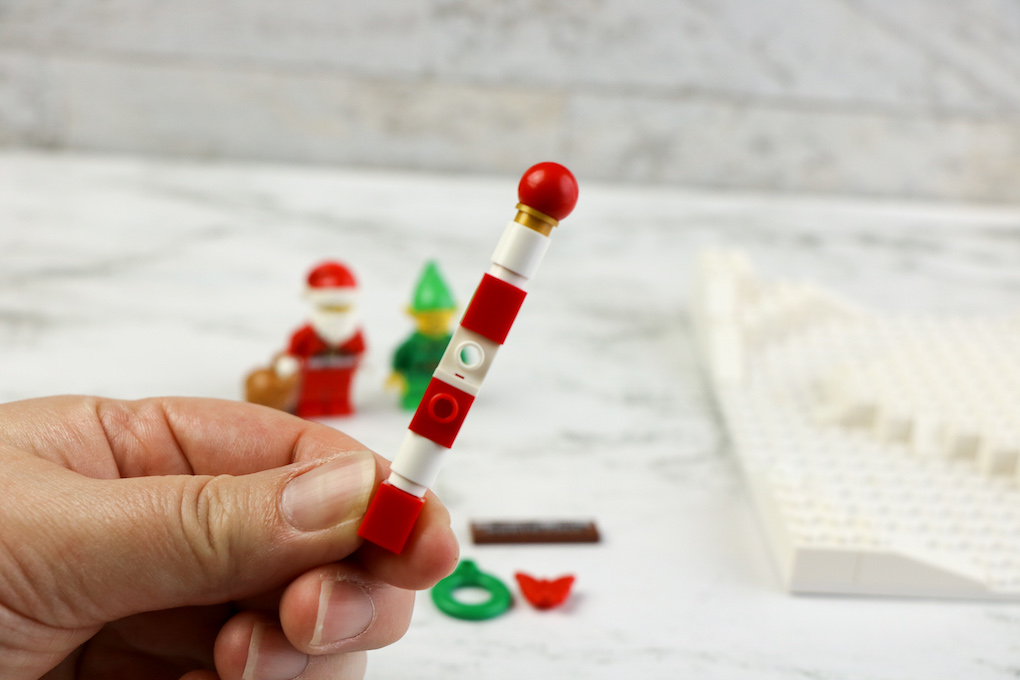
On the front of the pole, attach the sign over the white 1×1 brick with a knob and the wreath over the red 1×1 with the knob. Press the red bow/butterfly over the wreath.
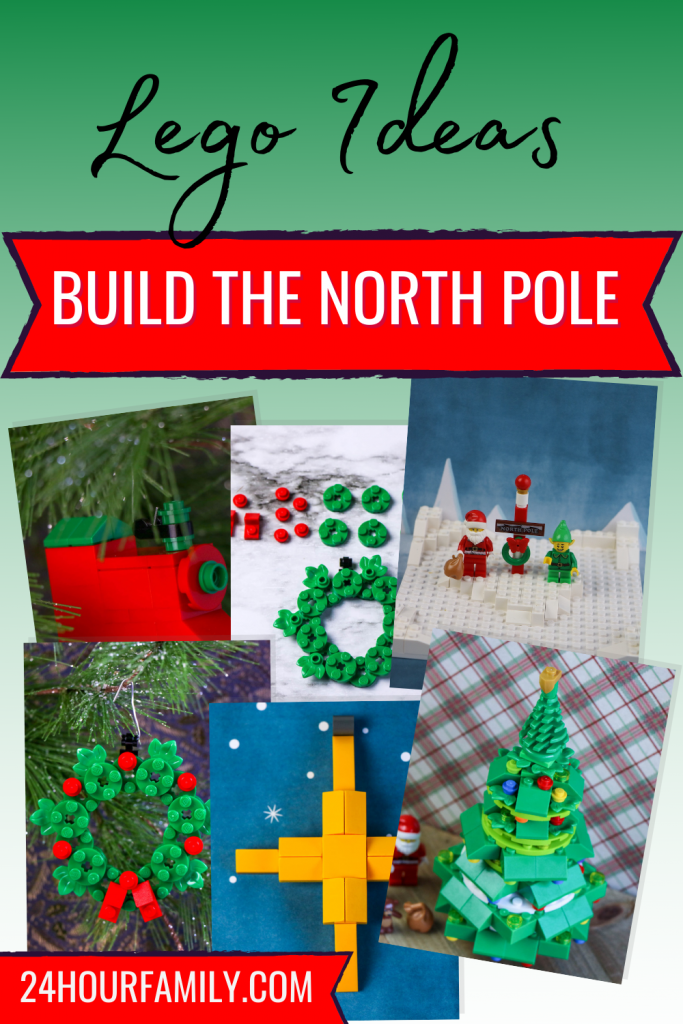
More Lego Building Activities:
You can do several things with your bricks after building the North Pole with your bricks. You can use it for decorative purposes during the holiday season. Some people like to put these fun pieces on shelves and windows to show people their creative pieces associated with the holiday season.
Your children might want to play with these newly constructed LEGO creations. You can encourage your children to use their imaginations while playing with the Santa Claus and mini elf figurines and using the LEGO North Pole as their home. Build as many of these as you would like to have at home. Once you build the LEGO North Pole, you will easily have no problem creating more of them.
How to Build a LEGO North Pole
Step by Step instructions on how to build a North pole this Christmas with building bricks.
Materials
- 1 Santa minifigure
- 1 Elf Minifigure
- 1 white base plate
- Various white bricks and roof tiles to create a winter landscape
- To create the North Pole:
- 1 red butterfly or bow brick
- 1 green round wreath or lifesaver brick
- 1 brown 1x4 flat plate (with “North Pole” text)
- 2 red 1x1 bricks
- 1 red 1x1 brick with knob
- 2 white 1x1 round bricks
- 1 white 1x1 with knob
- 1 white round 1x1 round brick
- 1 gold 1x1 round plate
- 1 red 1x1 round ball
Instructions
Create a winter landscape on the white base plate using various white bricks. In the center, build a pole with bricks in the following order from bottom to top: a red 1x1 brick, a white 1x1 round brick, a red 1x1 brick with a knob, a white 1x1 brick with a knob, a red 1x1 brick, a white 1x1 round brick, a gold 1x1 round plate, and a red 1x1 round ball. Attach the sign to the front of the pole over the white 1x1 brick with a knob, and place the wreath over the red 1x1 brick with a knob. Finally, press the red bow or butterfly over the wreath.