
Moses Parts the Red Sea Craft: A 3D Paper Plate Bible Craft Kids Will Love
Few Bible miracles capture a child’s imagination quite like the moment God parted the Red Sea for Moses and the Israelites. This Moses Parts the Red Sea Craft gives children a hands-on way to explore that unforgettable event while creating a fun 3D project.
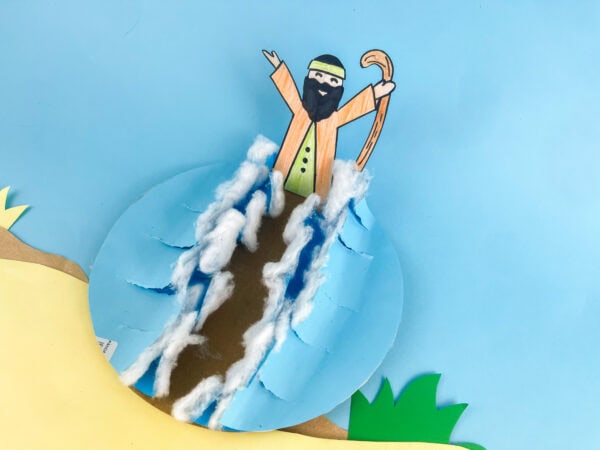
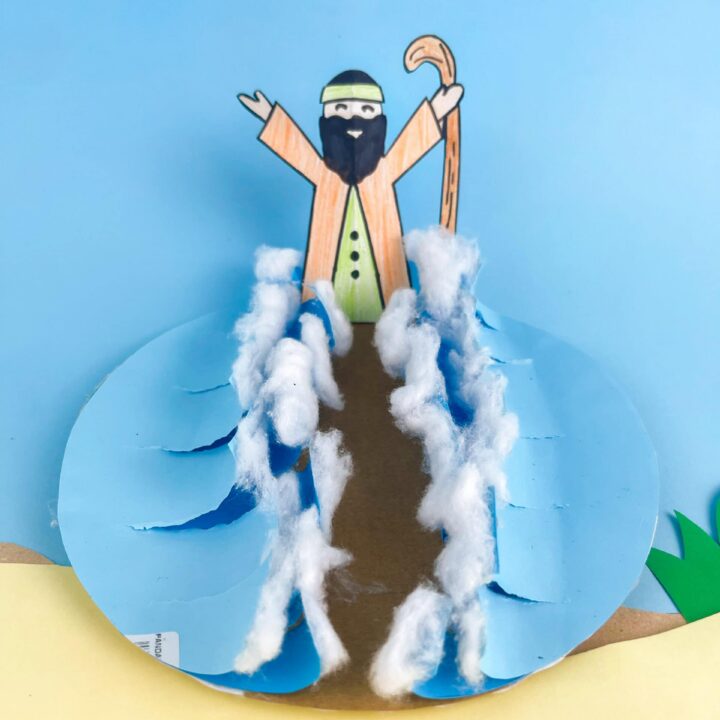
This Moses and the Red Sea craft turns Exodus 14 into a hands-on, 3D scene: a paper-plate base, curled paper waves, soft cotton foam, and a hand-colored Moses standing on dry ground, his staff raised high.
It’s one of my favorite Bible crafts for Sunday school, homeschool, and VBS because it’s simple enough for little hands but detailed enough that kids feel proud of the finished project.
As they build the craft, they can learn about God’s power, His protection, and the importance of trusting Him through every challenge.
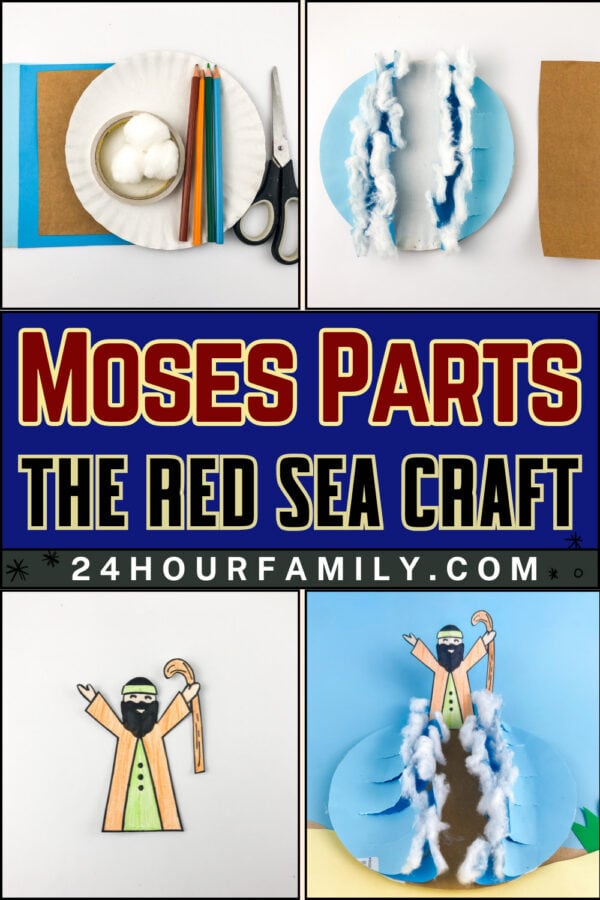
Below you’ll find the full materials list, step-by-step instructions with photos, age guidance, and a printable Moses template you can download and use right away.
Moses Parts the Red Sea Craft
This particular craft lets kids recreate the parting of the Red Sea using simple supplies you probably already have around the house: paper plates, construction paper, cotton balls, glue, scissors, and colored pencils. I
t’s interactive, it’s hands-on, and best of all, it reinforces the bible verse and lesson behind one of Exodus’ most famous moments.
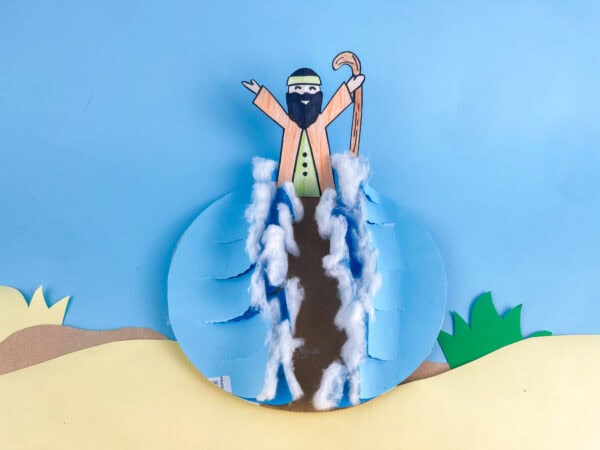
Unlike a flat picture or a simple coloring sheet, this craft actually stands up in 3D, with cotton-ball waves rising on either side of a path that Moses and the Israelites would have walked through.
It’s genuinely one of the most engaging bible crafts I’ve made, and it works wonderfully whether you’re doing it one-on-one at home or leading a whole classroom of excited little hands.
The Bible Story Behind the Craft
In Exodus 14, Moses leads the Israelites out of slavery in Egypt, only for Pharaoh’s army to chase them down and trap them at the edge of the Red Sea.
With the sea before them and the army closing in behind them, God tells Moses to raise his staff. The sea splits in two, opening a dry path with walls of water standing on either side, and the Israelites cross safely to the other shore.
This craft recreates that exact moment, with Moses standing at the center of the parted waters.
It’s a great craft to pair with a reading of Exodus 14:21-22, since kids can build the scene as they hear the story unfold.
Age Guidance
This craft works well for children ages 4 to 10. Preschoolers and younger kids will need help with the scissor cuts down the center of the paper circle and with curling the wave strips, since that step takes some scissor control.
Kids ages 7 and up can usually color, cut, and assemble the whole thing on their own, with an adult only needed to help start the first slit cuts into the paper.
What This Craft Teaches:
Beyond the Bible story itself, this project builds a few practical skills:
- Scissor control, from straight cuts to curling paper into wave shapes
- Fine motor skills through tearing and layering cotton balls
- Coloring within lines on the Moses template
- Sequencing a story from beginning to end
- Following multi-step visual instructions independently
This post may contain affiliate links. As an Amazon Associate and a participant in other affiliate programs, I earn a commission on qualifying purchases. Read our disclosure policy here.
Stock Your Home 9-Inch Paper Plates Uncoated, Everyday Disposable Plates 9KTOJOY 100Pcs Jumbo Wooden Craft Sticks Popsicle Stick 6” Long x 3/4”Wide Treat Ice Pop for DIY Crafts,Home Art Projects, Classroom SuppliesMod Podge Gloss Sealer, Glue & Finish: All-in-One Craft Solution- Quick Dry, Easy Clean, for Wood, Paper, Fabric & More. Non-Toxic – Craft with Confidence, Made in USA, 16 oz., Pack of 1Crayola Construction Paper – 480ct (2pck), Bulk Teacher Supplies, Back to School Essentials For Kids, Classroom Must Have, Arts & Crafts Art PaperGoodyKing Arts and Crafts Supplies for Kids – 1170Pcs+ Craft Art Supply Kit for Toddlers Kids Craft Supplies & Materials Age 4 5 6 7 8 9 – All in One D.I.Y. Crafting School Supplies900 PCS Pom Poms, Multicolor Bulk Pom Poms Arts and Crafts, Soft and Fluffy Craft Pom Poms, Assorted Sizes Pompoms, for Arts and Craft Making Decorations


What You’ll Need for This Red Sea Craft
Here’s a simple supply list to gather before you start:
- A paper plate (this becomes the base of your sea craft)
- Light blue and darker blue construction paper
- A strip of brown or tan construction paper (for the dry ground path)
- Cotton balls (for the wave texture)
- Glue or a glue stick
- Scissors
- Colored pencils or crayons
- Printable template
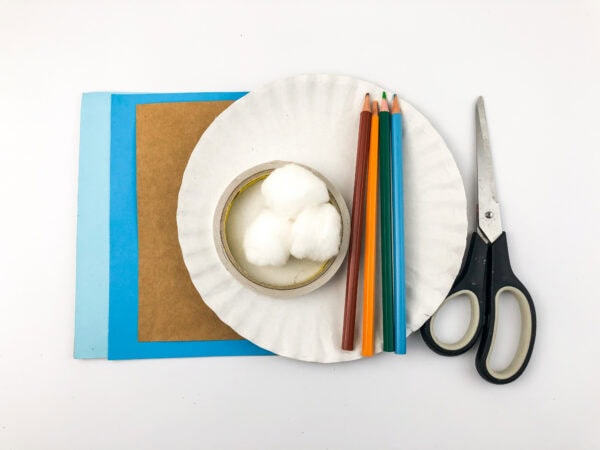
This isn’t a complicated craft activity, and most of the supplies are things you can find in a basic craft drawer.
How to Make the Moses Parts the Red Sea Craft
Step 1: Prep Your Base
Start with your paper plate as the foundation.
Step 2: Cut and Layer the Water Circles
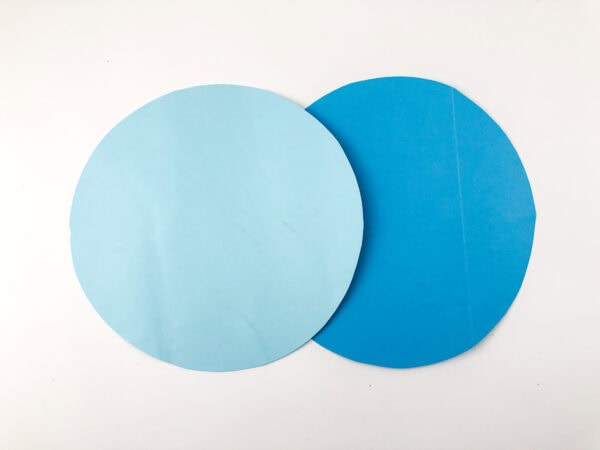
Trace your paper plate onto both the light blue and the darker blue construction paper, then cut out both circles so they match the plate’s size.
Glue the darker blue circle to the paper plate first. Center the lighter blue circle on top and glue down only the top half, leaving the bottom half loose. That loose bottom half is what you’ll cut into strips in the next step.
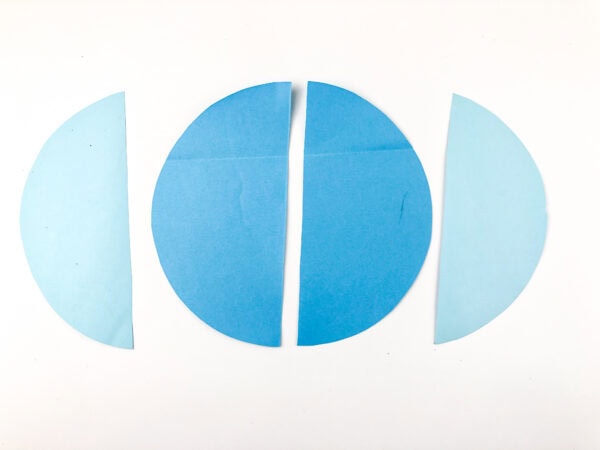
This will represent the sea itself, so set it aside while you prepare your construction paper pieces.
Make the lighter blue circle slightly smaller than the darker one.
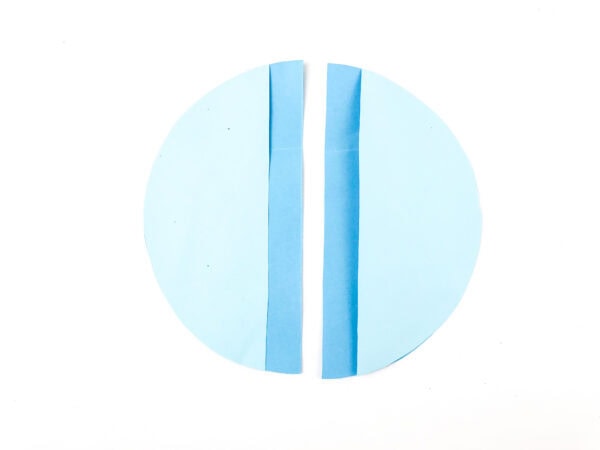
Glue the smaller light blue circle onto the plate, but only attach half of it, leaving the other half loose so you can cut into it.
Step 3: Cut Strips and Curl Them
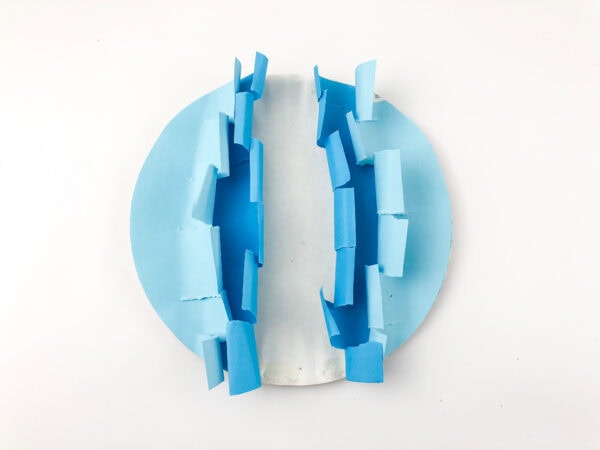
Once the light blue piece is partially attached, cut several narrow sections down the middle to create that famous “split” look of the parting Red Sea.
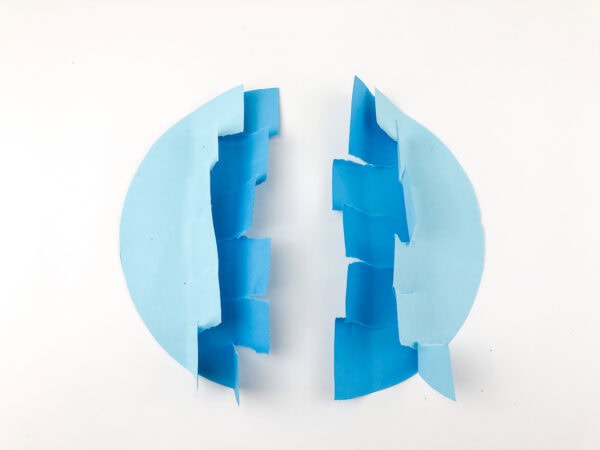
Take your scissors and gently curl each section by running the blade along the edge, just like curling ribbon.
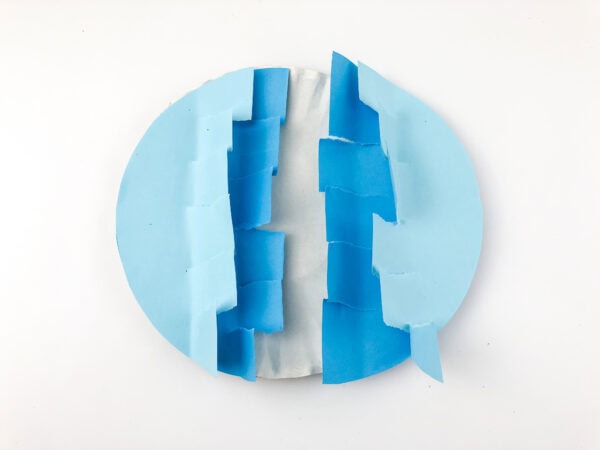
This step gives the craft its wavy, dimensional texture, so don’t rush it.
Step 4: Add the Cotton Ball Waves
Now comes the fun part for little hands: attaching cotton balls along the curled edges.
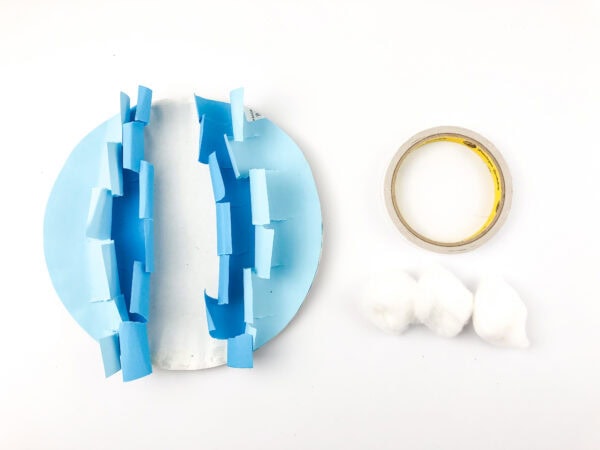
Pull and stretch the cotton balls slightly so they look more like foamy waves than perfect little puffs.
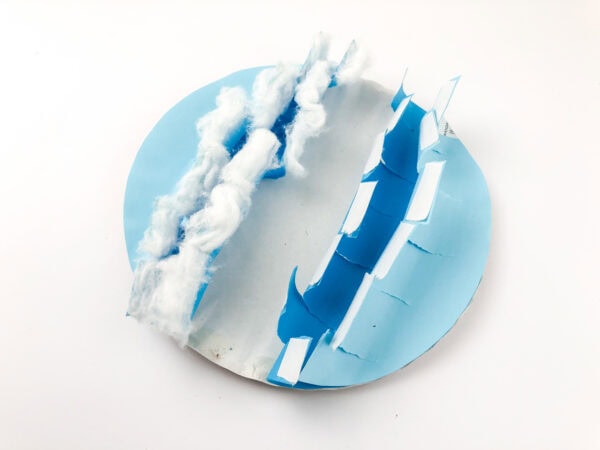
Glue them down along both sides of the opening, building up that whitecap, churning-water look.
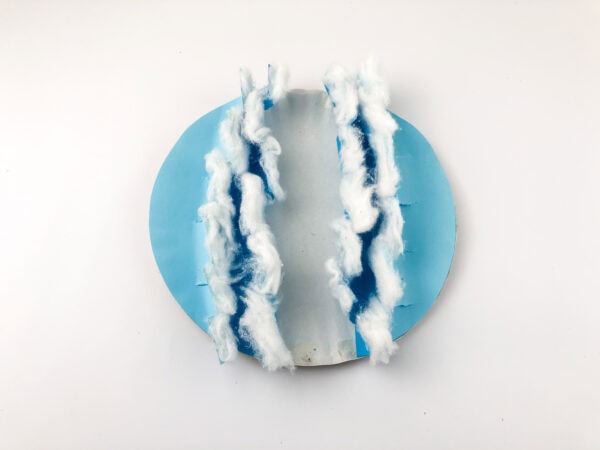
Step 5: Create the Path Through the Sea
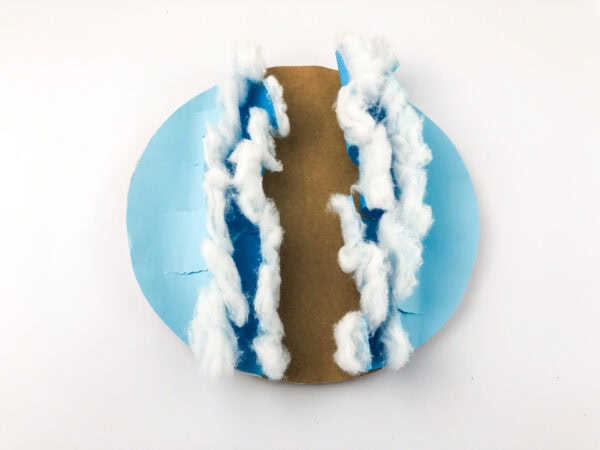
Cut a long piece of brown or tan construction paper and glue it down the middle of your base, between the two walls of cotton-ball waves.
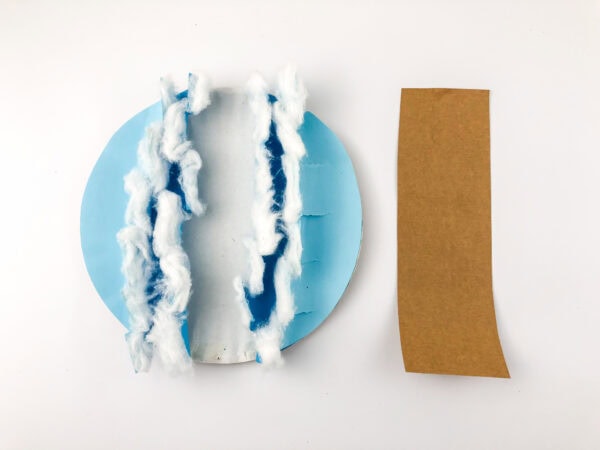
This represents the dry ground the Israelites walked across, and it’s honestly one of the most satisfying parts of the whole project once it’s in place.
Step 6: Color and Cut Out Your Moses Piece
This is where the crayons and colored pencils come in.
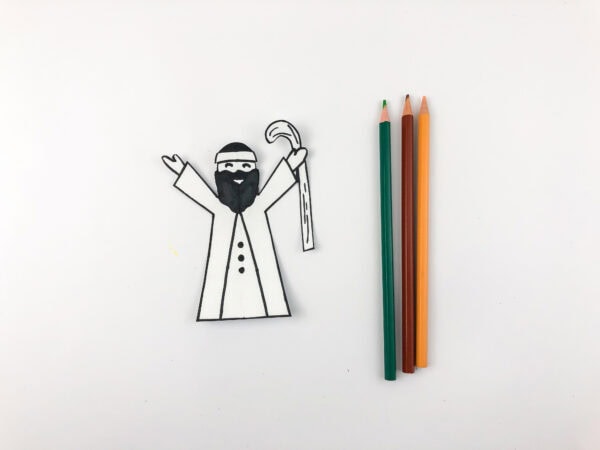
Cut out and trace a Moses outline (or draw your own), then let your kids go wild coloring him in.
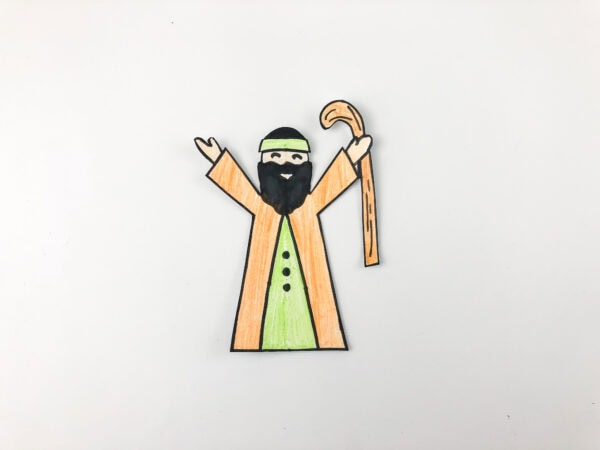
Browns, greens, and oranges for his robe, black for his beard, whatever they like. This finished Moses figure completes the scene.
Step 7: Attach Moses
Once Moses is colored and cut out, glue or tape him at the top of the path, with his arms raised as though he’s stretching out his hand over the water.
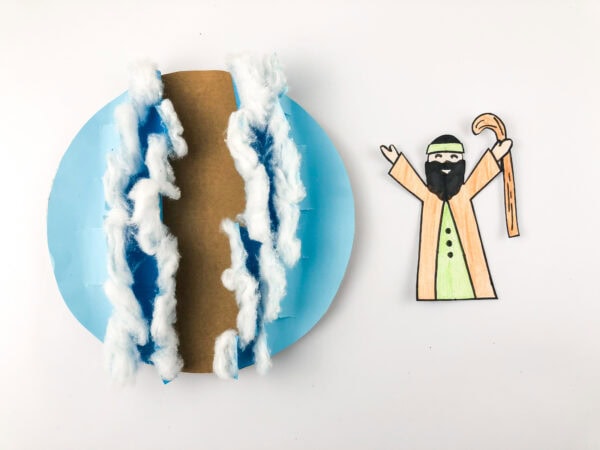
Some people like to use a self-adhesive foam dot or a fastener underneath him for a slight 3D pop-up effect, but plain glue works just fine too.
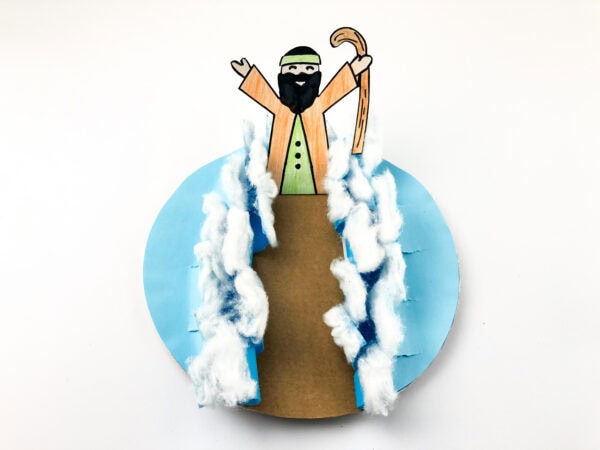
And that’s it. You now have your very own stand-up Moses-and-the-Red-Sea scene.
Ways to Make It More Fun
If you’re using this craft for a bible lesson or Sunday school session, consider pairing it with a reading of the actual passage from Exodus before getting started. Reading the verse aloud first gives kids context for what they’re building and helps the craft feel like an extension of the story rather than just a fun project.
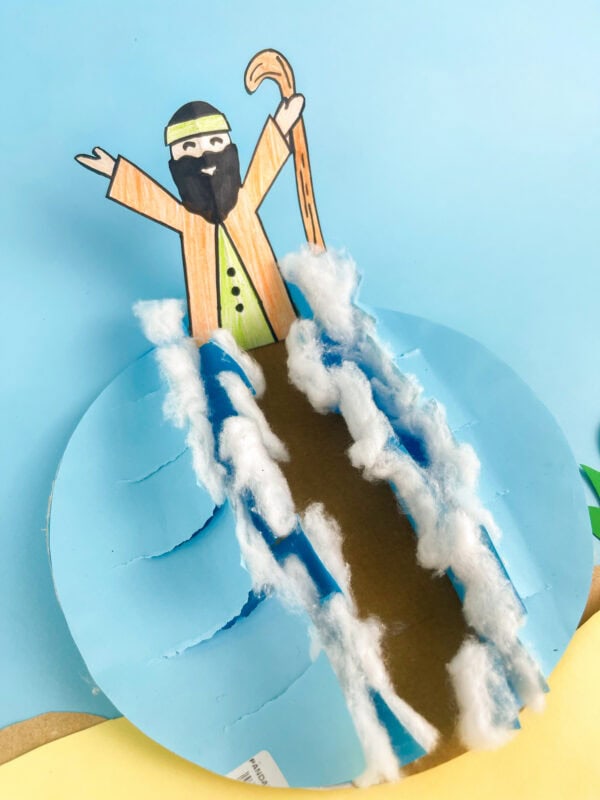
You could also turn it into a mini game by having kids retell the story of Moses crossing the sea using their finished craft as a visual aid. This is a wonderful way to reinforce the lesson without it feeling like a quiz.
Printable Moses Template
The Moses figure used in this craft, ready to print, color, and cut, is included as a full-page printable in the ebook below, along with photos for every step above.
The ebook includes the printable template, the complete materials list, a photo for every step, discussion questions to use with kids after the craft is finished, and a gallery of the finished project from multiple angles.
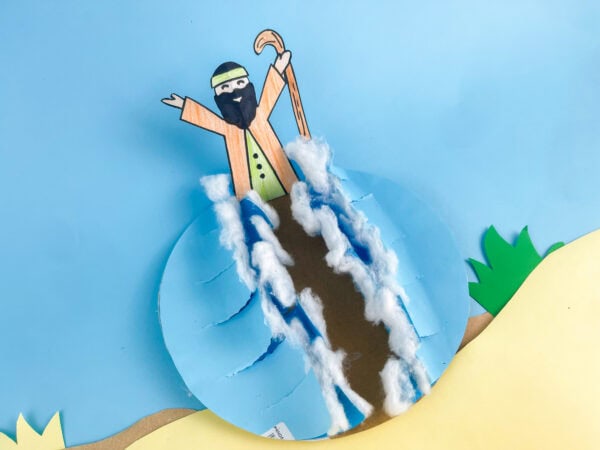
This Moses parts the Red Sea craft captures that dramatic moment in a way that’s tactile and memorable for kids, making it a great teaching tool alongside the actual verse.
Tips for the Best Results
Stretch your cotton balls before gluing rather than using them whole. A cotton ball straight from the bag looks like a snowball sitting on paper; pulled apart into long wisps, it looks like foam and sea spray.
Tear the edges of the curled paper strips rather than leaving them perfectly straight. The slightly rough edge catches shadows and reads as moving water rather than flat paper.
Let the glue on the paper plate base dry fully before curling the strips, so the curls don’t flatten back out while the base is still wet.
If a child’s Moses figure comes out a little uneven around the edges, glue it toward the back of the dry ground strip so any rough cut lines are less noticeable.
Variations to Try
Add a few Israelites walking behind Moses using simple paper cutouts, so the scene shows the whole crowd crossing rather than just Moses alone.
Use blue cellophane instead of construction paper for the wave sections if you want the water to catch the light.
Turn it into a diorama by using a shoebox lid as the base instead of a paper plate, which gives more room to add the shore, mountains in the background, or Pharaoh’s army on the far bank.
Ways to Use This Craft Beyond Sunday School
While this Moses parts the red sea craft was designed with Sunday school in mind, it’s flexible enough to fit into all kinds of settings.
Homeschool families can use it as a hands-on history and bible lesson combo, classroom teachers can turn it into a group craft activity during a unit on Exodus, and even vacation bible school programs can use it as a quick, low-mess station since most of the pieces can be prepped ahead of time.
However you use it, the core idea stays the same: a simple, affordable craft that brings a big story down to a kid-sized scale.
More Bible Crafts to Check Out
If you enjoyed making this Moses Parts the Red Sea Craft, here are a few more Bible craft ideas that help children explore memorable stories through fun, hands-on activities.
- Nativity Toilet Paper Roll Craft – Celebrate the birth of Jesus with a simple nativity craft that’s perfect for Christmas activities.
- Day 3 of Creation Craft for Kids – Teach children about the third day of creation, when God made the land, seas, and plants.
- Baby Moses in a Basket Craft – Help kids learn about the beginning of Moses’ journey through a fun, engaging basket craft.
- Jesus Feeds 5000 Craft – Bring one of Jesus’ best-known miracles to life with a creative craft children will enjoy making.
- Noah’s Ark Paper Plate Craft
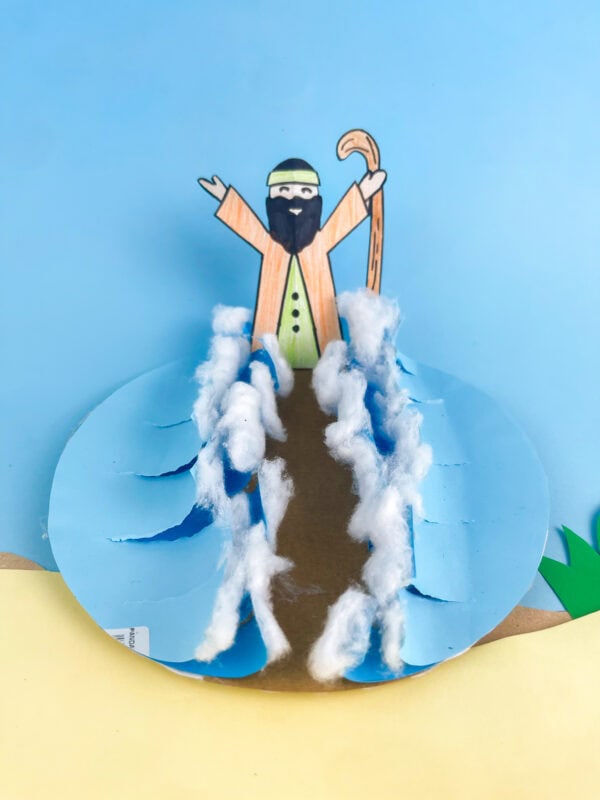
At the end of the day, this Moses Parts the Red Sea craft is one of those projects that manages to be simple, affordable, and genuinely meaningful all at once. With just a handful of supplies, a little glue, and some colorful paper, kids get to recreate one of the most powerful moments in the Bible with their own two hands.
It’s a wonderful way to bring the story of Moses off the page and into something kids can touch, build, and proudly display.
How long does this craft take to make?
Most kids can finish this Moses parts the Red Sea craft in about 30 to 45 minutes, depending on how much time they spend curling the paper strips and coloring their Moses piece.
What age group is this craft best suited for?
This activity works great for young children around ages 5 and up, especially with a parent or teacher helping with the scissor work. Older kids are often able to do the cutting and curling by themselves.
Is paint a good alternative to colored pencils?
Absolutely. Paint works well if you want a more textured, hand-painted look for the Moses piece or the blue waves. Crayons are another great option for a quick and easy finish.
Do I need to print a template, or can we draw our own Moses?
Either works! Printing a template is quicker and great for classroom settings, but drawing your own Moses by hand adds a fun creative twist and works just as well for the overall craft.
Is this craft messy?
Not particularly. The main things to watch are glue and stray bits of cotton, but overall it’s a fairly tidy paper craft compared to painting-heavy projects.
What’s the best way to store or display the finished craft?
Since it’s a stand-up 3D piece, it displays nicely on a shelf or windowsill. Just keep it away from direct handling if the cotton balls aren’t glued down extra securely.
Moses Parts the Red Sea Craft
This Moses Parts the Red Sea Craft is a fun way for kids to recreate one of the Bible's most amazing miracles. Children will build a colorful sea with rolling waves, a dry path, and Moses leading the way. The project helps practice cutting, gluing, and assembling simple craft pieces while learning about God's power and protection. It's a great activity for Bible lessons, homeschool, or church. The finished craft is perfect for storytelling and display.
Materials
- 1 paper plate (a 9-inch plate makes a comfortable base)
- 1 sheet of light blue construction paper
- 1 sheet of medium or darker blue construction paper
- 1 sheet of brown construction paper, for the dry sea floor
- 1 sheet of yellow or tan construction paper, for the sandy shore
- 1 sheet of green construction paper, for grass (optional)
- Cotton balls, pulled apart into wispy pieces
- The free printable Moses template (linked below)
- Colored pencils or markers in brown, black, orange, green, and tan
- White craft glue or a glue stick
Tools
- Scissors
Instructions
1. Prepare the Base
Place the paper plate on your work surface to use as the base of the craft. Set it aside while you prepare the remaining pieces.
2. Cut and Attach the Water
Cut one light blue circle and one dark blue circle to fit the paper plate. Glue the dark blue circle onto the plate first, then attach only one half of the light blue circle over the top, leaving the other half loose.
3. Create the Parted Sea
Cut several narrow strips into the loose half of the light blue circle. Gently curl each strip with the edge of your scissors to create the look of rolling waves.
4. Add the Waves
Pull apart the cotton balls slightly before gluing them along both sides of the curled strips. Cover the edges to create foamy waves along the opening.
5. Make the Dry Path
Cut a long strip from the brown or tan construction paper and glue it down the center of the plate between the two sides of the sea. This forms the path through the water.
6. Decorate Moses
Color the Moses figure with colored pencils or crayons, then carefully cut it out. Add simple details to his clothing, hair, and beard before attaching it to the craft.
7. Attach Moses and Finish
Glue Moses at the top of the dry path with his arms raised toward the parted sea. Allow the craft to dry completely before displaying it or using it to help retell the Bible story.
