
Day 3 of Creation Craft for Kids: Land, Plants, and Trees Activity
This Day 3 of Creation Craft for kids is one of the most beautiful—the day God filled the earth with land, plants, trees, fruit, and vegetables! In this fun and easy Bible craft for kids, we’re bringing Genesis 1:9-13 to life with a hands-on creation day 3 craft that young learners will absolutely love.
Whether you’re looking for a Sunday school activity, a homeschool Bible lesson, or a simple faith-based craft, this one is perfect for toddlers, preschoolers, and early elementary kids!
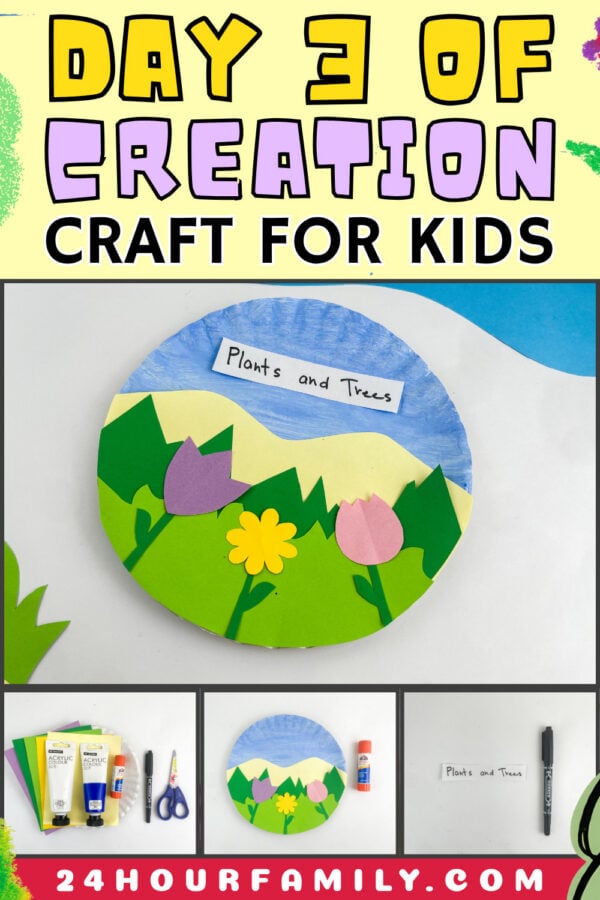
On Day 3 of Creation, God made the land burst forth with plants, trees, fruits, and vegetables — and now your kids can celebrate it with this adorable hands-on Bible craft!
Day 3 of Creation Craft for Kids
Before we dive into the craft, let’s do a quick little Bible refresher! During Day 3 of creation, God gathered the waters and revealed the dry land.
He called it “land” and filled it with growing plants, seeing that it was good. The land then produced trees, seed-bearing plants, and many kinds of green living things. It’s such a rich and beautiful part of the creation story — and it gives us SO much to work with artistically!
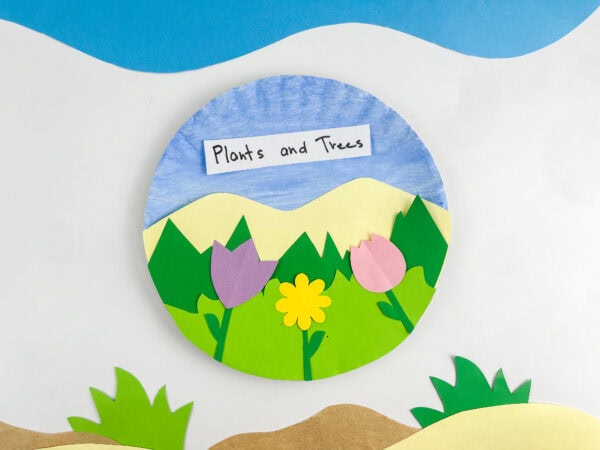
From the shades of green in the grassy fields to the bright colors of flowers, Day 3 is basically a masterclass in color. And if you’ve been looking for a hands-on way to teach Bible lessons to young children, this is it.
This post may contain affiliate links. As an Amazon Associate and a participant in other affiliate programs, I earn a commission on qualifying purchases. Read our disclosure policy here.
Stock Your Home 9-Inch Paper Plates Uncoated, Everyday Disposable Plates 9KTOJOY 100Pcs Jumbo Wooden Craft Sticks Popsicle Stick 6” Long x 3/4”Wide Treat Ice Pop for DIY Crafts,Home Art Projects, Classroom SuppliesMod Podge Gloss Sealer, Glue & Finish: All-in-One Craft Solution- Quick Dry, Easy Clean, for Wood, Paper, Fabric & More. Non-Toxic – Craft with Confidence, Made in USA, 16 oz., Pack of 1Crayola Construction Paper – 480ct (2pck), Bulk Teacher Supplies, Back to School Essentials For Kids, Classroom Must Have, Arts & Crafts Art PaperGoodyKing Arts and Crafts Supplies for Kids – 1170Pcs+ Craft Art Supply Kit for Toddlers Kids Craft Supplies & Materials Age 4 5 6 7 8 9 – All in One D.I.Y. Crafting School Supplies900 PCS Pom Poms, Multicolor Bulk Pom Poms Arts and Crafts, Soft and Fluffy Craft Pom Poms, Assorted Sizes Pompoms, for Arts and Craft Making Decorations


Materials Needed to Make This Bible Craft:
Here’s everything you’ll need for this Day 3 of creation craft for kids:
- 1 paper plate
- White and light blue acrylic paint
- Construction paper
- A piece of white paper for the label
- Glue stick
- Scissors
- Black marker
- Template
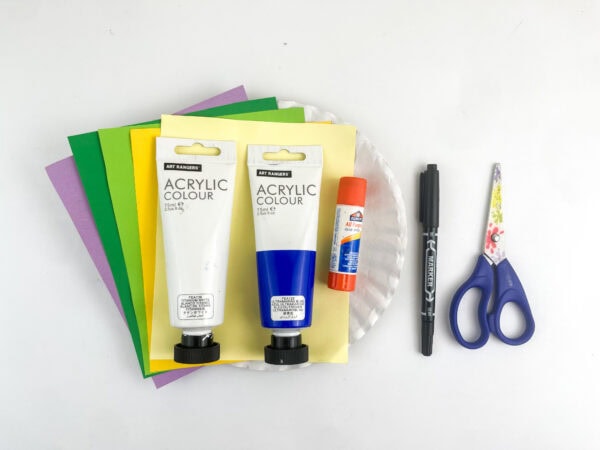
That’s it! Simple, affordable, and you probably already have most of this at home. No sticker sheets, no tissue paper, no food coloring, just good old construction paper and creativity!
How to Make a Day 3 of Creation Craft for Kids
Step 1: Paint the Sky
Start by painting the upper half of your plate with a mix of white and light blue paint to create a soft, daytime sky. Leave the bottom half white for now; we’ll cover it with colored paper later. Make sure it is fully dry before starting the next step.
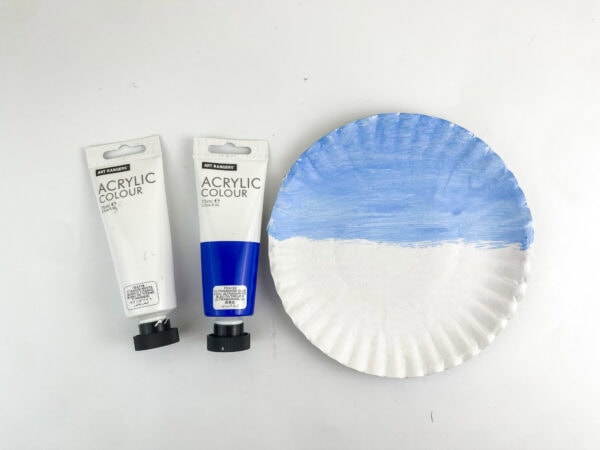
This is such a satisfying first step because kids can immediately see how the craft is taking shape. Little ones love watching that color go on!
Step 2: Cut Out the Grassland Layers
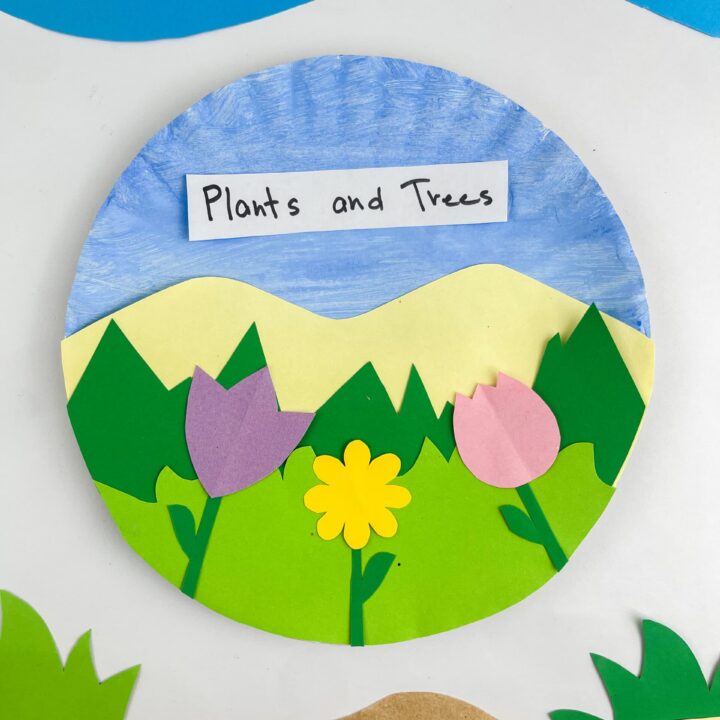
Now comes the fun part — cutting! Using your construction paper, cut out three layers of grassland in different shades of green:
- A light yellow-green piece with wavy hills (this represents the distant land)
- A dark green piece cut with jagged points along the top to look like tall trees or shrubs
- A bright green piece shaped like a curved strip with little bumps along the top — these are your pieces of grass
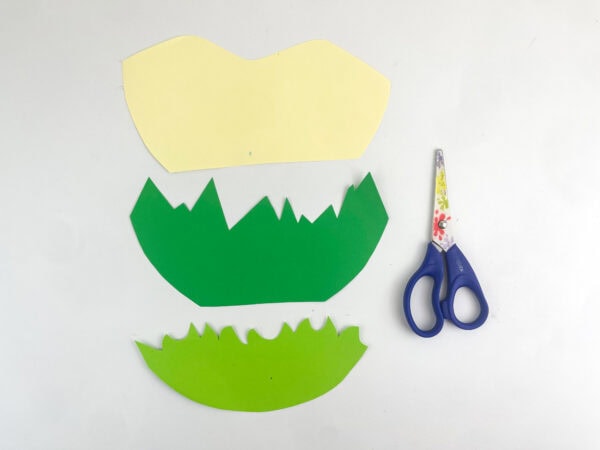
Stack them together before gluing so you can see how they’ll look layered. The effect is really beautiful — almost like a collage landscape!
Step 3: Assemble and Glue the Grassland
Using your glue stick, layer the three green pieces together. The yellow-green hills go on top, then the dark green tree shapes in front of that, then the bright light green grass at the very bottom.
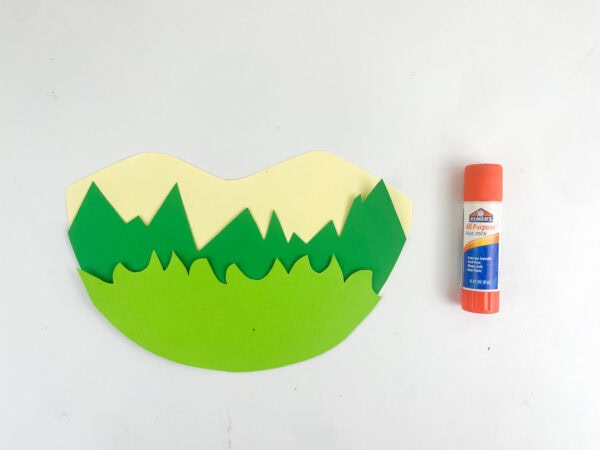
Once your collage is assembled, glue the whole thing onto the bottom half of your plate.
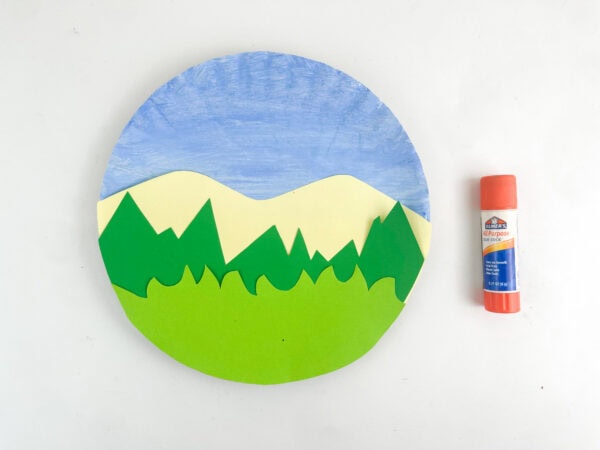
This is a great moment to talk to your preschool kids about how God made so many different kinds of plants, tall trees, short bushes, soft grass, and everything in between. Let the land be filled with growing plants!
Step 4: Make the Flowers
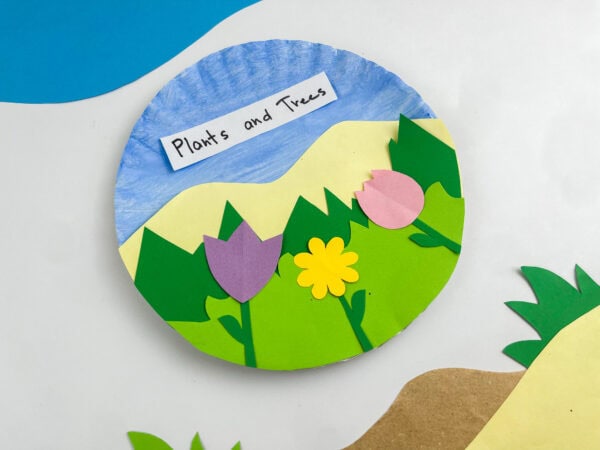
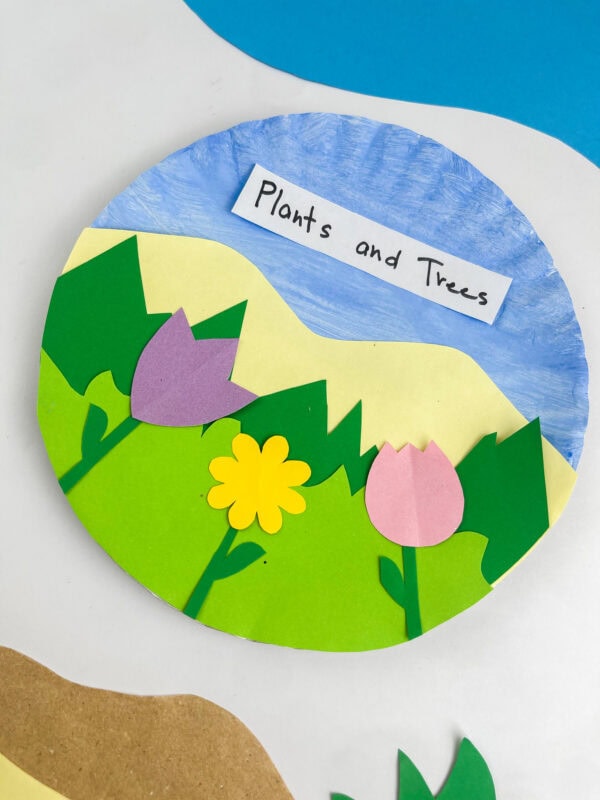
Cut out flower shapes from your colored paper; we did a pink tulip shape, a purple tulip, and a yellow daisy-style flower. Then cut thin green strips for the stems and snip small leaf shapes from your green construction paper.
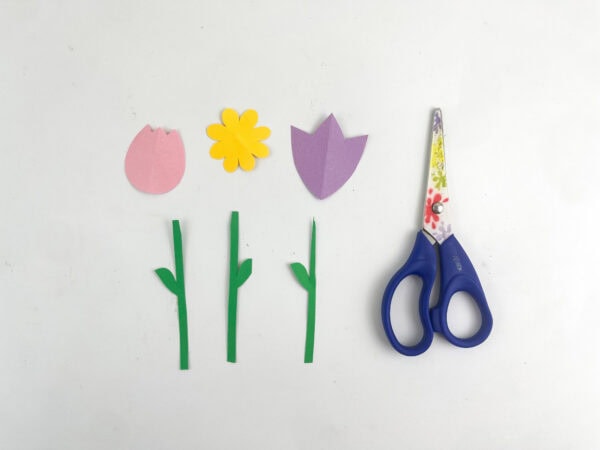
You can use a black construction paper strip or even a sheet of construction paper folded and cut to make the stems more defined. Markers are great for adding detail to petals or leaves if your little one wants to decorate a bit more.
This is a wonderful thing to point out to preschoolers as they create!
Step 5: Glue the Flowers to the Grassland
Attach the flowers and plant pieces to the grassland section of the plate. Glue the stem in place first, then add the flower heads on top. Watch your colorful plant friends come to life on the plate!
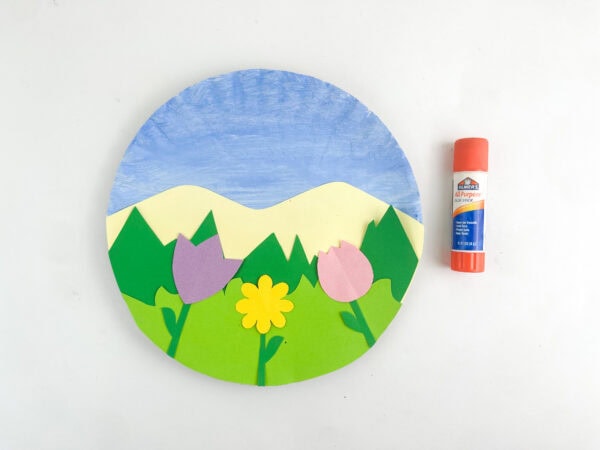
This step is wonderful for building motor skills in younger children; all that cutting, positioning, and pressing with the glue stick keeps little fingers busy and learning.
Step 6: Write “Plants and Trees” and Attach It
On a small piece of paper (a strip cut from a sheet of construction paper works great), write “Plants and Trees” with your black marker.
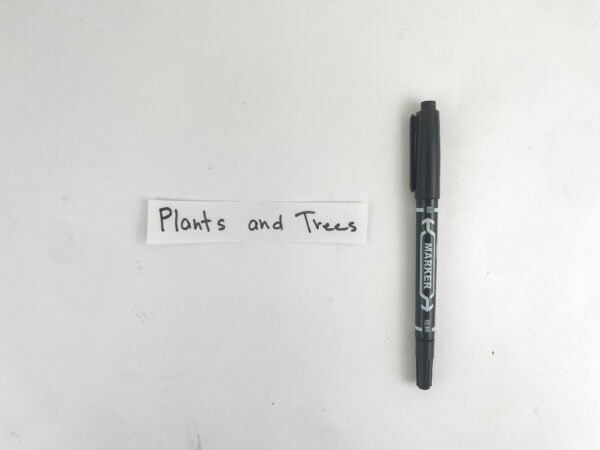
Glue it to the upper part of the plate, right on the sky section. This becomes a little label that ties the whole Day 3 of creation craft for kids back to our Bible lesson for the day.
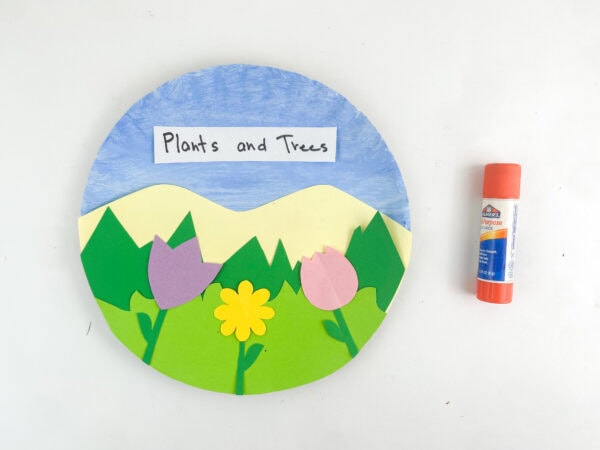
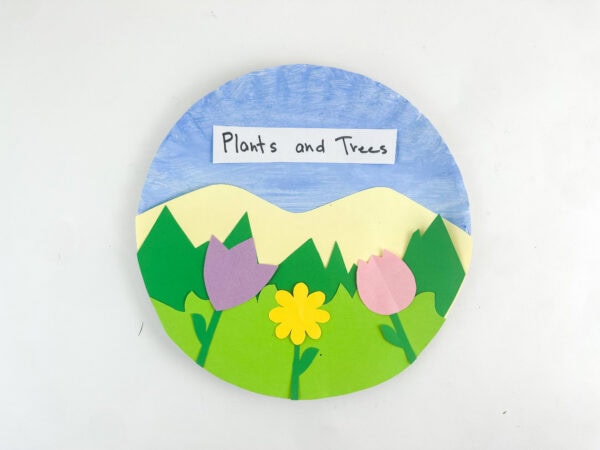
And just like that — you’ve got a gorgeous creation day 3 craft!
Why This Craft Works So Well for Bible Stories
There’s something really special about giving kids a hands-on way to engage with Bible stories.
When children color, cut, and glue their way through the creation story, they’re not just doing a fun activity; they’re internalizing what God said and what God created. They remember it better, they ask more questions, and they develop a real connection to Scripture.
This Day 3 of creation craft for kids works beautifully in a Sunday school setting, a homeschool co-op, or even just as a quiet afternoon Bible lesson at home. It’s simple enough for toddlers with a little help, and engaging enough for preschoolers to do mostly independently.
Tips for Different Ages
For younger children, pre-cut the shapes in advance and let them focus on gluing and arranging. A sponge or stamp can also be a fun way for little hands to add color without scissors involved.
For preschoolers, walk them through cutting simple shapes and let them pick which colors go where. Give them a crayon to add extra details to the stems or petals.
For older children, challenge them to add more detail — maybe a tree trunk cut from brown construction paper, or extra seed-bearing plants tucked into the grass. They might even want to look up the Bible verse and write it themselves with a crayon or marker.
How to Display Your Finished Creation Craft
Once the glue is dry and your little artist is beaming with pride, the fun doesn’t have to stop! This day 3 of creation craft for kids is just too pretty to tuck away in a folder. Here are some easy and sweet ways to show it off:
Hang it on the wall. Punch a small hole at the top of the paper plate, thread a ribbon or piece of yarn through it, and hang it up like a little piece of art. It looks so cheerful on a bedroom door, a hallway wall, or even a classroom bulletin board.
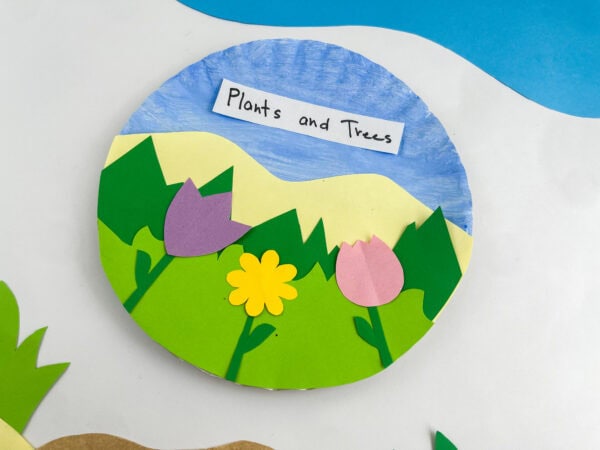
Create a creation series display. If you’re working through all seven days of creation, display each finished craft side by side as you complete them. By Day 7, you’ll have a whole gallery wall of God’s creation — and it makes for the most beautiful visual reminder of the Bible story.
Add it to a Bible lessons binder. For homeschool families, you can flatten the craft slightly and slip it into a page protector or staple it into a creation lapbook. It becomes a keepsake that kids can flip back to and remember what they learned.
More Faith-Based Crafts for Kids
If you enjoyed making this Day 3 of Creation Craft for Kids, these Bible-inspired crafts are a great way to continue exploring God’s Word through creative and meaningful activities.
- Eve and the Garden of Eden Craft – A hands-on activity that introduces kids to the story of Adam and Eve and God’s beautiful garden.
- Armor of God Breastplate of Righteousness Craft – A meaningful craft that helps children learn about living righteously as part of the Armor of God.
- Jonah and the Whale Paper Plate Craft – A fun Bible story craft that teaches kids about obedience, forgiveness, and God’s mercy.
- Cross Suncatcher Craft – A colorful faith-based project that creates a beautiful reminder of God’s love and the message of the cross.
- Day 2 Genesis Craft
- Day 3 Genesis Craft
- Day 4 Genesis Craft
- Day 5 Genesis Craft
- Day 6 Genesis Craft
- Day 7 Genesis Craft
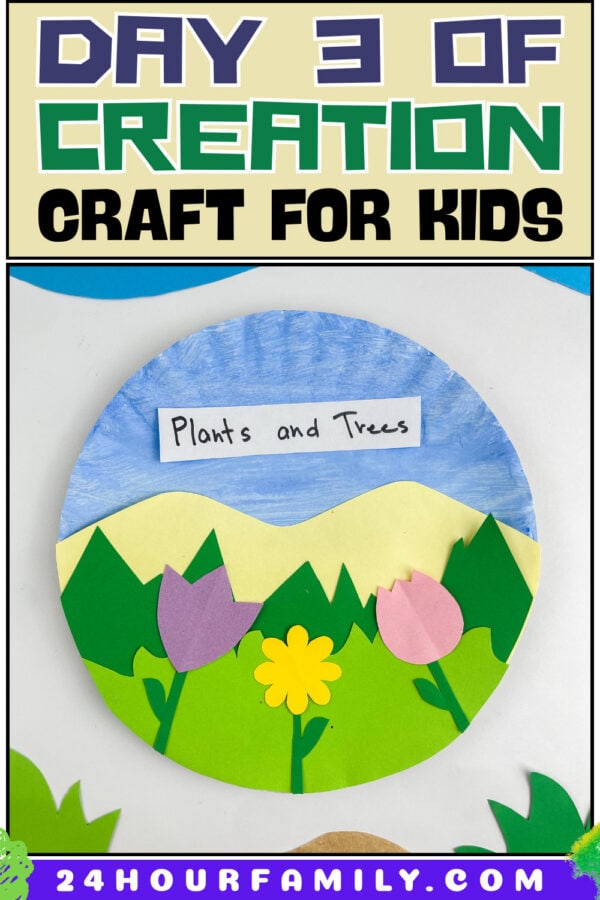
Day 3 of Creation is such a gift to teach; it’s vibrant and tangible, and it connects kids to the world around them in the most beautiful way. This Day 3 of Creation craft for kids introduces children to the wonders of the third day of Creation, when God made the land and filled it with plants, trees, and other growing things.
They’re not just hearing the Bible story — they’re living it through color, texture, and creativity.
What age is this Day 3 creation craft best for?
This craft works wonderfully for a wide range of ages! Toddlers can join in with a little adult assistance by using pre-cut pieces to glue and arrange. Preschool-aged children can complete most of the craft on their own with minimal help. Older kids can make the project more detailed by adding decorations, such as Bible verses, or by creating an entire scene around their craft.
Which Scripture verse goes with Day 3 of creation?
Genesis 1:11-12 is a fitting passage for this craft, as it tells how God filled the earth with vegetation, seed-bearing plants, and fruit trees. You can write it on a piece of paper and glue it to the back of the plate, or recite it together as you craft!
Can I use crayons instead of paint for the sky?
Absolutely! If you don’t have acrylic paint on hand, a light blue crayon or marker works just fine for coloring the sky portion of the paper plate. You can even use colored paper — a sheet of construction paper in light blue cut to fit — and glue it on instead.
Can this be used as a Sunday school craft?
Yes, it’s perfect for Sunday school! It’s simple enough to complete in a 30–45 minute class; the materials needed are affordable and easy to source in bulk, and it directly reinforces the Bible lesson for the day. You can even print out printables with the Day 3 Bible verse to send home with kids as a reminder of what they learned.
Can toddlers do this craft independently?
With a little help, yes! The key for toddlers is to prep the materials ahead of time — pre-cut the shapes, set out the glue stick, and guide them through placing each piece. Let them make the choices (which color flower? where does this piece go?), and they’ll feel so proud of the finished result. It’s a wonderful hands-on way to introduce even the youngest children to God’s Word.
Day 3 of Creation Craft for Kids
This Day 3 of Creation Craft for Kids helps children learn how God created land, plants, trees, and flowers. Kids will build a colorful layered landscape using paint and paper to show how the earth began to grow and bloom. It’s a simple, hands-on activity that encourages creativity while reinforcing a Bible lesson. This craft is perfect for toddlers, preschoolers, Sunday school, or homeschool activities. Each finished plate becomes a bright reminder of God’s beautiful creation.
Materials
- Paper plate
- Acrylic paint (white & light blue)
- Construction paper (different shades of green, plus flower colors)
- White paper strip (for label)
- Glue sticks or Glue
- Printable Template
Tools
- Scissors
- Black marker
Instructions
1. Paint the Sky Background
Paint the top half of the paper plate using a blend of white and light blue paint to create a soft daytime sky. Leave the bottom half unpainted so it can be decorated later with paper layers. Allow the paint to dry fully before moving on.
2. Cut the Grassland Layers
Cut three different green shapes from construction paper to build the landscape. Create a light green wavy hill for the back layer, a darker green piece with pointed edges for trees or shrubs, and a bright green strip with soft bumps for grass. Lay them out before gluing to see how the layers will look together.
3. Assemble the Landscape
Glue the green pieces together in layers, starting with the light green hills, then the dark green middle layer, and finally the bright green grass at the bottom. Once assembled, attach the full landscape onto the bottom half of the paper plate.
4. Make the Flowers
Cut flower shapes from colored paper, such as tulips or daisies. Add thin green strips for stems and small leaf shapes from green paper. You can use markers to add extra details like petals, veins, or texture if desired.
5. Attach the Flowers
Glue the flower stems onto the grassland first, then attach the flower heads on top. Arrange them across the landscape so the scene looks full and colorful.
6. Add the Label
Write “Plants and Trees” on a small strip of white paper using a black marker. Glue it onto the upper sky section of the plate to label the craft and connect it to the Bible lesson.
7. Let It Dry and Display
Allow all glued pieces to dry completely. Once finished, display your craft on a wall, bulletin board, or as part of a creation-themed collection.
