
Pencil Popsicle Stick Craft: An Easy Back-to-School Activity for Preschoolers
Back-to-school season means one thing in our homeschool: pencils everywhere. This year, we turned that theme into a pencil popsicle stick craft instead of just a supply list, and this little popsicle-stick pencil buddy was the result.
It’s simple enough for preschool hands; it only needs a handful of supplies you probably already have in your craft bin, and it doubles as a sneaky fine-motor and scissor-practice lesson if you’re working it into a homeschool day, as we did.
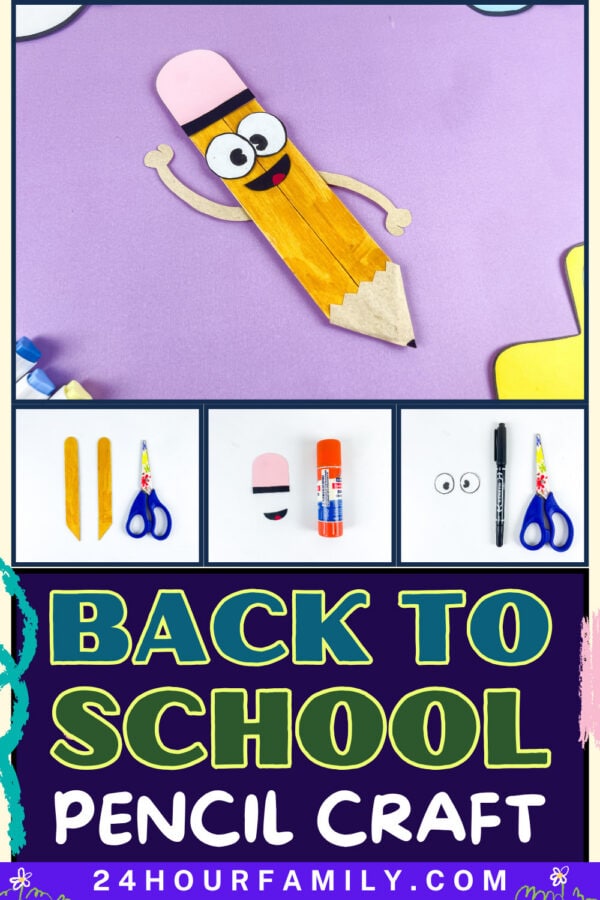
Why This Craft Works for Back-to-School
I like to kick off our school year with something hands-on before we ever crack open a workbook. It sets the tone: school is here, and it’s fun.
This pencil craft hits a few homeschool goals at once. Preschoolers practice cutting along curved and straight lines, gluing pieces in the right order, and following multi-step directions, all while making something they’re genuinely excited to show off. It’s a craft, but it’s also a lesson in patience and sequencing dressed up as a craft.
This post may contain affiliate links. As an Amazon Associate and a participant in other affiliate programs, I earn a commission on qualifying purchases. Read our disclosure policy here.
60 Pieces Jumbo Craft Sticks, 8 Inch Natural Wooden Popsicle Sticks, Multi-Functional Ice Cream Sticks for Crafts, Tongue Depressors, Hair Removal and Waxing Sticks, Plant Labels, DIY Classroom Crafts Crayola Construction Paper, 240 CountWestcott 5750pcs Wiggle Eyes Self-Adhesive Googly Eyes, 4mm~18mmElmer’s E543 Washable School Glue Sticks, Disappearing Purple, 4/PackCrayola 587722 Non-Washable Markers, Broad Point, Classic Colors, 10/Set


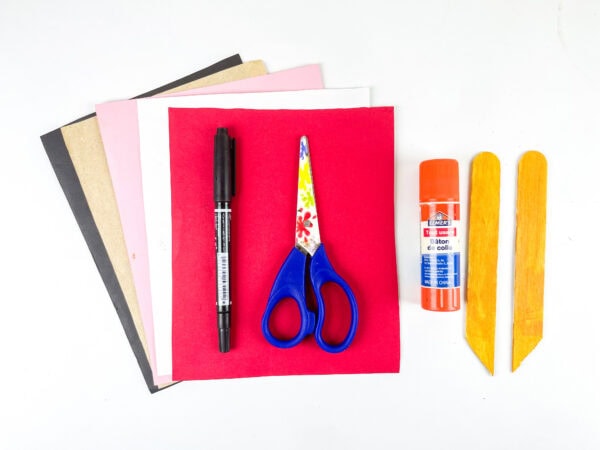
Materials Needed:
Before starting this diy pencil project, gather all the materials needed below.
- 2 popsicle sticks
- Yellow paint (plus a brush)
- Construction paper in pink, black, red, tan or brown, and white
- Scissors
- Glue stick or glue
- Black marker
How to Make the Pencil Popsicle Stick Craft
Step 1: Paint the Popsicle Sticks
Start by painting two popsicle sticks yellow. Make sure the entire front of each stick is fully covered with paint. You can use a paint stick, tempera, or another type of liquid paint for this part.
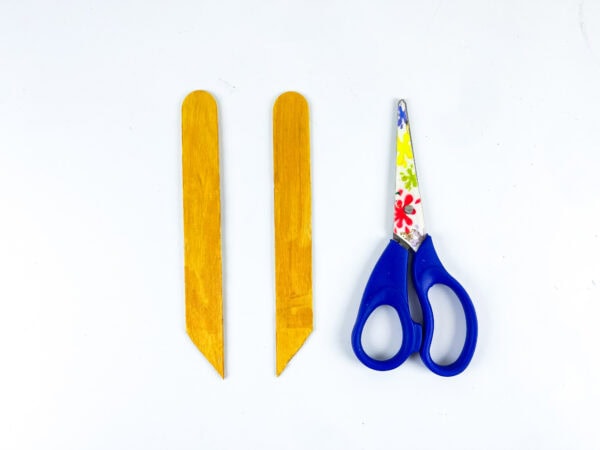
Set the sticks aside until they are completely dry before moving to the next step.
If you’re working with younger children, painting the sticks in advance can help speed things up. This is especially helpful if a child needs extra help with cutting and assembly.
Step 2: Cut the Pencil Shape
Once the paint has dried, use scissors to carefully trim the bottom of each stick diagonally. When both pieces are placed together, they should form the pointed outline of a pencil tip.
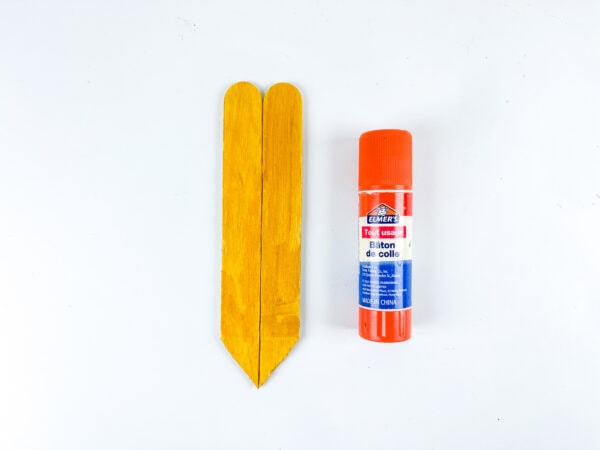
Arrange the sticks side by side to create a rectangle shape before gluing them together. Some people like to tape the sticks on the back first to keep them steady before adding glue.
You can also glue the pencil directly onto another piece of paper for a sturdier base.
Step 3: Make the Eraser and Smile
Cut a rounded pink eraser shape from construction paper.
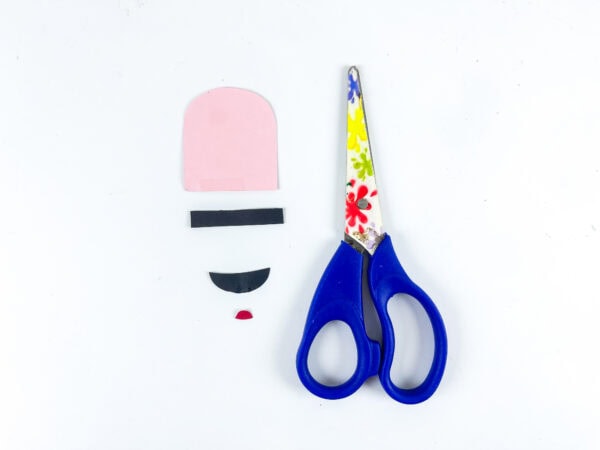
Add a thin black strip beneath it to resemble the metal ferrule typically found between the eraser and the pencil body.
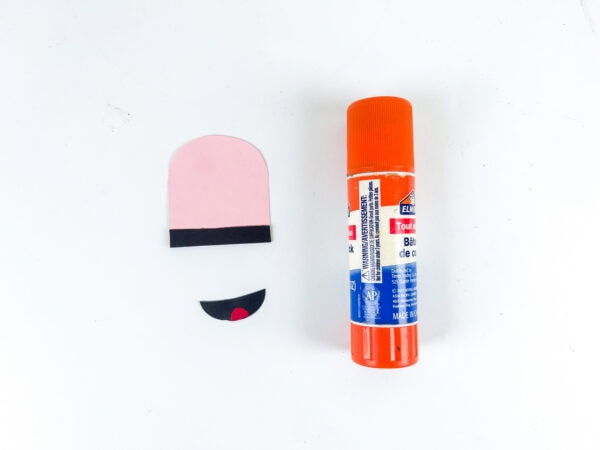
Next, cut out a smiling mouth shape using black paper and add a tiny red tongue detail inside.
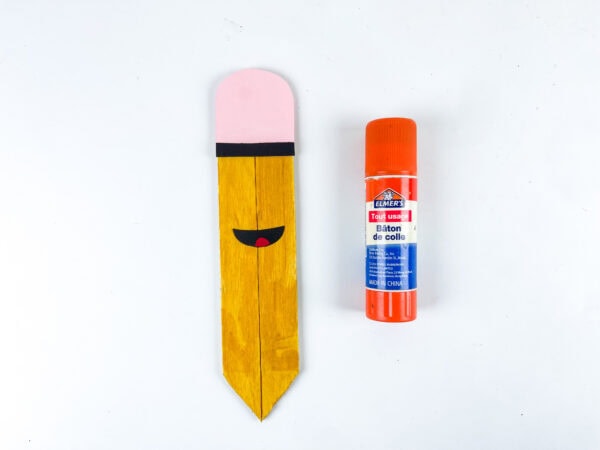
Attach the pencil smile near the center of the yellow sticks, then attach the eraser section at the top.
Step 4: Attach the Eyes
Cut two large white circles for the eyes and use a black marker to draw the pupils. The oversized eyes help give the pencil a silly and expressive personality.
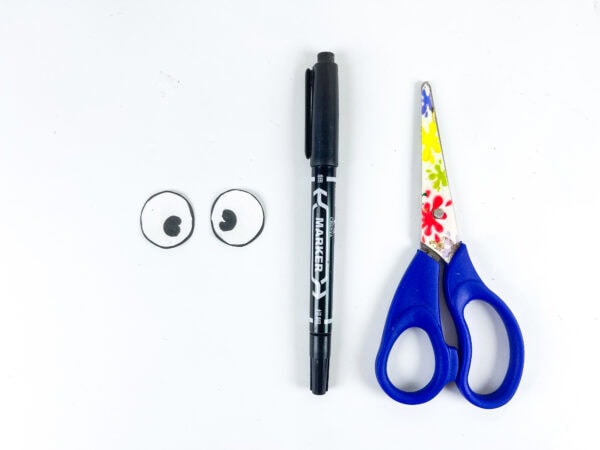
Place the eyes above the smile and press gently so everything stays in place.
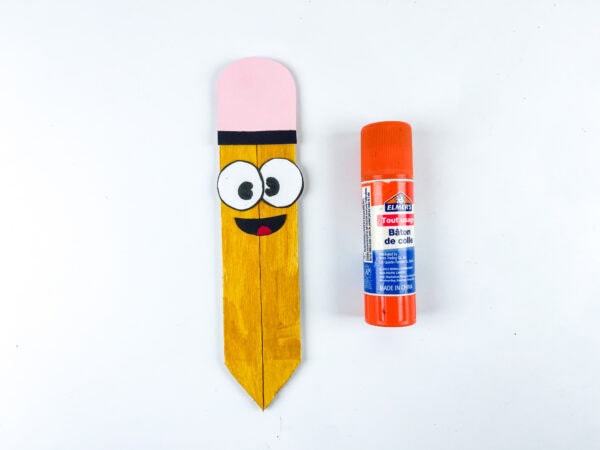
This part is usually a favorite because the pencil starts looking like a real character once the eyes are added.
Step 5: Add the Arms and Pencil Tip
Cut two curved arm shapes from brown or grey paper. Place them onto both sides of the pencil body.
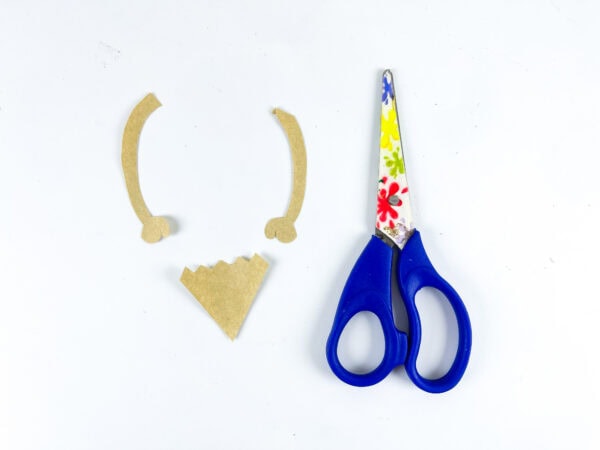
Then cut a triangle-shaped pencil tip and glue it onto the bottom section.
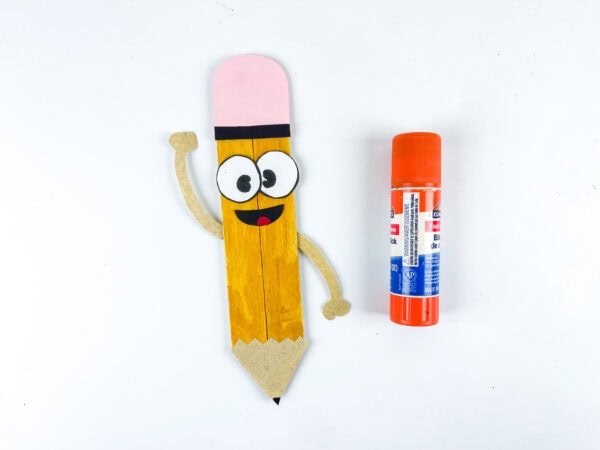
Don’t forget to add a tiny black point at the very tip.
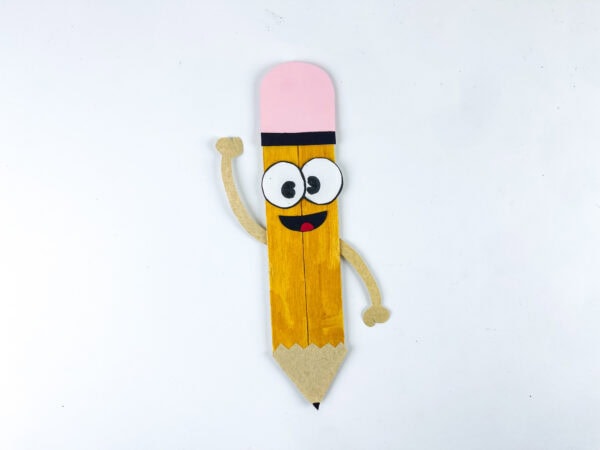
At this stage, the entire pencil craft is finally complete.
Tips for Making This With Little Ones
- Pre-cut the trickier pieces (the zigzag tip and the curved arms) ahead of time if you’re working with toddlers, then let them handle the gluing and placing.
- Let the paint dry fully before cutting the diagonal ends. Wet paint smears under scissors.
- Use a glue stick rather than liquid glue for small pieces like the eyes and tongue. It’s much easier for small hands to control and dries faster.
Fun Ways To Customize Your Pencil Craft
One of the easiest ways to make this back-to-school pencil craft even more exciting is to let kids decorate their pencils in different ways.
Some may want to add colorful cheeks, patterned paper, or silly expressions.
Others might enjoy turning the pencil into a diy pencil character with glasses, bows, hats, or extra accessories. You could even use crayon colors instead of traditional yellow if kids want something more unique.
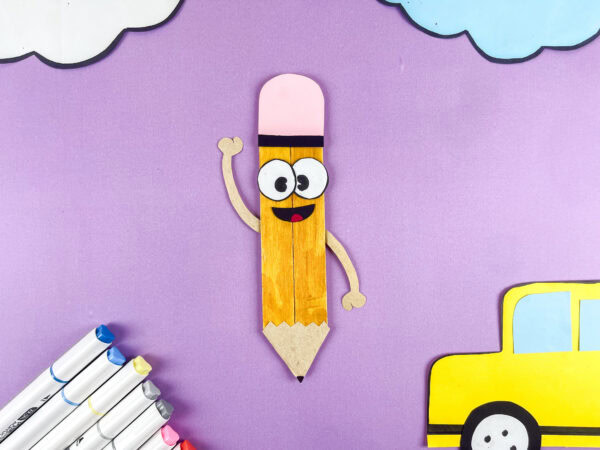
Another fun idea is to print the pencil template in different sizes. Smaller versions work nicely as desk decorations, while larger ones can serve as bulletin board pieces for a classroom wall.
You can even flip the pencil over and let kids decorate the back with their name or a short back-to-school message.
Using The Pencil Craft In The Classroom
Teachers often look for easy activities during the first day of school, and this pencil craft works perfectly for that purpose. Since the instructions are beginner-friendly, it’s easy to organize the project with a large group of students.
You can prepare the sticks ahead of time, pre-cut some template pieces, or create stations where students rotate between painting, cutting, and assembling.
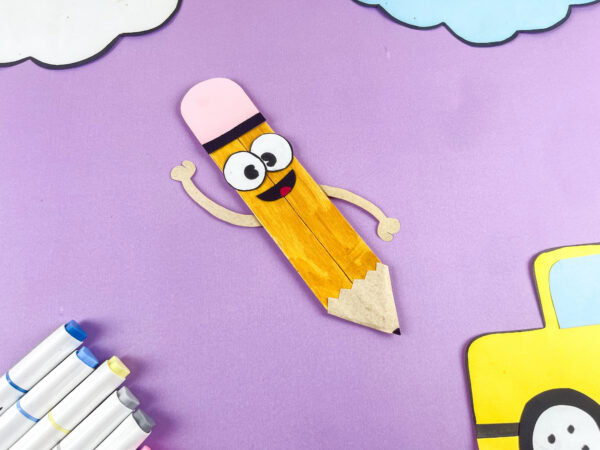
The finished pencils also look adorable displayed together across a classroom bulletin board. Since each student can personalize their design, the final display feels bright, colorful, and full of personality.
This craft also works well for homeschool activities, library programs, or community events focused on celebrating the school season.
Tips For The Best Results
A few small tricks can help make this craft even smoother from start to finish.
- Allow the painted sticks to dry completely before gluing.
- Use thicker cardstock for sturdier pencil pieces.
- Arrange all the paper pieces first, then attach them permanently.
- Keep extra glue nearby for younger kids who may need more adhesive.
- Use grey paper for the ferrule section if you want a more realistic pencil look.
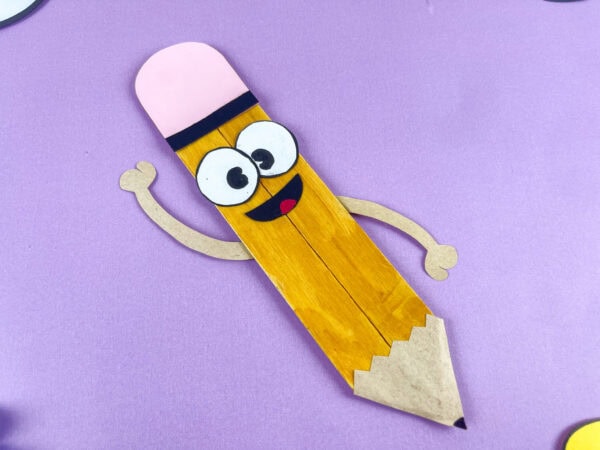
If you’re working with a younger age group, having pre-cut pieces ready can make the activity feel less overwhelming.
More Back-to-School Crafts to Explore
If you enjoyed making this Back-to-School Pencil Craft, here are a few more school-themed activities that are perfect for classrooms, creative afternoons, and back-to-school fun.
- Paper Bag School House Craft – A cute school-inspired craft that turns a paper bag into an adorable little school house full of classroom charm.
- School Backpack Paper Craft – A fun paper craft that lets kids make their own colorful backpack using simple supplies and bright details.
- Pencil Topper Craft – A playful craft idea that adds extra personality to ordinary pencils with fun decorative toppers.
- Animal Pencil Toppers – A creative collection of animal-themed pencil toppers that makes school supplies feel even more fun and unique.
- First Day Of School Wreath Craft
- School Pencil Yarn Craft
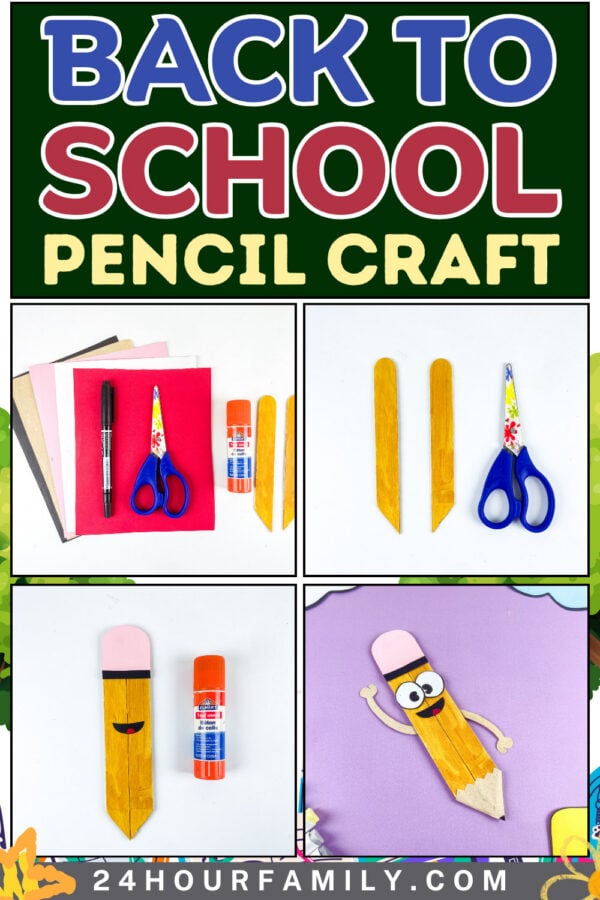
Between the bright yellow paint, oversized eyes, cheerful eraser, and adorable pencil tip, the finished project feels happy from beginning to end.
The supplies stay simple, the tutorial is easy to follow, and the final result is something kids genuinely enjoy showing off afterward.
What age is this craft best for?
This is a great fit for preschool and early elementary kids. Preschoolers may need help with the smaller pieces like the eyes and tongue, while kindergarten and up can usually cut and assemble most of it independently.
Can I use foam sheets instead of construction paper?
Yes. Foam sheets hold up a little better and are easier for small hands to cut cleanly, though construction paper works fine and is usually already on hand.
How long does this craft take?
Plan on about 20 to 30 minutes of active crafting time, plus drying time for the paint before you start cutting and assembling.
Do I need the printable template?
It helps, especially for getting the eraser, arms, and tip shapes consistent. You can also freehand the shapes if you don’t have a printer handy.
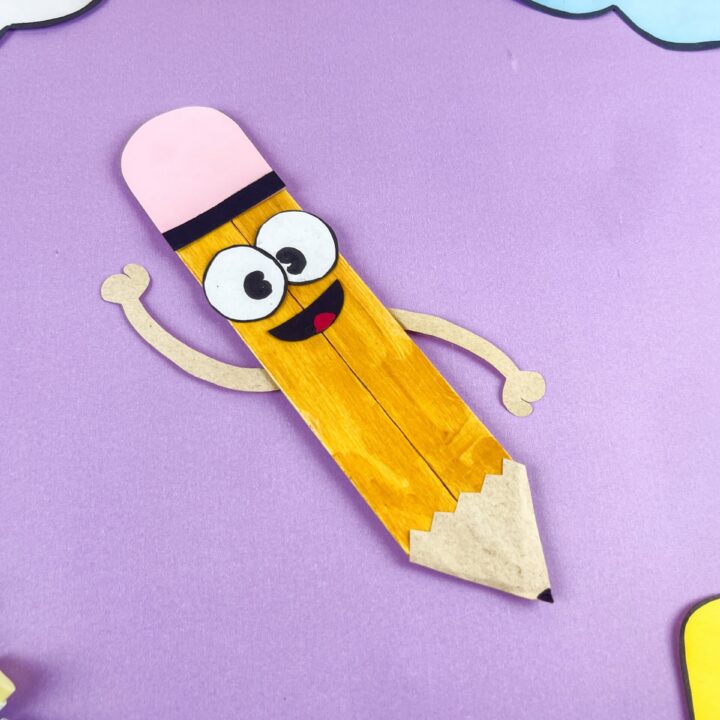
Back To School Pencil Craft
This Back To School Pencil Craft is a fun activity that turns popsicle sticks into a cheerful pencil character. Kids can paint, cut, and decorate their pencil with a smile, big eyes, and colorful details. It’s a great project for classroom themes, first week activities, or creative time at home. The finished pencil looks bright, playful, and full of personality. It also gives kids extra practice with painting, cutting, and assembling.
Materials
- 2 popsicle sticks
- Yellow paint
- Pink construction paper
- Black construction paper
- Red construction paper
- Tan or brown construction paper
- White construction paper
- Glue stick
- Black marker
Tools
- Paintbrush
- Scissors
Instructions
1. Paint the Popsicle Sticks
Paint two popsicle sticks yellow, covering the front of each stick completely. Set them aside and allow the paint to dry fully before continuing.
2. Cut the Pencil Shape
Trim the bottom ends of the popsicle sticks diagonally to create a pointed pencil shape. Arrange the sticks side by side and secure them together to form the pencil body.
3. Make the Eraser and Smile
Cut a rounded eraser shape from pink paper along with a thin strip for the band underneath it. Create a smiling mouth with a small tongue detail, then attach the smile near the center and the eraser section at the top.
4. Attach the Eyes
Cut large circles for the eyes and draw the pupils with a marker. Place the eyes above the smile to give the pencil a fun and expressive face.
5. Add the Arms and Pencil Tip
Cut arm shapes from paper and attach them to both sides of the pencil. Finish the craft by adding the pointed pencil tip to the bottom, along with a small dark point at the end. Let everything dry completely before displaying your finished pencil craft.
