
How to Make Ocean Slime with Your Kids
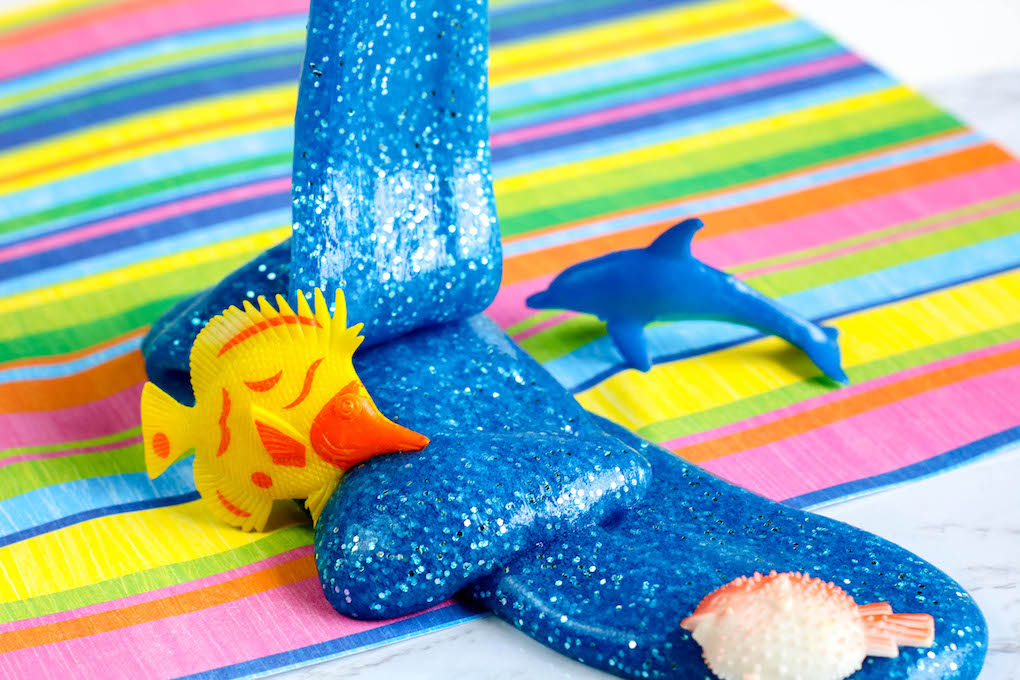
This sparkling blue ocean slime recipe turns a few simple craft supplies into an engaging under-the-sea sensory activity. Clear glue creates a translucent, water-like base, while blue coloring and silver glitter make the slime shimmer like sunlight across the ocean.
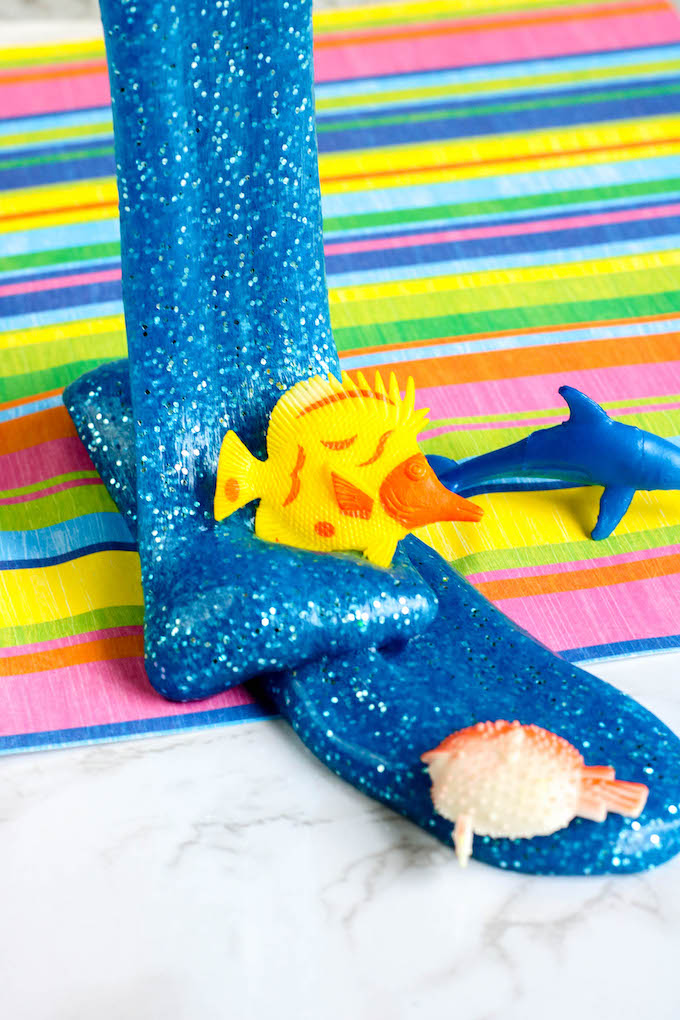
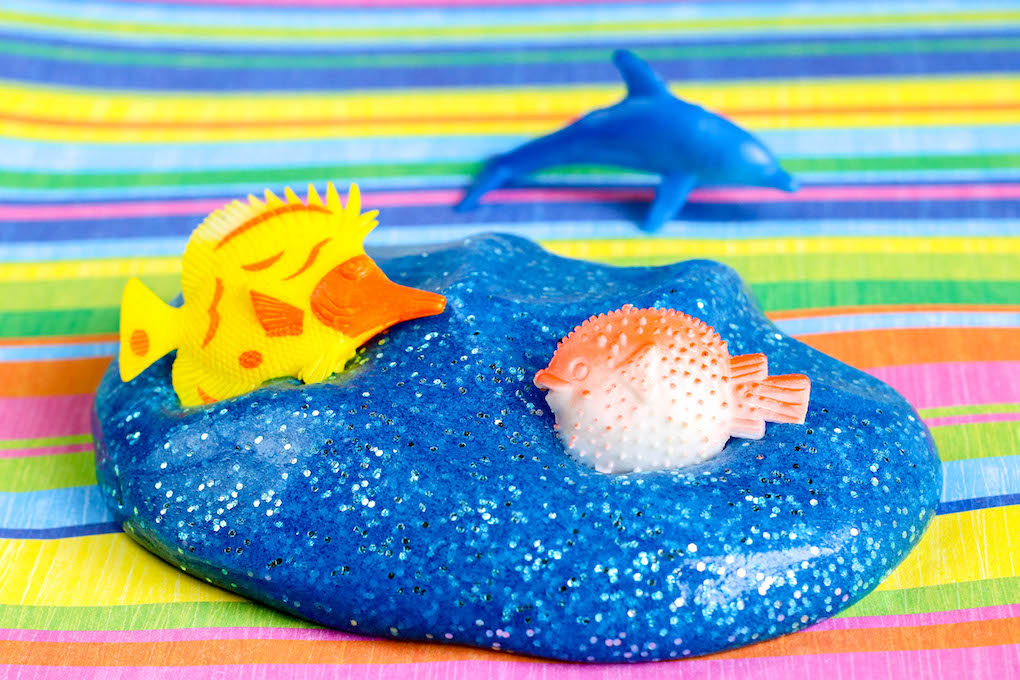
Add small plastic fish, dolphins, sharks, or other sea animals after mixing the slime to create an interactive ocean sensory experience. Children can stretch the slime into waves, hide the animals beneath the surface, and create imaginative underwater scenes.
This easy ocean slime is a fun addition to an ocean unit, Shark Week activity, summer camp, classroom science lesson, or screen-free afternoon at home.
Ocean Slime Recipe at a Glance
- Recommended age: 5 years and older with adult supervision
- Preparation time: 5 minutes
- Active time: 10–15 minutes
- Difficulty: Easy
- Theme: Ocean, beach, summer, or Shark Week
- Skills: Measuring, mixing, observation, and sensory exploration
- Storage: Airtight container at room temperature
Slime is not edible. Adults should handle the contact lens solution and supervise children throughout the activity.
Supplies Needed to Make Ocean Slime
You will need:
- ½ cup clear washable school glue (Elmer’s)
- ¼ cup warm water
- ½ teaspoon baking soda
- A few drops of blue food coloring or liquid watercolor
- 1–2 teaspoons silver or blue glitter
- Approximately 1 tablespoon contact lens solution
- Small plastic ocean animals, optional
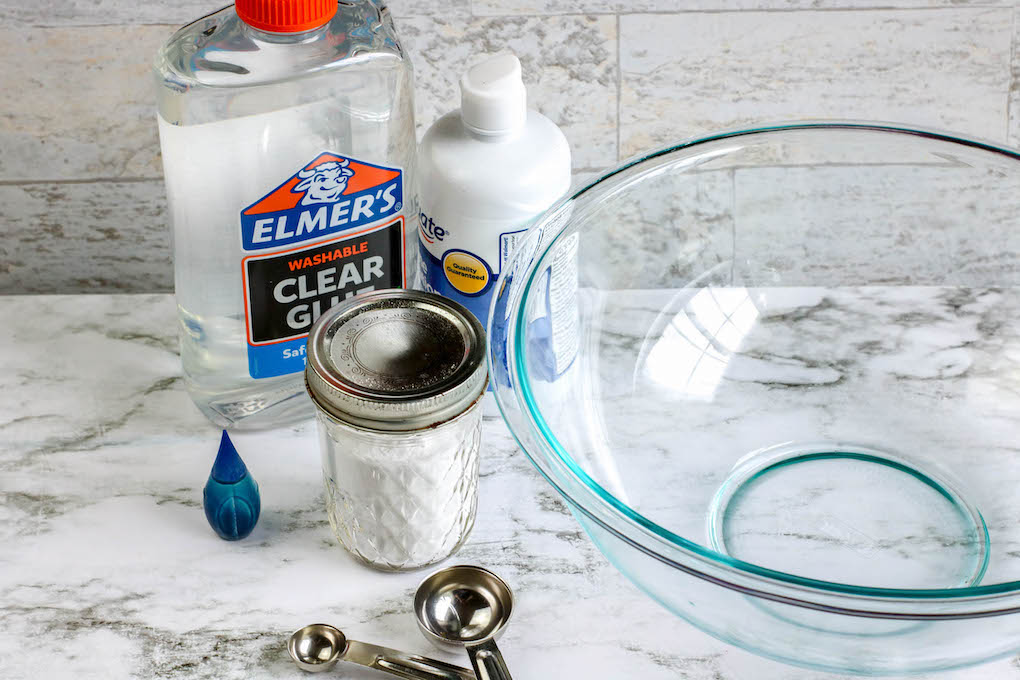
Tools:
- Medium mixing bowl
- Measuring cups and spoons
- Spoon or silicone spatula
- Airtight storage container
The contact lens solution must contain boric acid and sodium borate in its ingredient list. Saline sprays made only from salt and water will not activate the slime.
This post may contain affiliate links. As an Amazon Associate and a participant in other affiliate programs, I earn a commission on qualifying purchases. Read our disclosure policy here.



How to Make Ocean Slime
Step 1: Measure the clear glue
Pour ½ cup of clear washable school glue into a medium mixing bowl.
Clear glue creates the translucent appearance that makes this slime resemble ocean water. White school glue can be used, but the finished slime will be opaque instead of clear.
Step 2: Add warm water
Add ¼ cup of warm water to the glue. Stir slowly until the glue and water are completely combined.
Mixing slowly helps prevent too many air bubbles from forming. The bubbles are harmless, but they can make clear slime appear cloudy immediately after mixing.
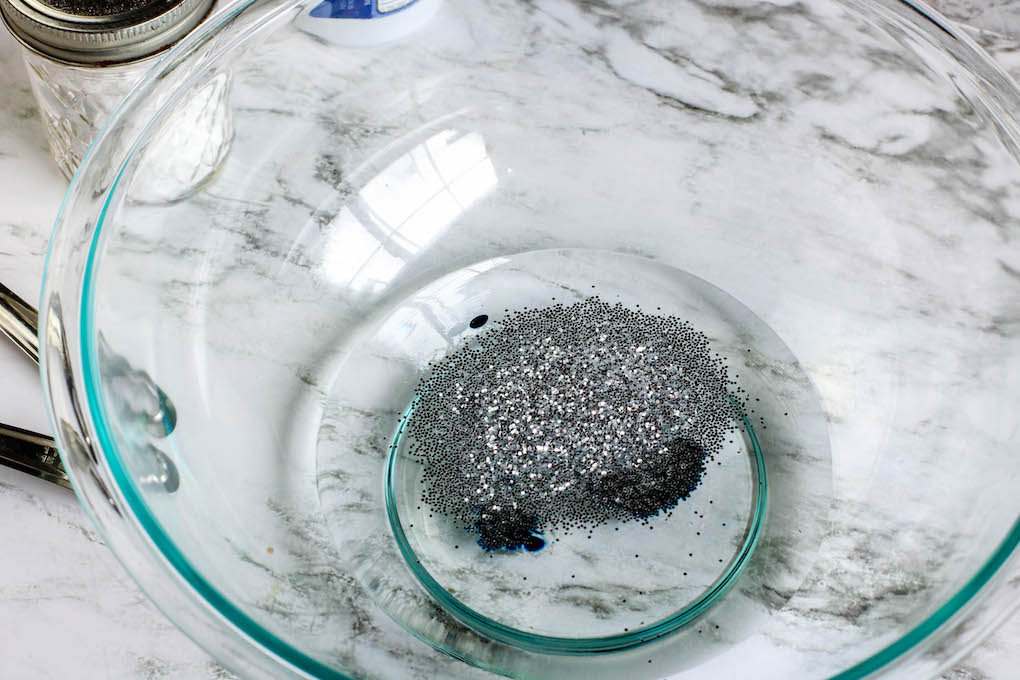
Step 3: Add the ocean colors
Add a few drops of blue food coloring or liquid watercolor. Begin with one or two drops, stir, and add more until the slime reaches the shade of blue you want.
Add the silver or blue glitter and stir until it is distributed throughout the glue mixture.
For a lighter tropical-ocean color, use turquoise coloring. For deep-ocean slime, combine blue with one very small drop of green or purple.
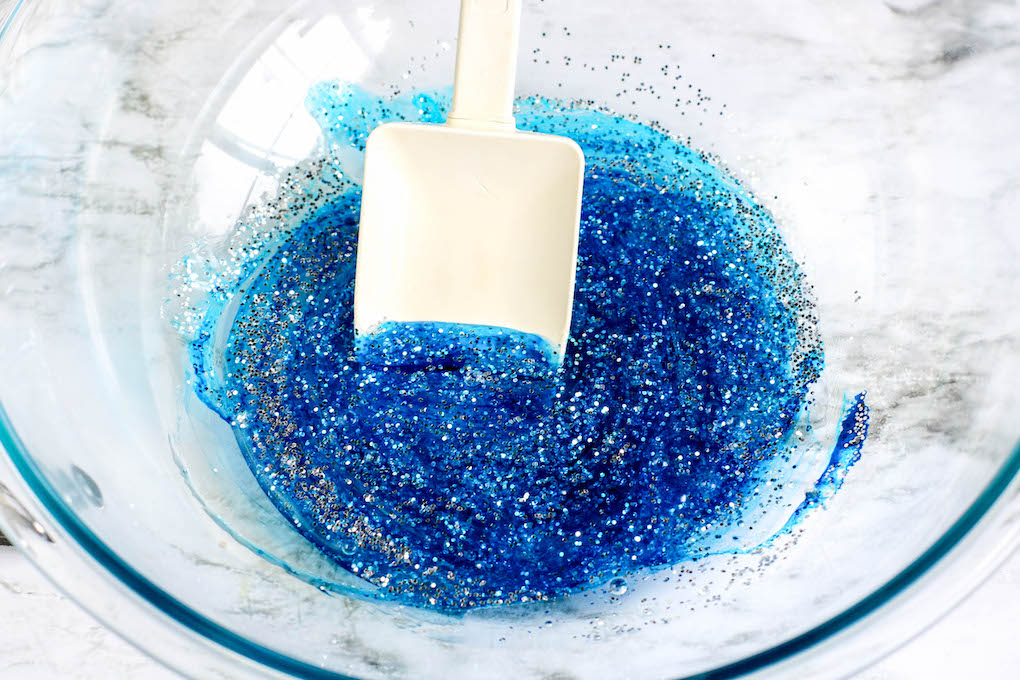
Step 4: Mix in the baking soda
Add ½ teaspoon of baking soda and stir thoroughly. The baking soda helps improve the texture and firmness of the finished slime.
Make sure no dry clumps remain before adding the contact lens solution.
Step 5: Add the slime activator
Add the contact lens solution gradually, stirring continuously. Begin with approximately 2 teaspoons and add more only as needed.
The mixture should begin pulling away from the sides of the bowl and forming a soft ball. Different brands of glue and contact solution can behave differently, so avoid pouring in the entire amount at once.
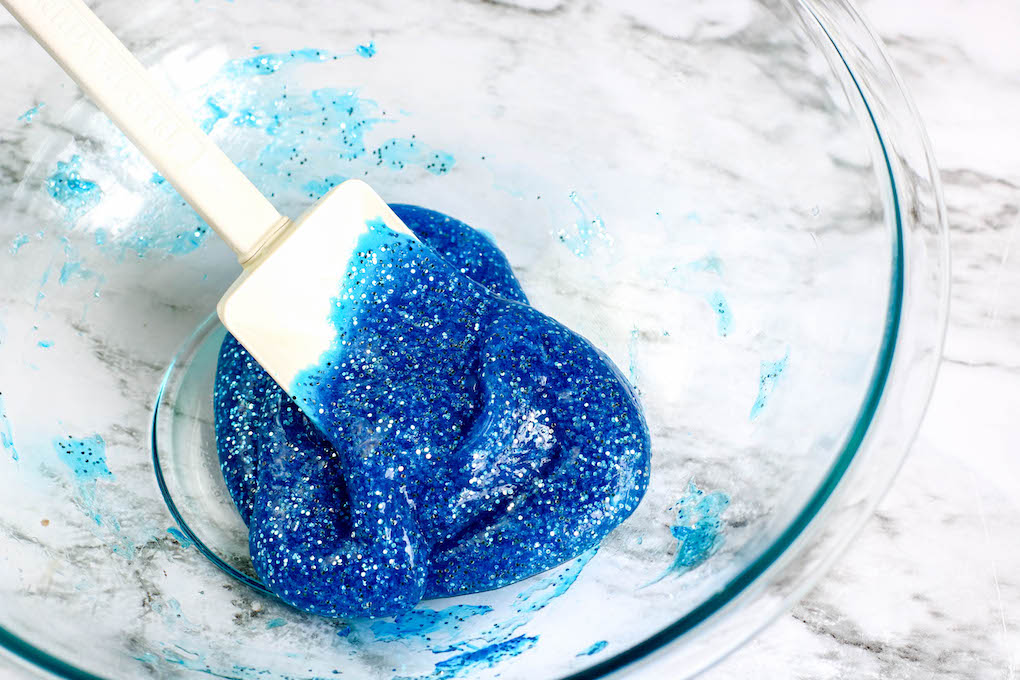
Step 6: Knead the slime
Remove the slime from the bowl and knead it with clean hands for two to three minutes. It may feel sticky at first, but it should become smoother and less sticky as it is worked.
If it remains extremely sticky after kneading, place one or two drops of contact solution on your hands and continue kneading. Adding too much activator can make the slime stiff and likely to tear.
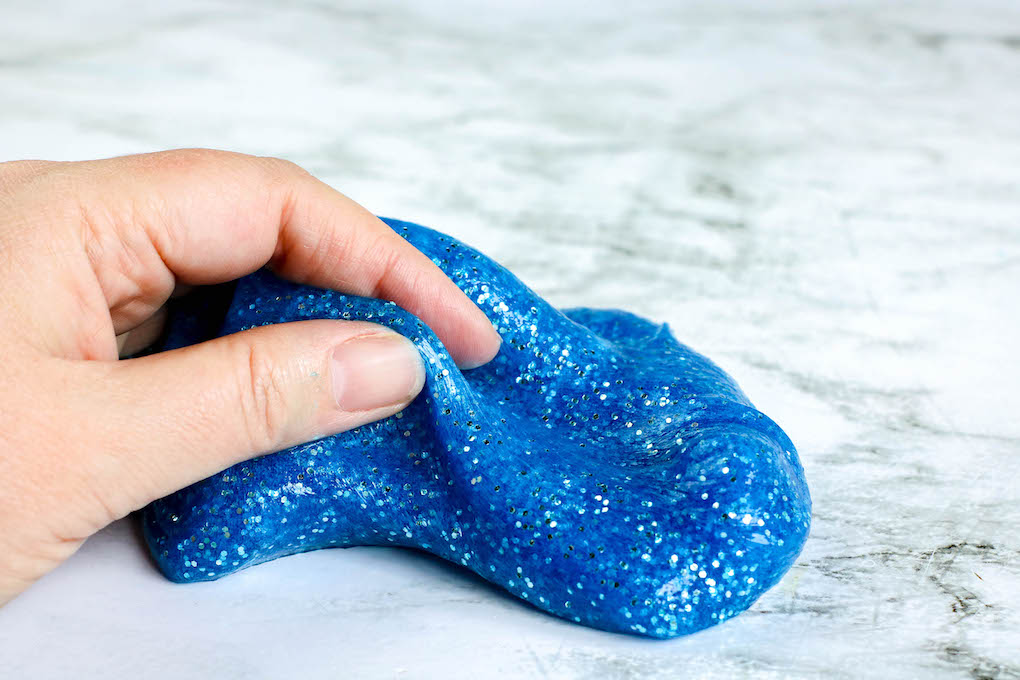
Step 7: Add ocean animals
Once the slime has reached the desired consistency, add plastic ocean animals for imaginative play. Children can hide the animals beneath the “water,” rescue them, make ocean waves, or sort them by size and type.
Use toys that are large enough not to present a choking hazard, and remove them before storing the slime.
Why This Ocean Slime Recipe Works
Slime forms because of a reaction between the polyvinyl acetate in washable school glue and the borate ingredients found in the contact lens solution. The borate ions connect—or cross-link—the long polymer chains in the glue.
Before activation, the glue flows like a thick liquid. Once the chains become linked, the mixture develops the stretchy, squishy texture associated with slime.
Ocean slime is an example of a viscoelastic material, meaning it displays properties of both a liquid and a solid. It can slowly spread across a surface like a thick liquid, but it can also be picked up, stretched, rolled, and squeezed.
Ask children to observe what happens when they:
- Pull the slime slowly
- Tug it quickly
- Roll it into a ball
- Leave it resting on a flat surface
- Press an ocean animal into it
- Stretch it into a long ocean wave
These simple observations turn slime-making into an approachable science activity.
Ocean Slime Safety
Homemade slime should always be prepared and used with responsible adult supervision.
- Slime is not food and should never be tasted or swallowed.
- The contact lens solution contains borate ingredients even when a recipe is described as “borax-free.”
- Adults should measure and add the contact lens solution.
- Avoid using slime on broken, irritated, or sensitive skin.
- Stop playing and wash the skin if redness, itching, burning, or irritation occurs.
- Wash hands thoroughly after making and playing with slime.
- Keep slime away from the eyes, mouth, hair, carpet, fabric, upholstered furniture, and pets.
- Small ocean animals and loose glitter may present choking hazards.
- This activity is not suitable for children who still place toys or craft materials in their mouths.
A washable craft mat, plastic tablecloth, or rimmed tray can help contain the slime and glitter.
How to Fix Ocean Slime
Slime consistency can vary depending on the glue, water, room temperature, and contact solution used. Most common problems can be corrected.
Why is my slime too sticky?
Knead the slime for another two or three minutes before adding more activator. Freshly mixed slime often feels sticky at first.
If it still coats your hands, add contact solution one or two drops at a time and continue kneading. Do not pour in a large amount at once.
Why is my slime hard or rubbery?
Too much contact solution was probably added. Knead a small amount of warm water into the slime, a few drops at a time.
The texture may soften, but severely overactivated slime cannot always be completely restored.
Why does my slime break instead of stretch?
Cold or overactivated slime is more likely to tear. Warm it between your hands and knead it slowly. If needed, add a few drops of warm water.
Why is my clear slime cloudy?
Stirring and kneading trap tiny air bubbles inside clear slime. Store it in an airtight container and leave it undisturbed for one or two days. Many of the bubbles should gradually disappear.
Why didn’t my slime form?
Check the label on your contact lens solution. It must contain boric acid and sodium borate. A simple sterile saline spray will not activate PVA glue.
Also confirm that you used washable PVA school glue. Some specialty, generic, or non-PVA glues may not work with this recipe.
How to Store Homemade Slime
Store ocean slime in a clean, airtight container or resealable plastic bag at room temperature. Press out excess air before sealing the container.
Keep it away from direct sunlight and heat, which can change the texture. Always have children wash their hands before playing to reduce the amount of dirt and bacteria transferred to the slime.
Discard the slime if it develops:
- An unusual odor
- Visible mold
- Excessive discoloration
- Dirt that cannot be removed
- A permanently watery or dried-out texture
Homemade slime does not have a guaranteed storage life. Replace it whenever its appearance, smell, or texture changes.
Ocean Sensory Play Ideas
The finished slime can be used for much more than stretching and squishing.
Rescue the Ocean Animals
Hide several plastic sea creatures inside the slime. Ask children to find and identify each one.
Sort the Sea Creatures
Provide different fish, sharks, whales, dolphins, turtles, and other animals. Children can sort them by size, color, habitat, or animal group.
Create Ocean Layers
Make separate batches in light blue, turquoise, and dark blue. Layer them to represent shallow water, the open ocean, and the deep sea.
Make Ocean Animal Impressions
Press textured plastic animals and seashell shapes into the slime. Compare the different patterns they leave behind.
Do not use real shells with sharp or broken edges.
Practice Ocean Vocabulary
Introduce words such as:
- Marine
- Habitat
- Predator
- Prey
- Coral reef
- Tide
- Current
- Surface
- Deep sea
Measure the Stretch
Use a ruler or measuring tape to see how far the slime stretches when pulled slowly. Compare that measurement with what happens when it is pulled quickly.
When to Use This Ocean Activity
Ocean slime works well for:
- Preschool or elementary ocean units
- Homeschool science lessons
- Shark Week activities
- Beach-themed summer camps
- Ocean birthday parties
- Rainy-day activities
- Sensory play
- Classroom science centers
- Marine-animal lessons
- Under-the-sea party favors
If you make the slime for a party, prepare separate containers for each child rather than having everyone handle one large batch. Label the containers clearly and remind parents that the slime is not edible.
Can Kids Help Make Ocean Slime?
Children can help measure the glue and water, choose the color, add glitter, stir the mixture, and knead the finished slime.
An adult should measure and add the contact lens solution. Younger children may also need help kneading because the mixture can be sticky during the first few minutes.
I have spent years creating hands-on learning activities as a homeschool mom and co-op teacher, and activities like this are especially useful because they combine creativity, science, and open-ended play. The best learning often happens naturally as children measure, predict, observe, and ask questions during the process.
Ocean Slime Variations
Tropical Ocean Slime
Use turquoise coloring, iridescent glitter, and tropical fish figures to create a bright coral-reef-inspired version.
Deep-Sea Slime
Add dark blue coloring and a tiny amount of purple. Include deep-sea animal figures such as an anglerfish, squid, or shark.
Mermaid Slime
Combine blue, turquoise, purple, and iridescent glitter. Add mermaid-safe plastic accessories that are large enough for the children’s age group.
Shark Week Slime
Use gray and blue glitter with shark figures. Hide the sharks inside the slime and have children search for them.
Glitter-Free Ocean Slime
Skip the loose glitter and rely on blue coloring for the ocean effect. This version is easier to clean up and better for classrooms that avoid loose glitter.
More Ocean Activities for Kids
Continue your ocean unit with hands-on crafts and printable learning activities:
More Homemade Slime Recipes
Try another colorful slime activity:
Pair it with free ocean-themed printables, such as a color-by-number ocean page or fun printable ocean facts, to teach kids while they play.
- Edible Gingerbread Slime Recipe
- Honey Slime Recipe (Only 3 Ingredients)
- How to Make Sand Slime
- DIY Fall Fun: How to Make Eyeball Slime
- How to Make Orange Slime
- Glow in the Dark Slime Recipe
- How to Make Edible Slime from Jello
- Red, White, and Blue 4th of July Slime
- How to Make Fluffy Unicorn Slime
Make This Sparkly Ocean Slime
This glittery blue ocean slime combines sensory play, imaginative storytelling, and a simple polymer science demonstration in one memorable activity. Children can create waves, discover hidden animals, compare textures, and build their own underwater scenes.
Prepare the ingredients, cover your work surface, and enjoy creating a sparkling stretch of pretend ocean for your next summer, homeschool, or classroom activity.
In addition to making Ocean Slime, this fun ocean-themed playdough activity can be used to sculpt different ocean creatures or create an underwater scene with coral reefs, rocks, and seaweed.
What is ocean slime made from?
This ocean slime is made from clear washable PVA school glue, warm water, baking soda, blue coloring, glitter, and contact lens solution containing boric acid and sodium borate.
Can I make ocean slime with white glue?
Yes. White washable school glue will produce a soft blue slime, but it will have an opaque appearance rather than the translucent look of ocean water.
Is this ocean slime borax-free?
The recipe does not use powdered borax, but the contact lens solution contains borate ingredients that activate the glue. It should not be described as completely borax- or borate-free.
Can I use saline spray to make slime?
Only a contact or saline solution containing boric acid and sodium borate will activate the glue. Plain saltwater nasal spray will not work.
Can I make ocean slime without glitter?
Yes. The glitter is decorative and can be omitted without affecting how the slime forms.
Can I put real seashells in slime?
Smooth, clean shells may be used with close supervision, but plastic sea animals are generally safer. Do not use shells with sharp, chipped, or broken edges.
How long does ocean slime last?
There is no guaranteed lifespan for homemade slime. Store it in an airtight container and discard it if it develops an unusual smell, mold, discoloration, or an undesirable texture.
What age is this slime activity for?
This activity is most appropriate for children aged five and older who understand that slime and small toys must not be placed in their mouths. Continuous adult supervision is required.
Ocean Slime
Make sparkling blue ocean slime with clear washable glue, blue coloring, silver glitter, and plastic sea animals. This easy sensory activity is perfect for ocean units, Shark Week, summer camps, and under-the-sea play.
Materials
- ½ cup clear washable PVA school glue
- ¼ cup warm water
- ½ teaspoon baking soda
- A few drops of blue food coloring or liquid watercolor
- 1–2 teaspoons silver or blue glitter
- Approximately 1 tablespoon contact lens solution containing boric acid and sodium borate
- Plastic ocean animals, optional
Tools
- Medium mixing bowl
- Measuring cups and spoons
- Spoon or silicone spatula
- Airtight storage container
Instructions
- Pour your clear glue into the mixing bowl. Make sure to pour every ounce of it.
- Add about 1/4 cup of water into the empty glue container and shake. This will wash up the remaining glue in the bottle. Pour the warm water into the mixing bowl and stir.
- Remix baking soda, ensuring it is incorporated well into the mixture.
- Combine the silver glitter and food coloring in the glue mixture. Stir thoroughly to ensure that all of the glue is colored.
- Stir well as you add a bit of your contact lens solution.
- Take the slime out of your bowl, leaving the excess liquid in. Knead the slime-like bread dough so all the ingredients come together. You'll know when the slime is ready when it is no longer sticky to the touch.
- You can optionally add the plastic sea creature you have prepared. This makes the activity more fun and can help your kids learn about different sea creatures.
Notes
- The contact lens solution must list boric acid and sodium borate among its ingredients.
- Add the activator slowly. Too much can make the slime stiff or rubbery.
- Slime is not edible and requires adult supervision.
- Remove plastic animals before storing.
- Wash hands after playing and discard the slime if its appearance, smell, or texture changes.
