
Day 4 of Creation Craft for Kids: Sun, Moon, and Stars Paper Plate Activity
Day 4 of Creation Craft for Kids is here — and it might just be my favorite yet! In this fun and easy Bible craft for kids, we’re making a Sun, Moon, and Stars Paper Plate Activity inspired by Genesis 1:14-19.
Your little ones will love learning how God created the lights in the sky while bringing the story to life with a simple, hands-on paper-plate project. Perfect for Sunday school, homeschool, or family devotion time!
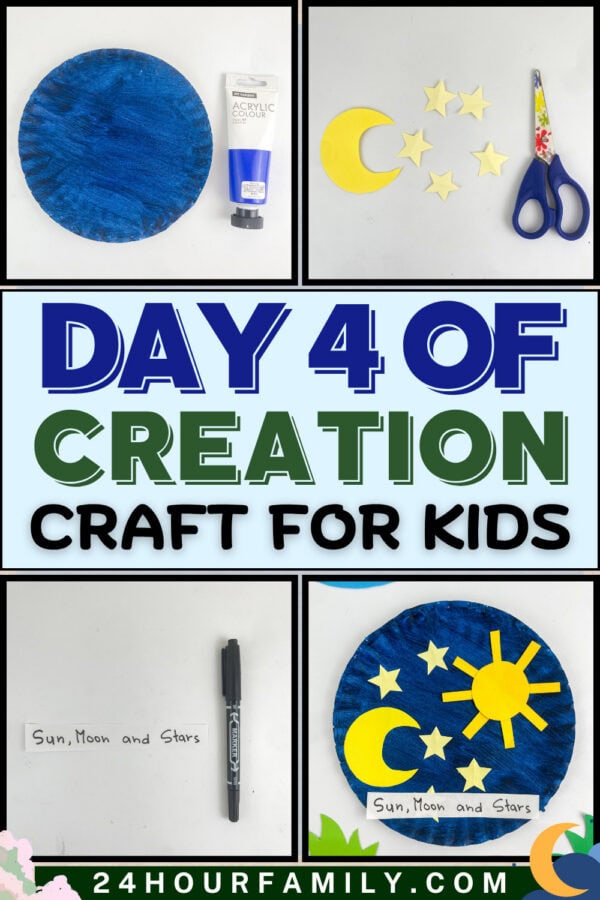
Day 4 of Creation Craft for Kids
As we get ready to make our Day 4 of Creation craft for kids, let’s look back at the fourth day of creation. God created the sun, moon, and stars, placing the sun in the sky for daylight and the moon to light the night.
He also placed the stars in the sky, filling the heavens with light. And then, as if that wasn’t enough, God saw that it was good and filled the sky with stars too.
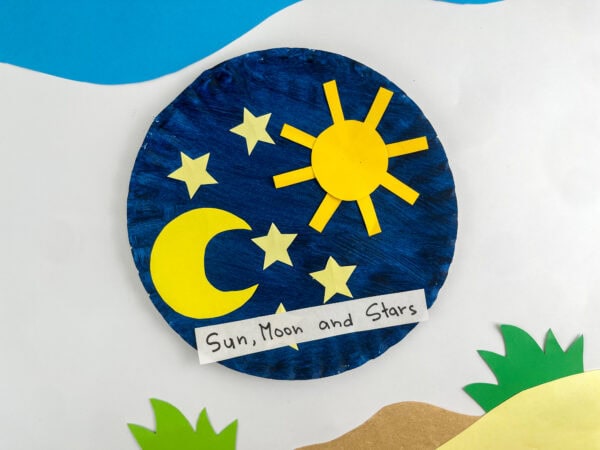
God created all of this on day four, and it’s such a rich part of the creation story to explore with kids.
The sun and moon aren’t just pretty things in the sky; they mark time, seasons, and days. It’s a beautiful Bible story moment that helps kids connect with just how intentional and detailed God’s creation really is.
This post may contain affiliate links. As an Amazon Associate and a participant in other affiliate programs, I earn a commission on qualifying purchases. Read our disclosure policy here.
Stock Your Home 9-Inch Paper Plates Uncoated, Everyday Disposable Plates 9KTOJOY 100Pcs Jumbo Wooden Craft Sticks Popsicle Stick 6” Long x 3/4”Wide Treat Ice Pop for DIY Crafts,Home Art Projects, Classroom SuppliesMod Podge Gloss Sealer, Glue & Finish: All-in-One Craft Solution- Quick Dry, Easy Clean, for Wood, Paper, Fabric & More. Non-Toxic – Craft with Confidence, Made in USA, 16 oz., Pack of 1Crayola Construction Paper – 480ct (2pck), Bulk Teacher Supplies, Back to School Essentials For Kids, Classroom Must Have, Arts & Crafts Art PaperGoodyKing Arts and Crafts Supplies for Kids – 1170Pcs+ Craft Art Supply Kit for Toddlers Kids Craft Supplies & Materials Age 4 5 6 7 8 9 – All in One D.I.Y. Crafting School Supplies900 PCS Pom Poms, Multicolor Bulk Pom Poms Arts and Crafts, Soft and Fluffy Craft Pom Poms, Assorted Sizes Pompoms, for Arts and Craft Making Decorations


What You’ll Need To Make This Bible Craft:
Here’s your quick materials list for this Day 4 of creation craft for kids:
- Paper plate (one per child)
- Blue acrylic paint
- Construction paper
- Glue stick
- Scissors
- Black markers
- Printable Template
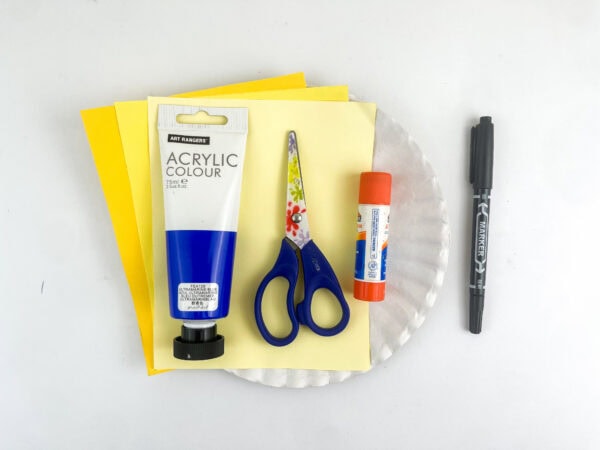
You can also grab a printable template if you want pre-drawn shapes for the sun, moon, and stars; it makes it so much easier, especially for younger kids.
How to Make a Day 4 of Creation Craft for Kids
Step 1: Paint the Paper Plate Blue
First things first — paint the paper plate blue! Cover the entire surface with paint to make the sky portion of your craft.
We used blue acrylic paint, and it dried beautifully with that rich, textured look. You can also use a piece of blue construction paper glued onto the plate if you’d rather skip the painting step.
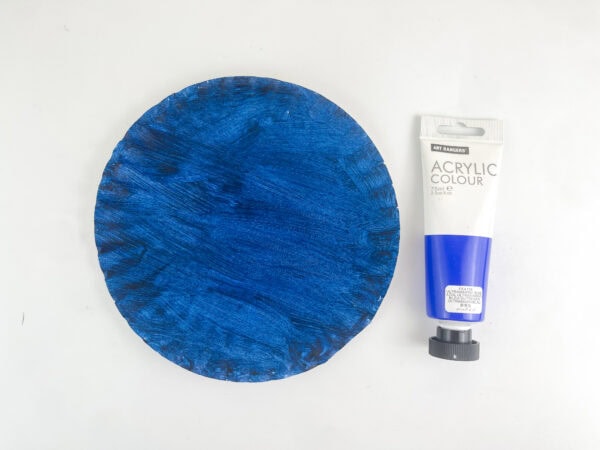
Make sure it has dried fully before moving to the next step. (Tip: if you’re doing this for a preschool group, paint the paper plates ahead of time so they’re ready to go!)
Step 2: Cut Out the Sun
Now it’s time to create a sun! From your yellow paper, cut out a large circle; this will be the body of the sun. Then cut several strips to serve as the sun rays. Arrange the rays behind the circle, glue them in place, and then put the sun together by gluing the circle on top of the rays.
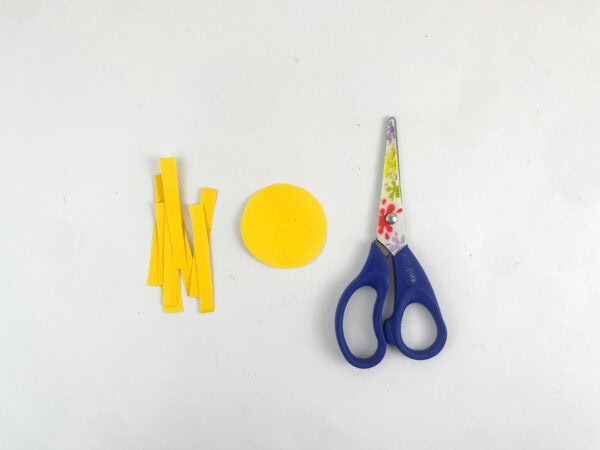
This is a great time to show the children how the sun is the “greater light” that rules the day. You can talk about how we see the sun every morning, how it gives us warmth and light, and how God made the sun specifically to help us mark daytime.
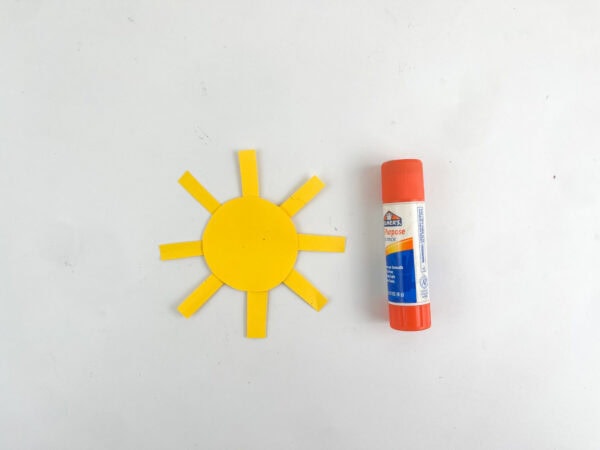
If you have cookie cutters, you can also use them to trace the sun shape on card stock for a cleaner look. Let the children cut the shapes out themselves (with supervision, of course) to make the activity more hands-on.
Step 3: Cut Out the Moon and Stars
Next, cut a crescent moon shape from your brighter yellow paper — this represents the moon in the sky that God made the smaller light to illuminate our nights. Then, from a lighter yellow or cream-colored piece of construction paper, cut out several stars. We made about five stars of different sizes — you can make stars big and small to scatter across the plate.
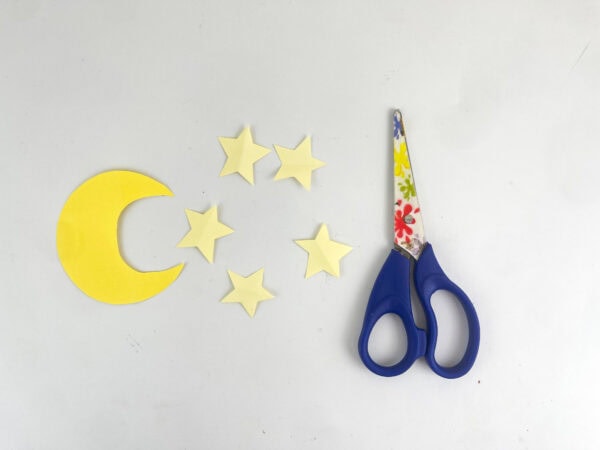
If you want to make stars quickly, cookie cutters work great as tracing guides! You could also provide star stickers as an alternative if scissors feel like too much for your youngest crafters.
For a really magical look, add glitter to the stars or use glow-in-the-dark paint so they “light up” — the kids will absolutely love it.
Step 4: Glue Everything to the Plate
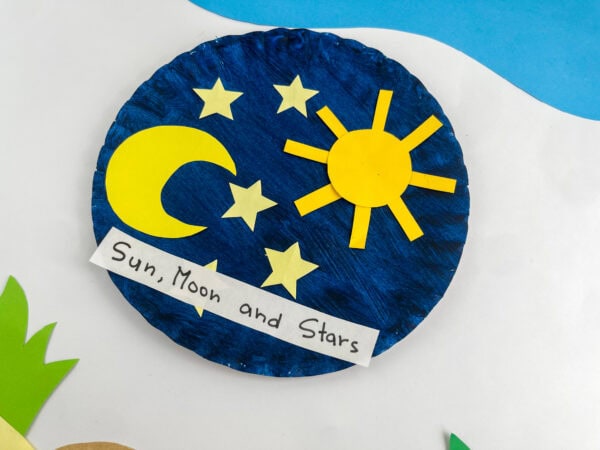
Now comes the fun part! Assist kids as they add the sun, moon, and stars to the blue paper plate. There’s no wrong way to arrange them; encourage creativity! Some kids like to put the sun in one corner and the moon in another, with many stars scattered in between.
Others like to count all the stars as they place them.
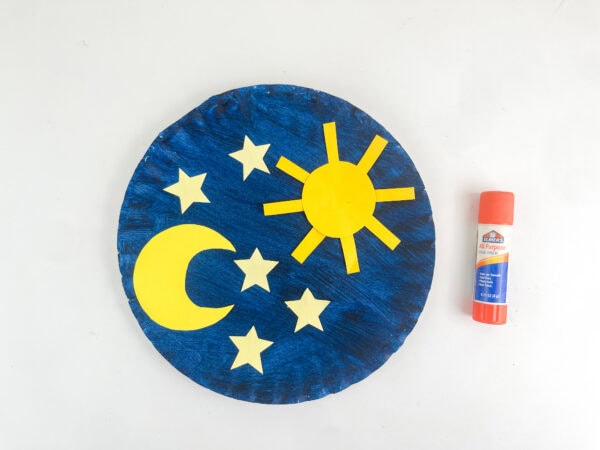
Give the children time to glue everything down. A glue stick works perfectly here and is much less messy than liquid glue for preschoolers.
Step 5: Add the Label
Finally, write “Sun, Moon and Stars” on a small strip of white paper,
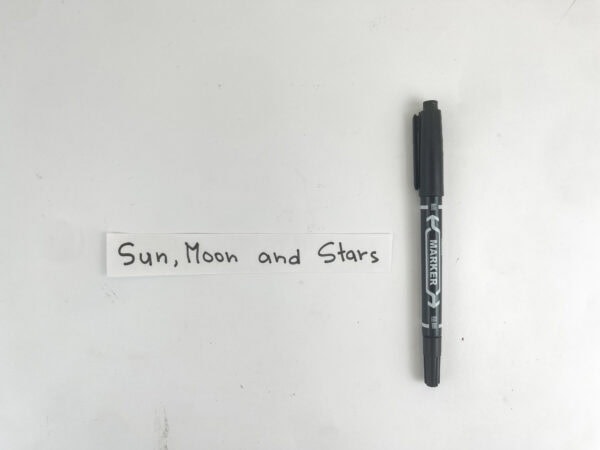
then glue it to the bottom of the plate.
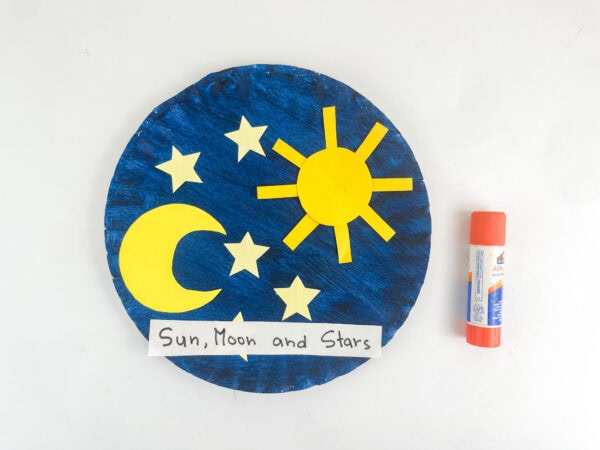
This is a wonderful way to help young children connect the visual craft with the words from the bible story.
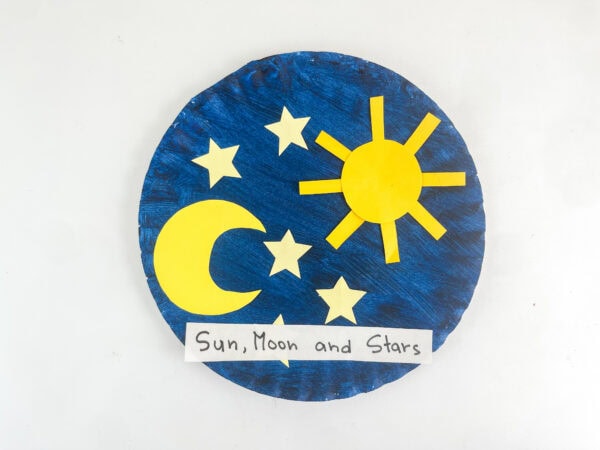
Tips for Preschool and Sunday School Groups
Here are a few things that can help children get the most out of this activity:
Use hand motions during the bible lesson to help children remember the story. Point up for the sun, trace a crescent in the air for the moon, and wiggle your fingers for the stars. Hand motions are a fantastic way to help children learn and retain information.
Add a solar system discussion for older preschoolers; talk about what the sun is (a star!), how far away it is, and the reason it looks different from night to night. This is a great bridge between the bible lesson and science.
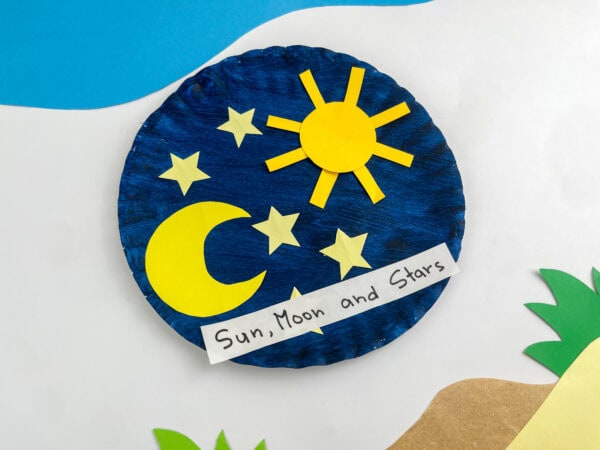
Show the children a coloring sheet or a creation book before starting Day 4 of the creation craft for kids, so they have a visual reference for the story.
Let the children do as much of the cutting and gluing as they can. Even year-old preschool children can tear tissue paper or press star stickers onto the plate — the process matters as much as the product!
Provide star stickers or pre-cut shapes for kids who struggle with scissors.
Help young children trace shapes using a large circle (like a jar lid) for the sun and a crescent stencil for the moon.
Why This Craft Works So Well
This day 4 of creation craft for kids is more than just a fun afternoon project. It’s designed to help children connect with God’s creation in a tangible, hands-on way.
When a child makes the sun with their own hands, glues the moon in the sky they’ve painted, and scatters stars across a blue paper plate, they’re not just making art. They’re internalizing the story of creation.
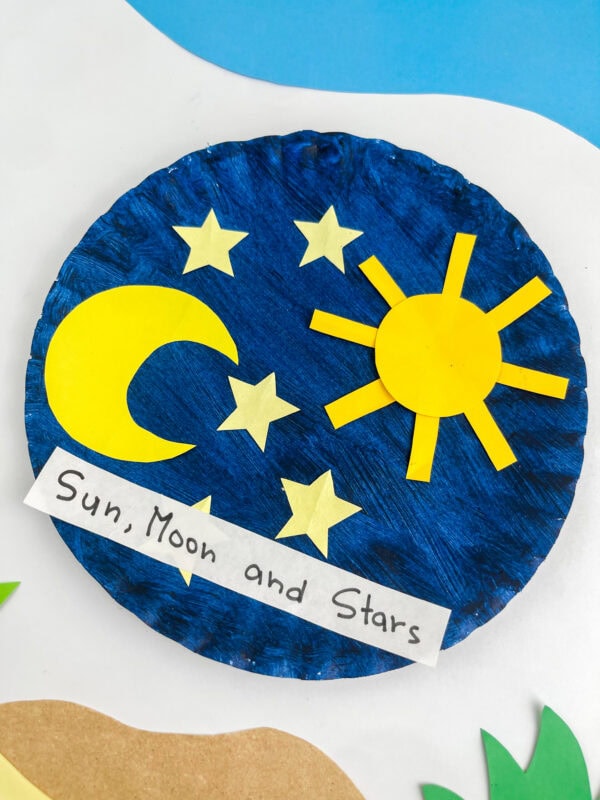
Children learn best through doing, and crafts and activities like this one bring the creation story to life. This is especially true for preschoolers, who are just beginning to understand big concepts like day and night, light and dark, and the passage of time.
Optional Add-Ons and Variations
Want to level up this activity? Here are a few ideas:
- Sun catcher version: Use contact paper on a large circle of card stock, and let the children place tissue paper, star stickers, and yellow paper cutouts on it. Place it in a sunny window and see it light up beautifully.
- Cake pan stamping: Dip cookie cutters into yellow paint and stamp sun and star shapes onto the plate instead of cutting.
- Blue paper background: Use a piece of blue construction paper or black construction paper instead of painting the plate.
- Printables: Grab a printable template with the sun, moon, and star shapes pre-drawn so kids just need to cut and color. Printables make prep so much faster! (A coloring sheet version also works well for quiet time or take-home activity.)
- 2 crafts in one: Pair this plate with a separate “God made” banner where children connect each day of creation to its craft — a fun way to wrap up the full 7 days of creation.
More Christian Crafts to Enjoy
If you enjoyed creating this Day 4 of Creation Craft for Kids, these faith-filled crafts are a wonderful way to keep exploring Bible stories and Christian themes through hands-on creativity.
- Cross Suncatcher Craft – A beautiful craft that catches the sunlight while serving as a colorful reminder of faith and God’s love.
- Hosanna Palm Leaf Craft with Palm Leaf Template – A fun Palm Sunday activity that helps children learn about Jesus’ triumphant entry into Jerusalem.
- Palm Sunday Donkey Craft – An engaging craft that brings the Palm Sunday story to life and encourages discussion about this important Bible event.
- He Is Risen Easter Paper Craft – A meaningful Easter project that celebrates the resurrection of Jesus in a creative and memorable way.
- Day 2 of Creation Craft
- Day 3 of Creation Craft
- Day 5 of Creation Craft
- Day 6 of Creation Craft
- Day 7 Genesis Craft
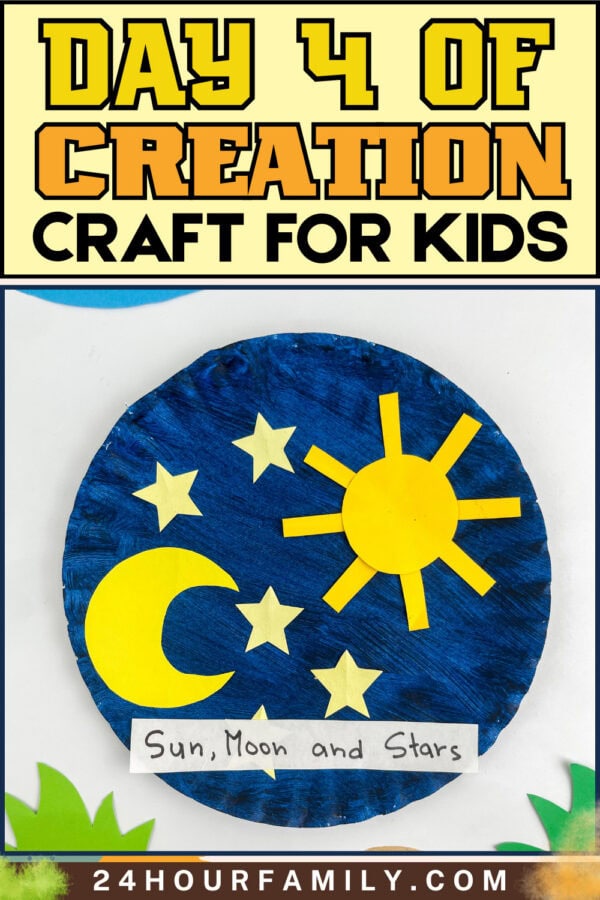
Creation Day 4 is such a joyful story to explore with kids. God saw everything He had made and called it good, and we think your little ones’ paper plate suns and moons are going to look pretty good too!
Whether you’re using this Day 4 of creation craft for kids in a Sunday school classroom, a preschool setting, or just doing it at home on a rainy afternoon, I hope this activity brings some joy and wonder into your day.
Who is this Day 4 creation craft designed for?
Children ages 3 and older can have fun creating this craft. Younger preschoolers (2–3 years old) can participate with a little extra help — let them tear tissue paper, press star stickers, or paint the paper plate while you handle the cutting. Older kids (4–6) can do most of the steps independently with light supervision.
What if I don’t have blue paint?
No worries! You can use a piece of blue or black construction paper glued onto the plate instead. The dark background makes the yellow sun, moon, and stars pop either way beautifully.
Do I need a printable template for the shapes?
Not at all — but it definitely makes things easier, especially in a group setting like preschool or Sunday school. If you don’t have a printable, you can trace a jar lid for the sun circle, freehand a crescent moon shape, and use cookie cutters to trace the stars. Quick and easy!
What bible verse goes with this craft?
Genesis 1:16 explains that God made the greater light for the day and the lesser light for the night, each with its own purpose. He also made the stars.” It’s short enough for little ones to learn and ties directly to what they’re making!
Can I swap out any of the materials?
Absolutely! This Day 4 of creation craft for kids is very versatile. Swap yellow construction paper for card stock for sturdier shapes. Use tissue paper instead of paint for the background. Add glitter, glow-in-the-dark paint, or star stickers to give it extra sparkle. There’s really no wrong way to do it — make it work with what you have!
Day 4 of Creation Craft for Kids
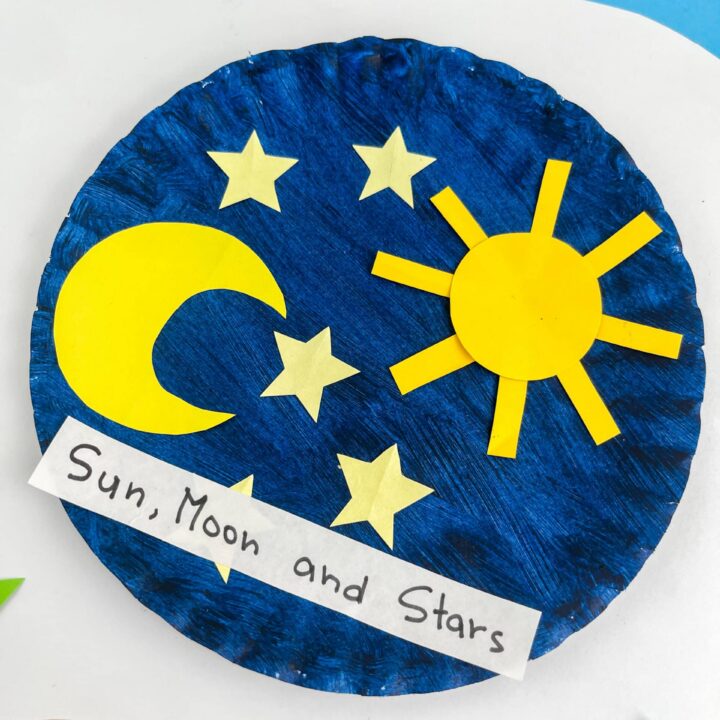
This Day 4 of Creation Craft for Kids helps children learn how God created the sun, moon, and stars. Kids will turn a simple paper plate into a bright night-and-day sky filled with light and wonder. It’s a fun and easy hands-on activity that builds creativity while teaching a Bible lesson. This craft works well for preschoolers, Sunday school, or homeschool learning. Each finished plate shows the beauty of the sky God made.
Materials
- Paper plate
- Blue acrylic paint
- Yellow construction paper
- Light yellow or cream construction paper
- White construction paper (optional for stars)
- Printable template
Tools
- Glue stick
- Scissors
- Black marker
Instructions
1. Paint the Sky Background
Paint the entire paper plate blue to create the sky. Make sure the color is even and fully covers the surface. Let it dry completely before adding any paper pieces. If preferred, you can skip paint and use blue construction paper instead.
2. Create the Sun
Cut a large circle from yellow paper for the sun’s center. Cut thin strips from the same paper to form rays. Arrange the rays behind the circle and glue them in place so they spread outward. Once ready, attach the circle on top to finish the sun.
3. Make the Moon and Stars
Cut a crescent moon shape from lighter yellow or cream paper. Then cut several star shapes in different sizes from yellow or white paper. You can also use templates or stickers to make this step easier for younger children.
4. Assemble the Sky Scene
Glue the sun, moon, and stars onto the blue paper plate. Let children place them freely across the surface to create their own night-and-day sky. Press each piece down firmly so it sticks well.
5. Add the Label
Write “Sun, Moon and Stars” on a small strip of white paper using a black marker. Glue it onto the bottom of the plate to connect the craft with the Bible lesson.
6. Let It Dry and Display
Allow all pieces to dry completely before handling. Once finished, display your craft on a wall, bulletin board, or as part of a creation-themed series.
