
Day 2 of Creation Craft for Kids: God Made the Sky and Water
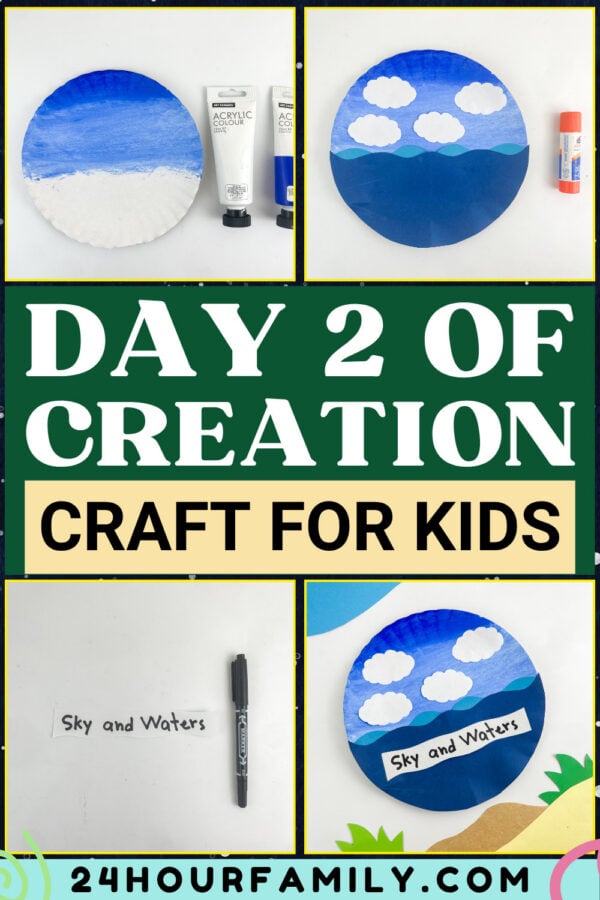
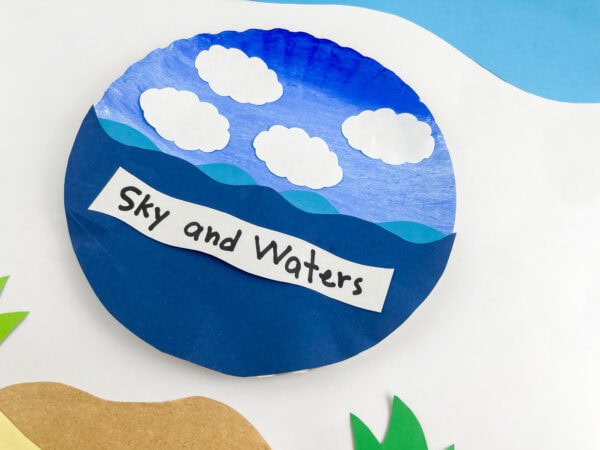
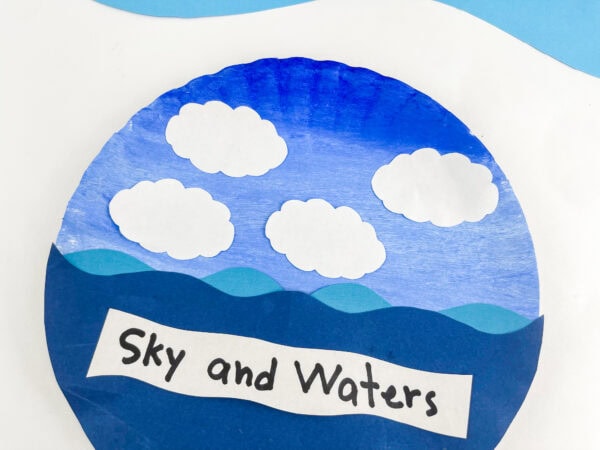
On Day 2 of Creation, God separated the waters and created the sky above, and now your kids can bring that moment to life with this fun and colorful Bible craft! Inspired by Genesis 1:6-8, this easy Creation Day 2 craft for kids features bright blue colors, fluffy clouds, and rolling waves, making it a perfect hands-on activity for Sunday school, homeschool, or family devotion time.
Great for toddlers, preschoolers, and early elementary kids!
Day 2 of Creation Craft for Kids
There’s something magical about what happens when children learn through doing. A bible lesson can absolutely happen through reading and discussion, but a bible activity that kids can touch, build, and take home?
That’s the kind of thing they remember.
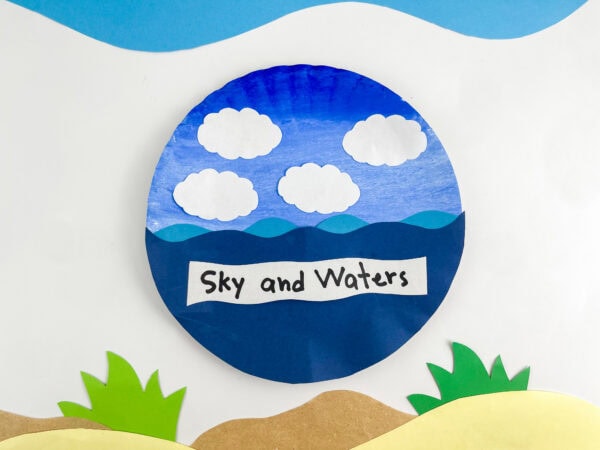
This Day 2 of creation craft for kids is an age-appropriate way to make a bible lesson stick.
Preschool kids especially are at the perfect stage for this; they’re curious, they love hands-on projects, and they’re building fine motor skills every time they cut, glue, and assemble.
Cutting wave shapes is great for hand-eye coordination, and gluing pieces together gives them such a sense of accomplishment.
Supplies You’ll Need To Make This Bible Craft:
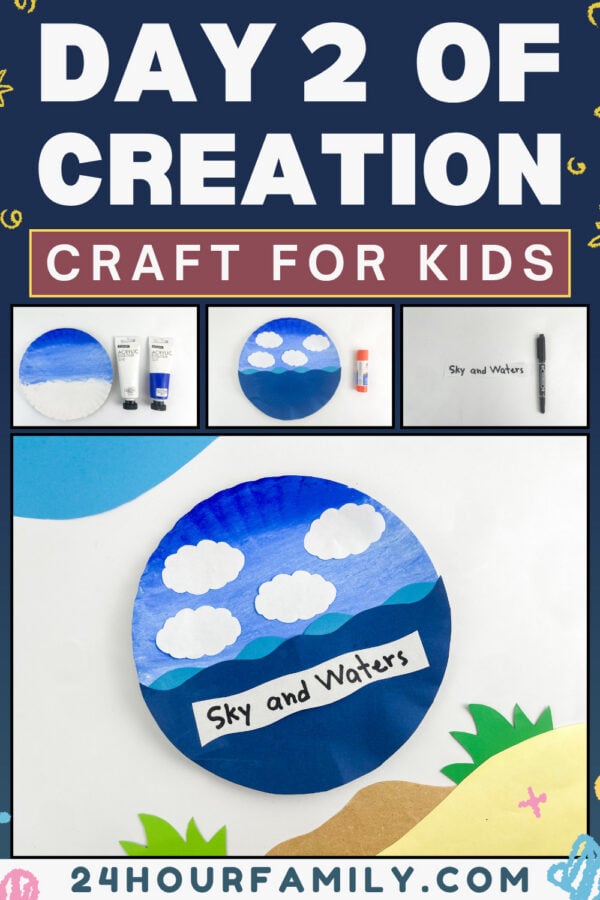
Here’s what you’ll want to gather before you start your day 2 of creation craft for kids:
- Paper plate
- Acrylic paint (white & blue)
- Construction paper (light blue, white, dark blue & black)
- Glue stick
- Scissors
- Markers
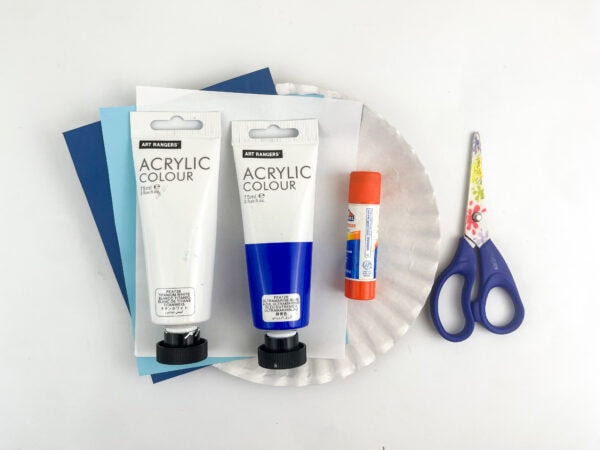
That’s it! You can also swap in cotton balls for the clouds for a more textured, 3D look; kids absolutely love the fluffy effect.
How to Make a Day 2 of Creation Craft for Kids
Step 1: Paint the Paper Plate
Start by mixing your blue and white paint, then paint the upper half of the plate sky blue, lighter toward the middle and deeper blue at the very top. This gradient creates a beautiful sky effect and is a simple way to show children what the sky looks like in real life.
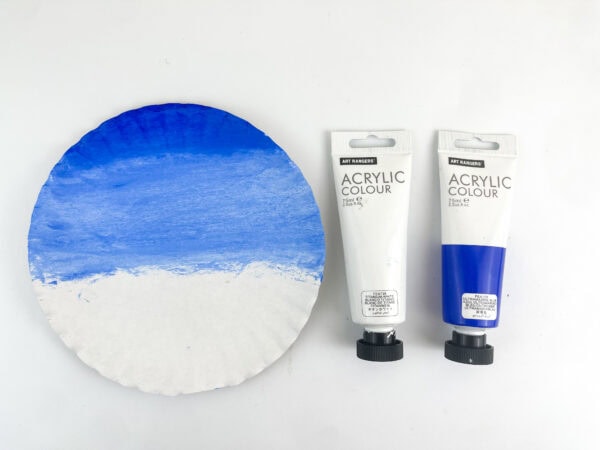
White paint blended into the blue gives that airy, open-sky feeling. Let this dry before moving on.
Step 2: Cut the Ocean Templates
While the paint dries, take your colored paper and cut out your ocean pieces. You’ll want two layers:
- A large half-moon shape from the dark blue paper — this is the deep ocean
- A wavy strip from lighter blue paper — this represents the water from the sky, the surface waves
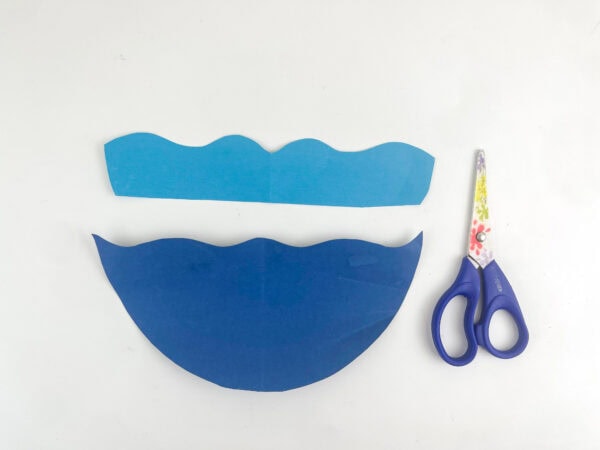
Cutting the wavy edge is the trickiest part, but it’s also the most fun. Let the children try cutting their own waves — it doesn’t need to be perfect! Imperfect waves are still very ocean-y.
Step 3: Assemble the Ocean
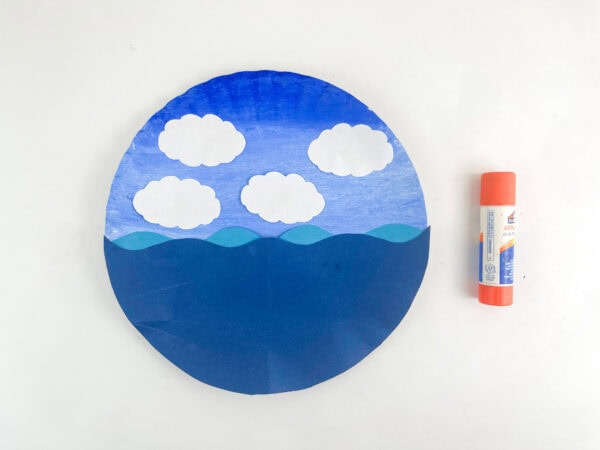
Layer the light-blue wavy strip over the dark-blue half-circle piece. Apply glue and press — now they’re glued together into one beautiful layered ocean.
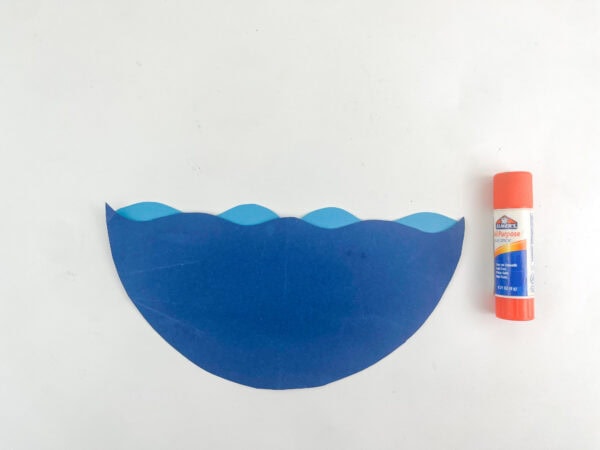
The two-toned effect really makes it look like God separated the water into the depths and the surface.
Step 4: Attach the Ocean to the Plate
Glue your assembled ocean piece to the bottom of the page or, in this case, the bottom half of your plate.
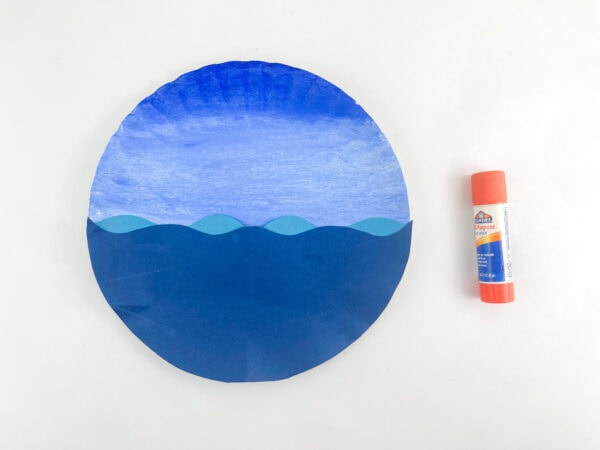
Hold it down firmly for a short time.
Step 5: Cut and Attach the Clouds
Using white paper (and your cloud printable if you have one!), cut out four fluffy cloud shapes.
Lay them on a sheet of construction paper or black paper to see how they look before gluing; black paper helps you show the children exactly how the clouds will contrast against the sky.
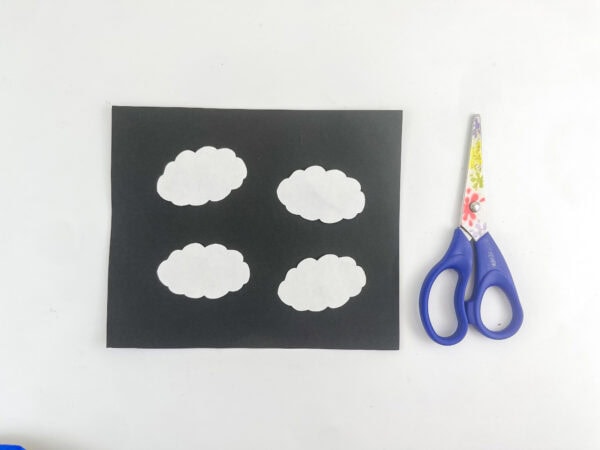
Then glue them onto the upper half of the plate, scattered naturally across the painted sky.
If you want a 3D twist, attach cotton balls to the cloud cutouts first. They add a wonderful texture and kids adore the squishiness.
Step 6: Write “Sky and Waters”
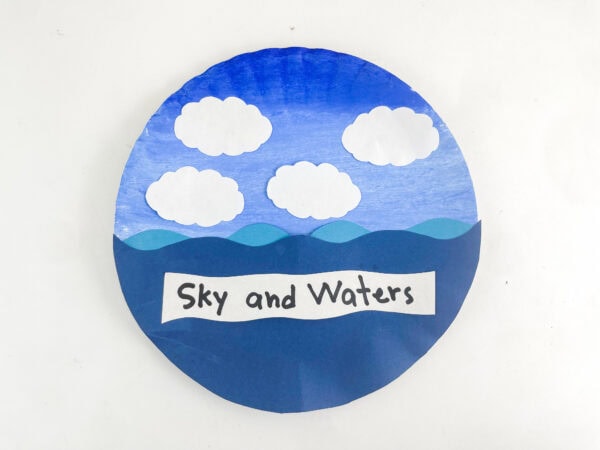
On a small strip of white paper, write “Sky and Waters” with a marker and glue it onto the lower portion of the plate.
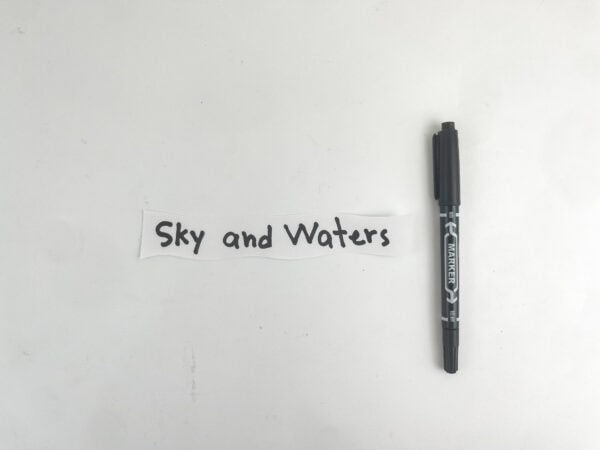
This label ties it back to the bible lesson and helps children understand what this day of creation was all about.
What Is Day 2 of Creation All About?
Before we get to the fun stuff, let’s set the scene. In Genesis, God created everything in six days (and rested on Day 7!).
On creation day 2, God separated the water; specifically, He made the sky, dividing the water from the sky and pulling things into order.
This is one of those days of creation that’s easy to overlook, but when you explain it to preschoolers, their eyes just light up.
Think about it: every time they look up and see clouds drifting over the ocean or a lake, that’s a reminder of what God did on that day. God created the sky and gave us something beautiful to look at every single day.
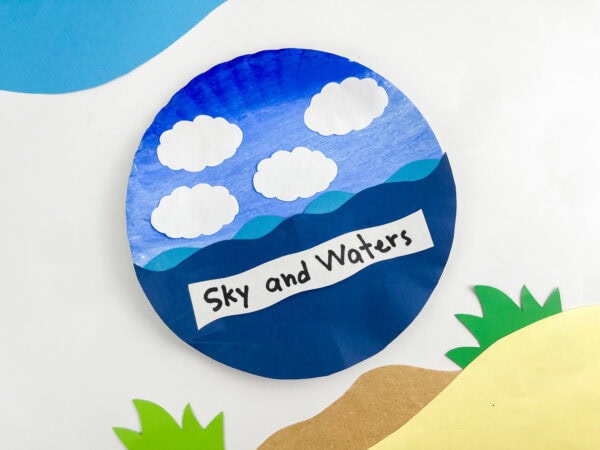
In the creation story, this day of creation holds so much meaning. Before this, everything was dark, watery, and formless. But God had a plan. He said, “Let the waters be separated,” and just like that, sky above, water below. It’s a wonderful moment to bring to life with little hands and lots of blue paper.
Tips for Different Settings
For Sunday School: Day 2 of the creation craft for kids works well for a mixed-age Sunday school class. Older kids can cut their own shapes while you pre-cut for the littlest ones. It’s one of those bible stories that translates naturally into visual art.
For Preschool Classrooms: If you’re a school teacher incorporating preschool bible lesson content, or creation resources into your lesson plans, this fits beautifully into a nature or “In the Beginning” unit. It’s a genuine bible learning experience wrapped in a craft for kids they’ll be proud to hang up.
For Home: It’s relaxed, it’s colorful, and it’s a hands-on way to do faith-based learning together. Set up a little play area with all the materials and let everyone go at their own pace.
Additional Ideas: Some teachers use a balloon blown up into a round shape to show children how the earth looked before God separated things. You can also create an accordion book of all the creation days as a title page project — this craft would be a perfect page for creation day 2.
Connecting the Craft to the Creation Story
Once the day 2 of creation craft for kids is done, take a few minutes to talk about what God made on this day. Genesis describes God creating the sky and dividing the waters into those above and those below. It’s a striking image that this craft captures simply and engagingly.
Genesis 1:6-8 is a wonderful addition to this lesson. In these verses, God commands a vault to form between the waters, separating them.
This is a meaningful time to help children understand how God transformed chaos into an organized and purposeful creation. Talk about how the next day of creation — creation day 4 — brings the sun, moon, and stars into that same sky. And remind them that all these wonderful things were made by a God who loves us.
More Bible Story Crafts to Discover
If you enjoyed making this Day 2 of Creation Craft for Kids, here are a few more Bible crafts that bring Scripture to life through creative, hands-on activities.
- Jesus Feeds 5,000 Craft – A fun way for children to learn about Jesus’ miracle of feeding a large crowd with just a few loaves and fish.
- Joseph Coat of Many Colors Craft – A colorful activity that helps kids explore Joseph’s story and the special coat his father gave him.
- Elijah Fire from Heaven Craft – An engaging craft that teaches children about Elijah’s faith and God’s power on Mount Carmel.
- Armor of God Helmet of Salvation Craft – A meaningful project that introduces kids to the Armor of God and the importance of salvation in the Christian faith.
- Day 3 Creation Craft
- Day 4 Creation Craft
- Day 5 Creation Craft
- Day 6 Creation Craft
- Day 7 Creation Craft
Looking for more creation resources and educational resources for your bible lesson series? Check out our other days-of-creation crafts, including our Day 1 craft activity, where we explore light and darkness with shades of green, starry skies, and even sticker accents on black construction paper.
Day 2 of Creation Craft for Kids is a wonderful addition to any Bible activity rotation in Sunday school, at home, or in children’s church.
What age is this craft best for?
This creation craft works wonderfully for preschool and toddler-aged children, roughly 3 to 6 years old. For younger toddlers, just pre-cut the shapes ahead of time so they can focus on the gluing and assembling — which is honestly their favorite part anyway! Older kids can handle the cutting themselves, making it a great fine-motor-skills activity.
Can I do this craft in a Sunday school class with a large group?
Absolutely! It’s one of the easiest crafts to prep in bulk. Cut the ocean and cloud templates the night before, set up stations with paint, glue sticks, and paper plates, and let the kids rotate through. It works great in a Sunday school class of 10 or even 30 — just make sure you have enough glue sticks on hand!
Can I make this craft without a printable cloud template?
A printable makes it easier, especially for younger preschoolers, but it’s not required. You can freehand draw a simple cloud shape onto white paper and have the kids cut along the lines. It doesn’t need to be perfect — lumpy, bumpy clouds are totally charming and very cloud-like!
Can I use cotton balls instead of paper for the clouds?
Yes, and it’s a fantastic alternative! Cotton balls give the clouds a fluffy, 3D texture that kids absolutely love. Just glue them directly onto the painted sky area of the paper plate. You can even stretch them out a bit first to make them look more like realistic clouds drifting across the sky.
What if a child makes a mistake while cutting or gluing?
That’s part of the fun! Encourage kids to embrace the imperfections — a wobbly wave or a lopsided cloud just adds character. The goal isn’t a perfect product; it’s a meaningful process where children learn and create. Remind them that God made something beautiful out of nothing, and they’re doing the same thing with their little hands.
Can this be adapted for older kids?
Definitely. For older children, you can add more detail — like drawing fish underwater with a marker, adding Q-tips dipped in white paint to create foam on the waves, or writing out the Genesis Bible verse on the back of the plate. You can also turn it into a mini book by making crafts for each day of creation and binding them together.
Day 2 of Creation Craft for Kids
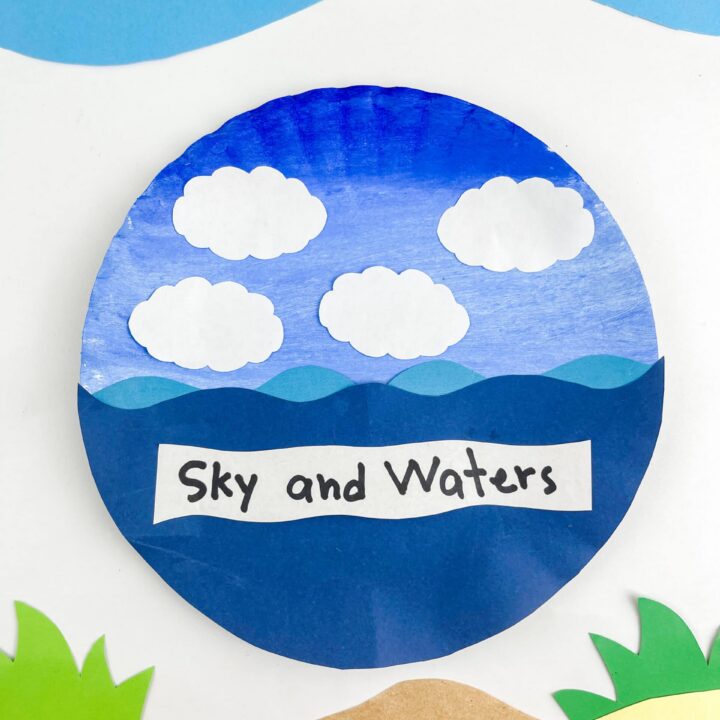
This Day 2 of Creation Craft for Kids helps children understand how God separated the sky from the waters. Kids will use paint, paper, and simple cutting techniques to create a layered scene showing both the sky above and the ocean below. It’s a creative, hands-on activity that makes the Bible story easy to see and remember. This craft works well for Sunday school, homeschool lessons, or fun learning at home. Each finished piece becomes a colorful reminder of God’s creation.
Materials
- Paper plate (one per child — this is your circular base!)
- White and blue acrylic paint (we used titanium white and ultramarine blue)
- Blue paper in two shades — light blue and dark blue construction paper
- Black construction paper (for tracing cloud templates)
- White paper for the clouds
- Glue
- Printable Template
Tools
- Scissors
- Markers
Instructions
1. Paint the Sky Background
Begin by mixing white and blue paint to create a soft sky color. Paint the top half of the paper plate, blending lighter blue toward the middle and deeper blue toward the top. Let the paint dry completely before continuing so the colors set nicely.
2. Cut the Ocean Pieces
While the plate dries, cut your ocean shapes from construction paper. Create a large half-circle from dark blue paper for the deep water, and cut a wavy strip from light blue paper to represent the surface waves. The wavy edge can be uneven to make it look more natural.
3. Build the Ocean Layer
Glue the light blue wavy strip on top of the dark blue half-circle. Press the pieces together so they stick firmly and form a layered ocean effect with visible depth.
4. Attach the Ocean to the Plate
Glue the completed ocean piece onto the bottom half of the painted plate. Hold it in place for a few seconds to make sure it is secure.
5. Cut and Add the Clouds
Cut out cloud shapes from white paper. Arrange them on the painted sky area before gluing so you can space them out nicely. Once satisfied, glue them into place across the upper half of the plate. If desired, cotton balls can be added for a fluffy 3D effect.
6. Add the Label
Cut a small strip of white paper and write “Sky and Waters” using a marker. Glue it onto the lower part of the plate to complete the craft and reinforce the lesson.
7. Let It Dry and Display
Allow all glue and paint to dry fully. Once finished, display your craft on a wall, bulletin board, or as part of a creation-themed learning set.
