
Samson Bible Craft for Kids With Printable Template
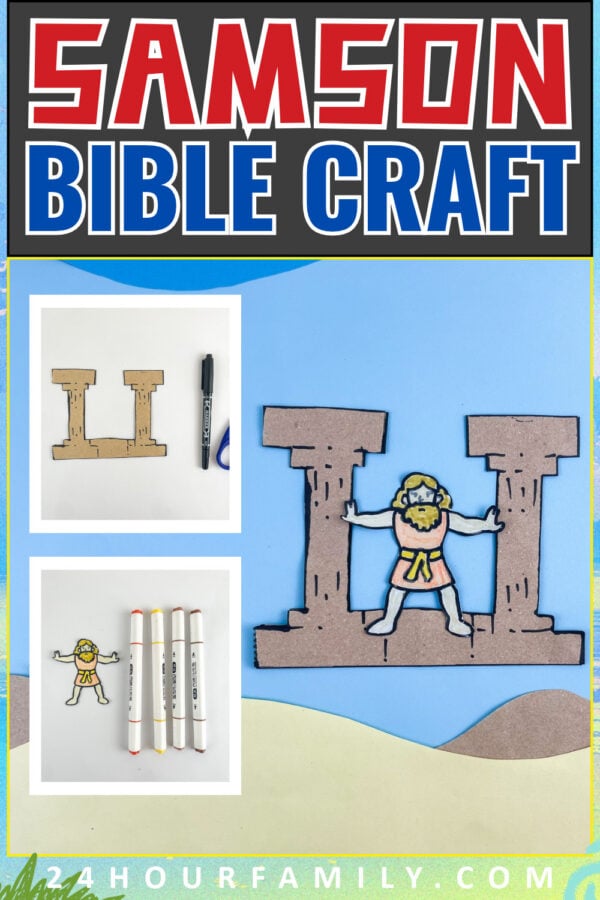
Make a Samson Bible craft for kids using a brown paper bag, art supplies, and a printable template. Children create two connected stone columns and place Samson between them to represent the scene from Judges 16.
This simple paper craft works for Sunday school, children’s church, or homeschool Bible lessons. Younger children can color and assemble prepared pieces, while older kids can help trace, cut, and add details.
Samson Bible Craft for Kids With Printable Template
For another Old Testament activity with a printable pattern, try our Moses and the burning bush craft.
About This Samson Craft
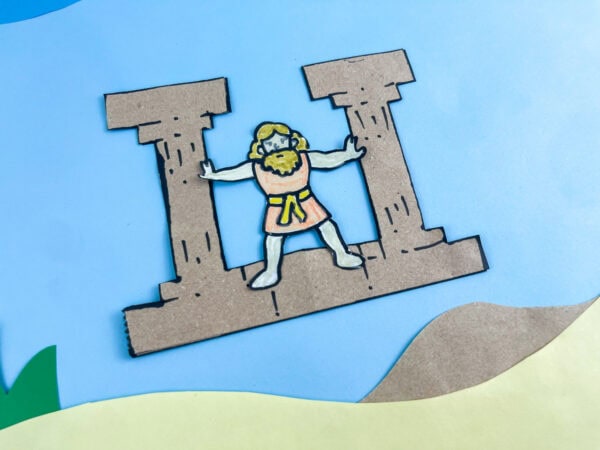
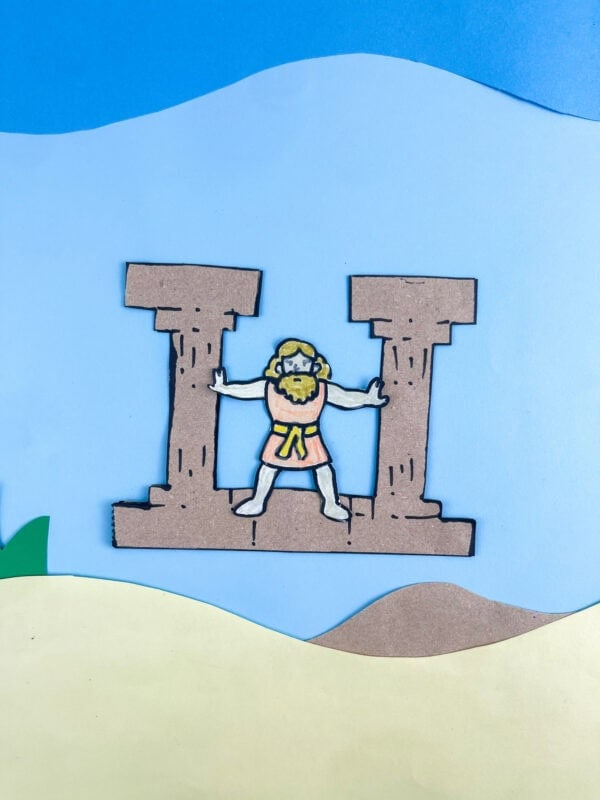
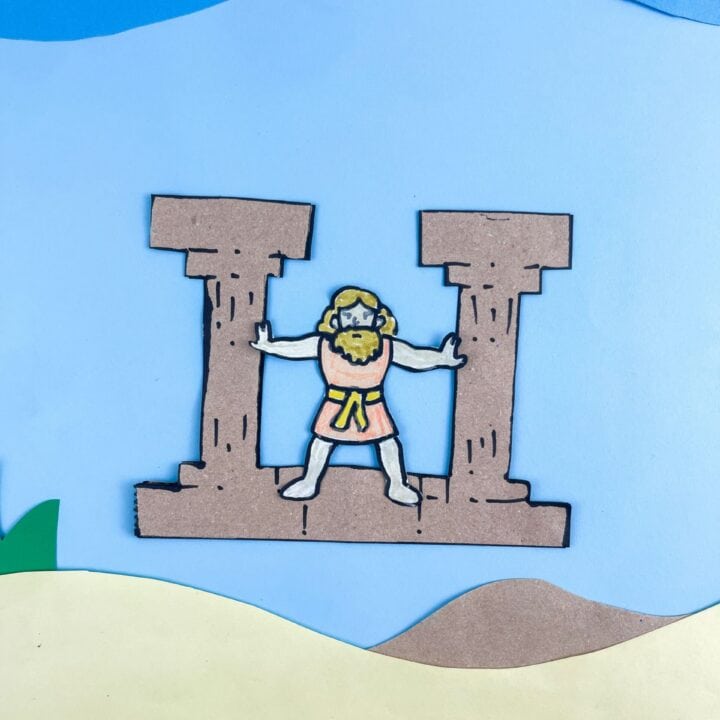
The finished project shows Samson, a strong man from the Bible, standing between two pillars with his arms extended.
A brown paper bag supplies the material for the temple columns. Black marker lines give them a stone-like appearance, and the decorated Samson cutout attaches in the middle.
This is a flat paper scene. The supports remain connected by a base; they do not move or collapse.
You can display the craft on its own or mount it on construction paper.
Project at a glance:
- Bible passage: Judges 16:23–31
- Suggested ages: Preschool with adult preparation through elementary
- Time: Approximately 20–30 minutes
- Skills: Coloring, tracing, cutting, and gluing
- Mess level: Low
The Bible Story Behind the Craft
The story of Samson appears in Judges 13–16. Samson was a judge of Israel whom God gave extraordinary physical strength. However, this strong man also made sinful choices that led to serious consequences.
In Judges 16, Samson and Delilah’s story shows how Delilah discovered the secret behind his strength. After his long hair was cut, the Philistines captured him. Later, they brought him into their temple, where he stood between two supporting pillars.
Samson prayed to God for strength. He pushed against the columns, causing the building to collapse. Samson and many Philistines died. Read this Bible passage before teaching so you can explain its difficult ending appropriately for your group.
For younger children, keep the explanation brief and non-graphic:
“Samson stood between two supports and prayed to God for strength. This was a serious moment at the end of his life.”
This Bible craft offers a way to discuss prayer, dependence on God, and the consequences of choices. Teach this part of the story respectfully rather than turning the temple’s collapse into a playful activity.
Was Samson Strong Because of His Long Hair?
God was the source of his extraordinary strength. His uncut hair was connected to a special vow of dedication to God, not magical power.
As a Nazirite, Samson was instructed to follow specific rules, including not cutting his hair or drinking wine. His long hair symbolized his special dedication to God.
In the story of Samson and Delilah, Samson lied about what could make him weak before eventually revealing the truth about his hair. After Delilah arranged for his head to be shaved, he lost his strength.
Judges 16:20 explains that the Lord had left him, and verse 28 records Samson asking God for strength.
What Is Included in the Samson Template?
The one-page black-and-white printable includes:
- A Samson figure to decorate and cut out
- A connected two-pillar outline with a base
A separate instruction sheet provides a materials list and brief assembly directions.
The pieces are arranged sideways on the template page. After printing, turn the page so Samson and the temple supports are upright before tracing and cutting.
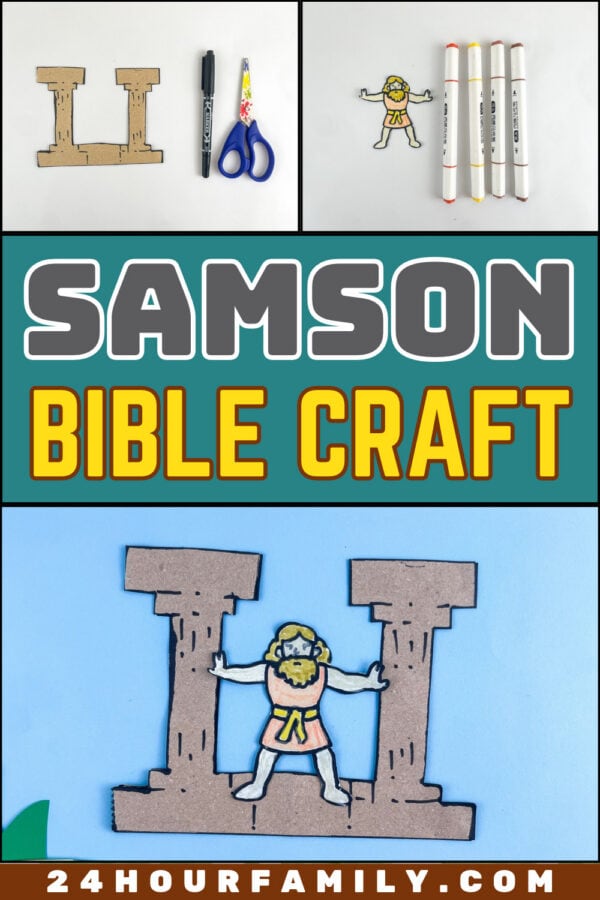
The supplied printable does not include a precolored version. The pictures show an example completed and assembled by hand.
Supplies You Will Need
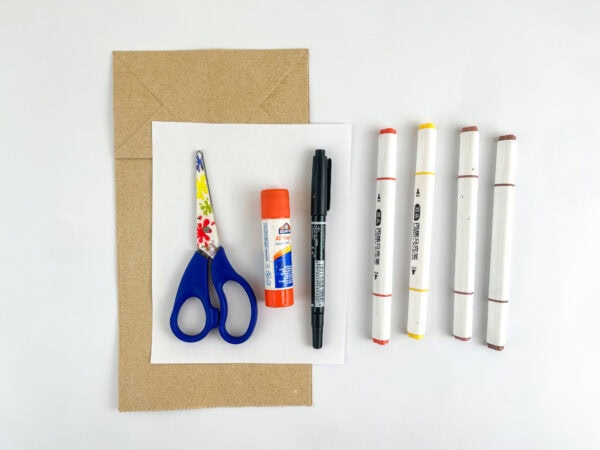
Gather these materials:
- Samson printable template
- Brown paper bag
- White printer paper or lightweight cardstock
- Colored pencils, crayons, or markers
- Black marker
- Glue stick
- Child-appropriate scissors
- Pencil for tracing
Optional supplies:
- Brown cardstock instead of a paper bag
- Cardstock backing for extra support
- Decorative paper for a display background
No hot glue is needed.
A glue stick keeps this Bible project relatively tidy and helps avoid soaking the thin paper.
How to Make the Samson Bible Craft
1. Print the Template
Print the Samson craft template on white paper or lightweight cardstock.
Check the preview to make sure the full pillar outline and Samson figure are visible.
Choose Fit or Shrink to printable area if the edges would otherwise be clipped.
Print the entire page at the same scale so both parts remain proportionate.
2. Prepare the Brown Paper
Cut open the paper bag along a seam and flatten it into a sheet.
Choose a smooth section large enough for the temple pattern. Avoid thick folded areas when possible.
If the bag is too small, use brown construction paper instead.
3. Trace the Temple Outline
Cut out the large pattern, keeping its two columns and connecting base together as one piece.
Place it over the brown sheet and draw around the edges with a pencil.
For a classroom group, an adult can prepare a reusable cardstock tracing pattern.
4. Cut Out the Pillars
Cut around the traced outside shape.
Remove the paper from the space between the columns, leaving the bottom base intact.
Keep the two supports joined as one piece.
Adults should help younger children with the inside opening and narrow sections.
5. Draw the Stone Details
Use a black marker to draw lines around the shape and add short marks.
The example uses scattered details to suggest a textured stone surface.
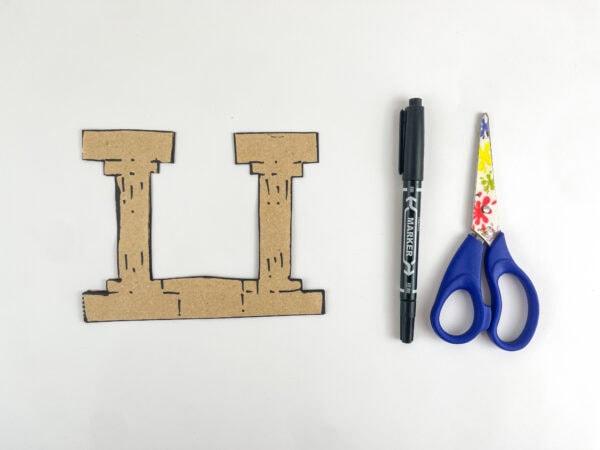
Each child can choose how much detail to add. A few simple marks are enough to make the columns look like stone.
6. Color Samson
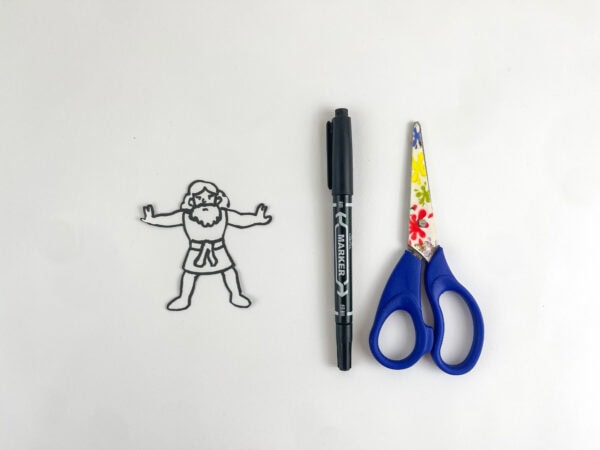
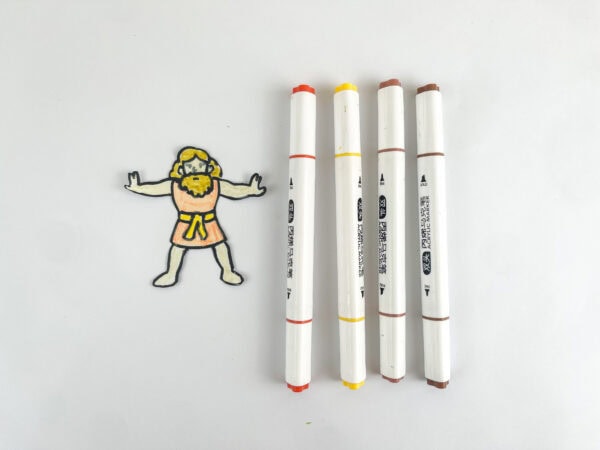
Let children color Samson while the figure is still on the printed sheet. Allow them to choose different shades for his skin, hair, and clothing.
The finished example uses yellow tones for the hair and clothing, but kids do not need to match it.
You can also discuss Samson’s long hair and explain why it was important in the Bible story. Decorating before cutting makes the piece easier to hold.
7. Cut Out the Figure
Carefully cut around the printed figure. Keep his arms, hands, and legs attached to his body.
For young children, an adult can prepare the figure in advance or leave a small white border around it.
8. Position Samson Between the Pillars
Lay the two connected supports flat.
Place Samson in the middle, with his arms extended toward the columns and his feet near the base.
Check the placement before adding glue.
His hands should overlap the edges enough to give the adhesive a place to hold.
9. Glue the Pieces Together
Apply small amounts of glue where the figure’s hands overlap the stone supports.
Secure his feet to the base where they touch.
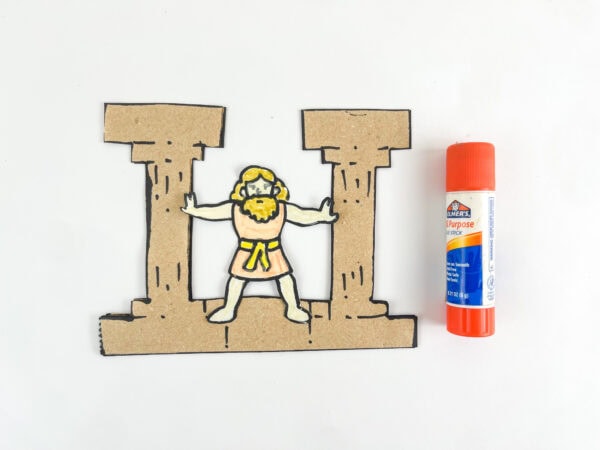
If the paper feels fragile, mount the entire scene on a sheet of cardstock for extra support.
10. Let the Craft Dry
Leave the finished Samson Bible craft flat until the glue has set.
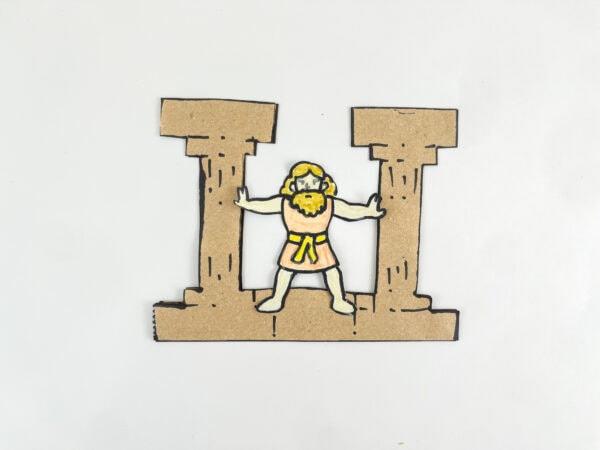
Write the child’s name and Judges 16:28 on the back or on a separate display label.
Using the Craft in a Sunday School Lesson
Read or summarize the Bible passage before beginning the activity.
While children work, connect each part of the scene with the story of Samson and explain how God was the source of his strength.
Point to Samson
Ask:
“Who is standing between the columns?”
Explain that Samson was a judge of Israel and a man in the Bible who depended on God for his strength.
Point to the Temple Supports
Explain that these were pillars in the Philistine temple.
The craft represents the scene without showing the building’s destruction.
Talk About His Prayer
Ask:
“What did Samson ask God to give him?” Explain that Samson called to God and asked for strength.
Keep the lesson focused on bringing our needs to God. Do not promise that prayer will give children physical strength like Samson.
A Short Scripture Connection
Write this brief excerpt on a display label:
“And Samson called unto the LORD…”
Judges 16:28, KJV
Read it together, then explain that the rest of the verse records his request for strength.
For older students, read the complete verse in context rather than treating the request for revenge as an instruction to imitate.
Adapting the Craft for Different Ages
Preschoolers
Prepare the temple supports and figure before the lesson.
Children can:
- Color Samson
- Draw marker details
- Help apply glue
- Position the figure with assistance
Use a short Bible explanation and one or two review questions.
Kindergarten and Early Elementary
Children can trace the large outline and cut the outside edges. Adults may need to prepare the inner opening and detailed figure. Model the placement before children begin gluing the pieces together.
Older Elementary Children
Let older kids complete more of the tracing and cutting.
They can also:
- Find Judges in their Bibles
- Read the selected passage
- Write a short description of the scene
- Explain why the story teaches more than physical strength
Classroom and Group Preparation
Before class:
- Print one Samson figure per child.
- Prepare a sturdy tracing pattern for the temple structure.
- Flatten the brown paper bags.
- Precut difficult sections for younger groups.
- Assemble an example beforehand to show the class.
- Set aside a flat drying area.
Keep each child’s paper pieces in a tray or envelope.
If time is short, prepare the brown cutouts in advance. Children can focus on coloring, drawing details, and assembling their Bible crafts.
For another lesson using simple paper materials, explore our Moses paper bag craft.
Troubleshooting The Craft:
The Paper Tears While Cutting
Use a smoother section of the bag or switch to brown construction paper. An adult can prepare the narrow sections.
The Columns Feel Flimsy
Mount the finished scene on cardstock. You can also glue the brown sheet to a backing material before tracing, then let it dry fully before cutting.
Samson Does Not Fit Between the Supports
Check that both pieces were printed at the same scale. Use the placement shown in the template and pictures as a guide.
The Figure’s Hands Keep Coming Loose
Check that both hands extend slightly over the sides of the temple columns. Dab a little adhesive onto the contact points, then hold them together with light pressure. Allow the joints to dry before picking up the project.
The Paper Curls
Use less liquid adhesive or choose a glue stick. Keep the project flat while it dries.
Discussion Questions for Kids
Choose questions that fit the children’s ages:
- What book of the Bible tells the story of Samson?
- What is on either side of Samson in the finished project?
- Where did Samson receive the power that made him so strong?
- What did Samson do before pushing the pillars?
- Why do our choices matter?
- What is something we can ask God to help us do wisely?
For preschoolers, focus on naming Samson, identifying the temple supports, and remembering that he prayed.
Display and Storage Ideas
Mount the scene on a contrasting sheet of decorative paper. Add a label such as: “Samson Prayed to God — Judges 16:28”
Display the finished craft on a classroom board or send it home with this note: “Ask me about Samson. We learned how he turned to God in Judges 16.”
Let the glue dry completely before storing the project flat in a folder. Avoid pulling on the figure’s arms when handling it.
Get the Samson Craft Template
Print the pattern, prepare the brown paper columns, and let children color their Samson figure.
Use the finished Bible craft to revisit the story of Samson, discuss his prayer, and remind kids that God was the source of his strength.
Use the download section below to get the printable template.
More Bible Crafts for Kids
Continue learning with these children’s Bible craft ideas:
- Moses and the burning bush craft
- Moses parts the Red Sea craft
- Sarah Bible craft
- Abraham Bible paper craft
Where is Samson’s story in the Bible?
You can read about Samson’s life in chapters 13-16 of the Book of Judges. This activity illustrates the moment in Judges 16:23–31 when he prayed to God for strength.
Does This Samson Craft Work Like a Paper Bag Puppet?
No. The brown paper bag supplies the material for the temple structure. The finished project is a flat scene, not a puppet.
Do the pillars move?
No. They remain joined by the base. This printable does not include a moving or collapsing mechanism.
Can I use construction paper?
Yes. A brown sheet works as an alternative to the paper bag.
Is the template colored?
The supplied template is black-and-white. Children decorate the Samson figure and trace the temple outline onto brown paper.
Can preschoolers make it?
Yes, with adult preparation. Precut the detailed pieces and let each child color, decorate, and help assemble the scene.
Do I need to cut between Samson’s fingers?
No. Leave a small border around delicate details if that makes cutting easier.
How long does the craft take?
Plan approximately 20–30 minutes, depending on how much cutting is prepared and how long children spend decorating. Allow additional time for the Bible lesson.
Samson Bible Craft
Make a paper scene showing Samson between two pillars using a printable template and a recycled brown paper bag.
Materials
- Samson printable template
- Brown paper bag or brown construction paper
- White printer paper or lightweight cardstock
- Colored pencils, crayons, or markers
- Black marker
- Glue stick
- Optional cardstock backing
Tools
- Printer
- Child-appropriate scissors
- Pencil
Instructions
- Print the template, checking that the full outline fits on the page.
- Open and flatten the brown paper bag.
- Cut out the pillar pattern and trace it onto the brown paper.
- Cut out the pillars, keeping the connecting base intact.
- Add outlines and stone-like marks with a black marker.
- Color Samson before cutting out the figure.
- Position him between the pillars, with his hands overlapping the columns and his feet near the base.
- Glue the overlapping areas securely.
- Mount on cardstock if additional support is needed.
- Let dry flat before displaying.
Notes
- Adults should prepare detailed cuts for younger children.
- Print the figure and pillars at the same scale.
- The finished craft is flat; the pillars do not collapse.
- Add the Bible reference separately.
- Store flat after drying.
