
Working Heart Model Project: Easy DIY Pump for Kids
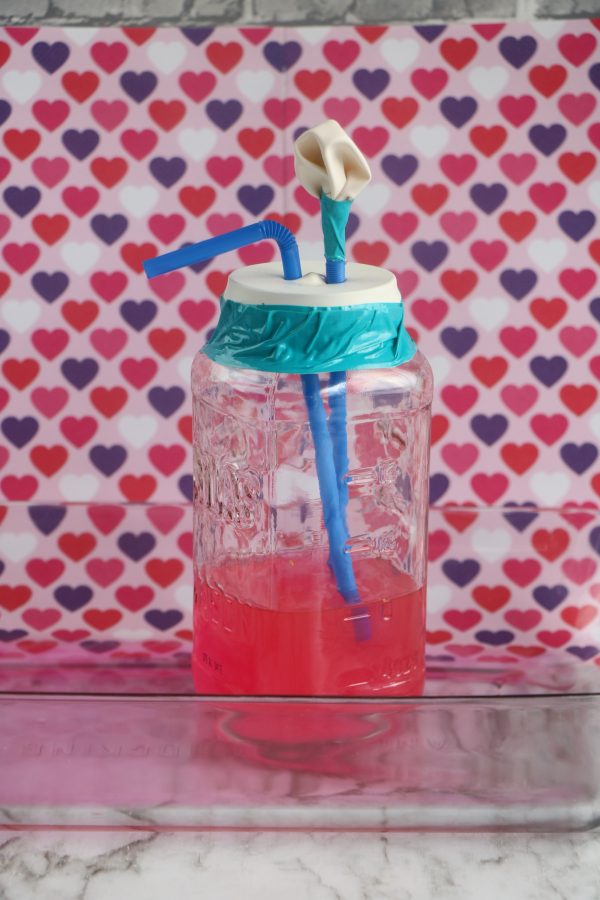
Looking for an easy heart model project that actually moves? This homemade heart model uses a jar, two balloons, and two bendy straws. When you press the balloon stretched across the jar’s mouth, colored water comes out of one straw and a small balloon on the other straw inflates. Kids can see that pressure on a fluid-filled space causes movement.
It is a hands-on heart-pump demonstration, not an anatomically accurate replica of a human heart. That distinction clarifies the science: a real heart has four chambers and valves that control blood flow, while this simple DIY model has one jar and no valves. Build it as a STEM activity, then compare what it does with what a real heart does.
Quick project details: Allow about 40 minutes for setup and exploration. Suitable for elementary-age children with adult help, especially for cutting the balloon and using the glass jar. Work over a deep tray because water will spray or drip.
What This Heart Science Project Demonstrates
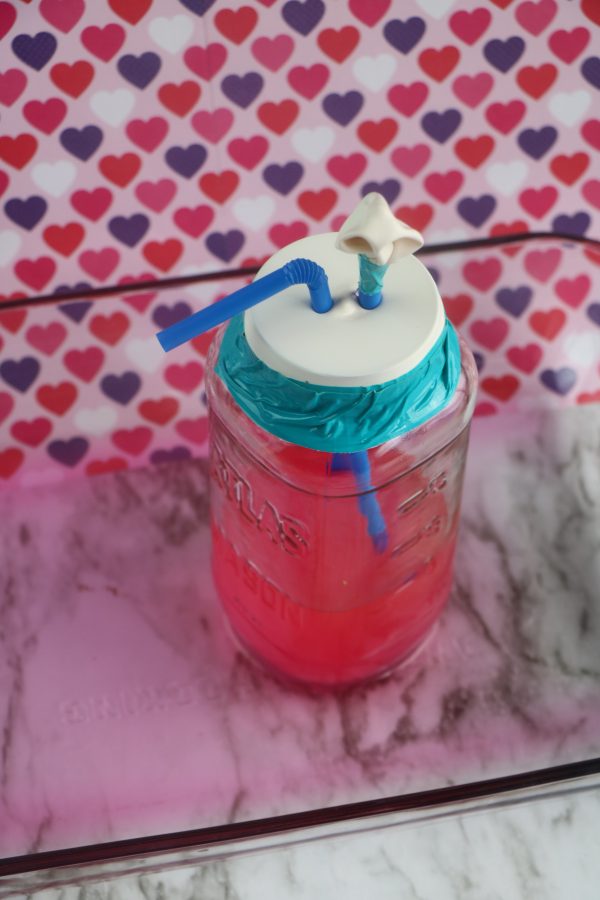
The jar holds colored water. A stretched balloon forms a flexible top, and two straws pass through it. Push down on the top balloon to reduce the space inside the jar and increase pressure. Water travels through the uncovered straw. The balloon on the other straw may inflate as air is displaced or pressure changes inside the setup.
Think of this as a model of squeezing to move fluid. It does not show a continuous heartbeat, a complete circulatory system, or the path of blood through the lungs and body. A person supplies each push; the model does not beat on its own.
The balloon and water’s behavior can vary with water level, straw position, and how tightly the top is sealed.
For a school presentation, say: “My working heart model shows how pressure can move liquid. The real heart is more complex because it has four chambers and valves.”
Materials for the DIY Heart Model
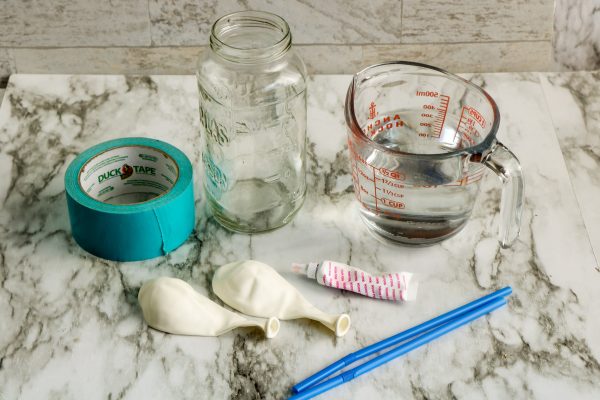
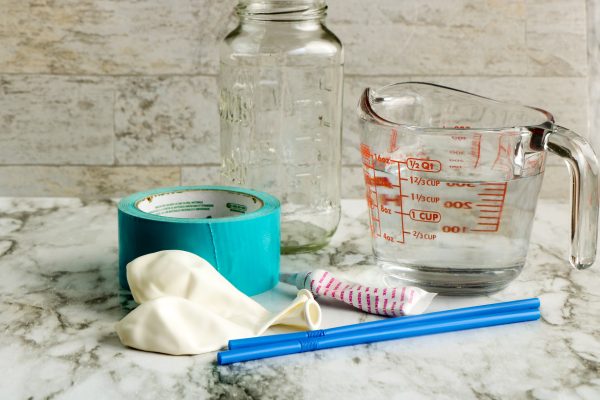
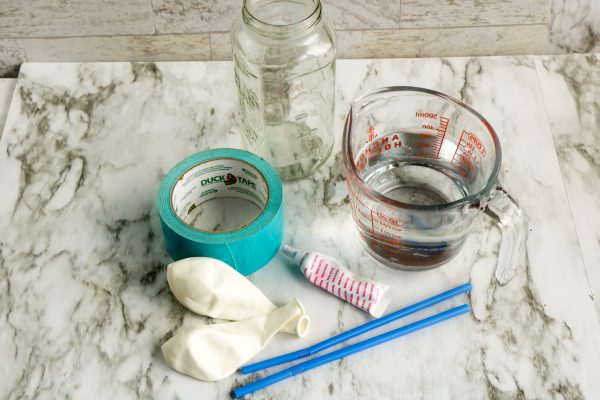
- 1 large, wide-mouth mason jar or other sturdy wide-mouth container
- 2 balloons
- 2 bendy drinking straws
- 1 to 2 cups of water, enough to place the lower ends of the straws in water while leaving room at the top
- Food coloring, optional
- Tape
- Scissors
- A rimmed baking sheet, deep tray, or casserole dish
- Paper towels for cleanup
An adult should cut the balloons and handle the glass jar. Balloon pieces can be a choking hazard for young children; keep broken or unused pieces away from them. If someone in the group has a latex allergy, do not use ordinary latex balloons. Choose an appropriate alternative activity or material instead.
How to Make a Working Model of the Heart
Step 1: Add water to the jar
Set the jar in the tray. Pour in one to two cups of water, adjusting for the size of your jar.
Add a few drops of food coloring and stir if you want the water movement to be easier to see.
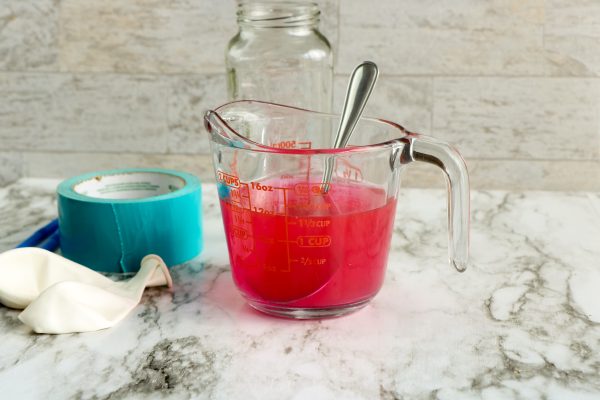
Leave space above the water so the stretched balloon can move downward.
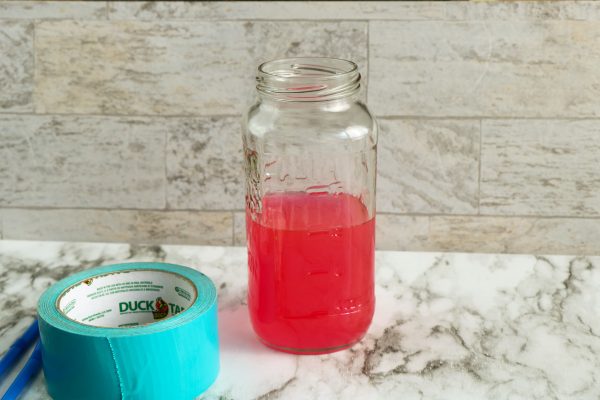
Step 2: Make the small balloon cap
Cut the first balloon in half. Keep the rounded portion and discard the narrow neck.
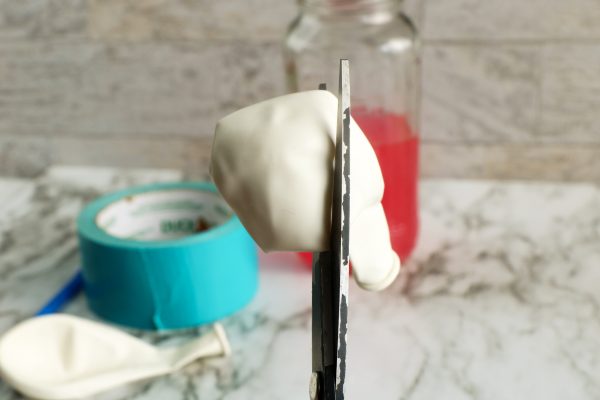
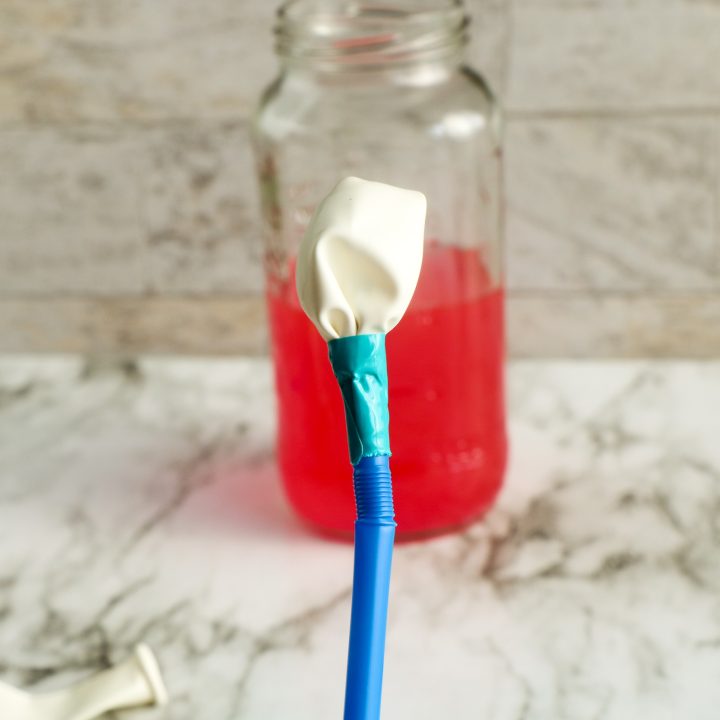
Loosely place the rounded balloon piece over the upper end of one straw, then tape its open cut edge around the straw to hold it in place. Do not put the balloon on both straws: the uncovered straw needs an open outlet for water.
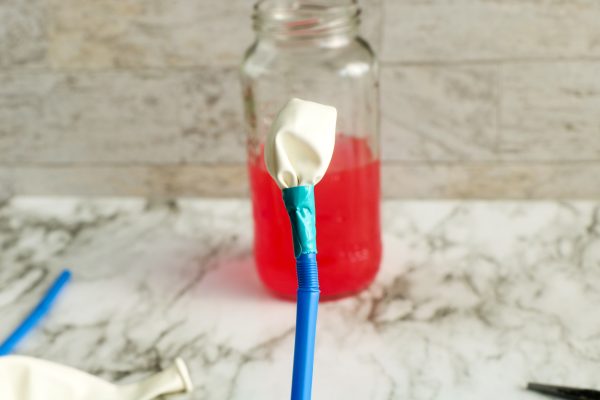
Step 3: Stretch a balloon over the jar
Cut the neck off the second balloon. Stretch the remaining rounded piece firmly across the open mouth of the jar to make a flexible membrane.
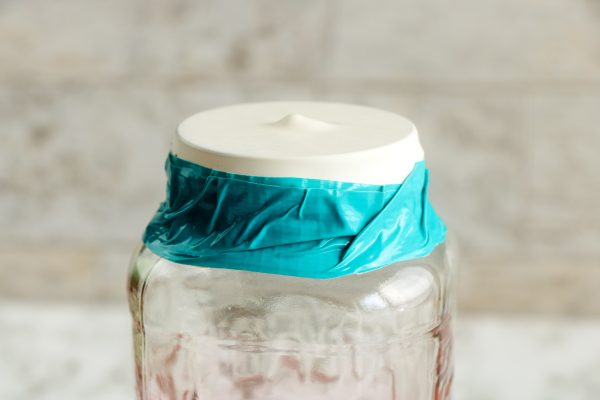
Secure its edge around the jar with tape. Make sure no jar lid is underneath the balloon.
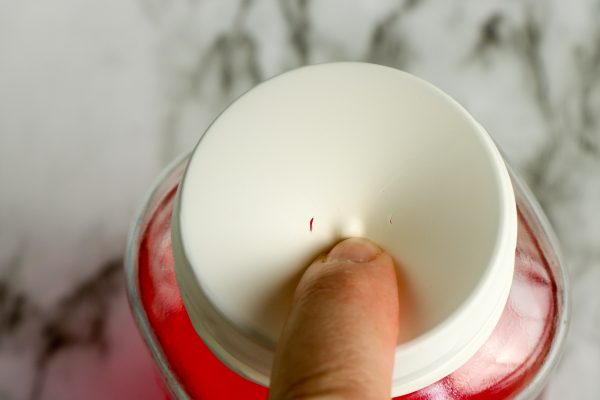
An adult should make two small slits in this stretched membrane, one for each straw. Start small so the balloon hugs the straws when you insert them. Check for tears before going on.
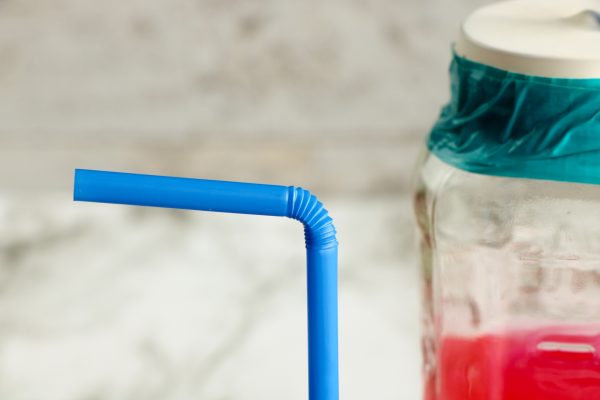
Step 4: Insert both straws
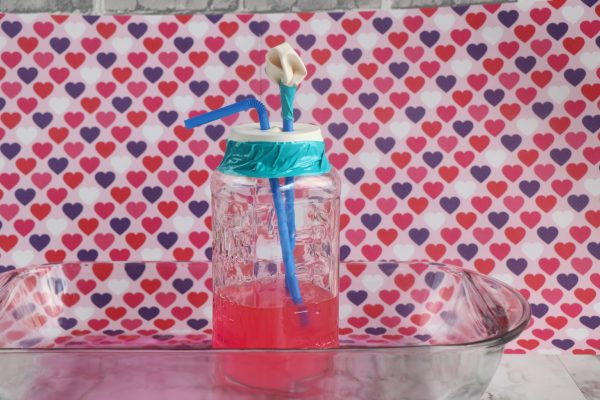
Carefully push a straw through each slit. Position the lower ends in the water. One straw has the small balloon cap on the upper end; the other remains uncovered. Bend the uncovered straw so its outlet points into the tray, not toward a person or a tabletop.
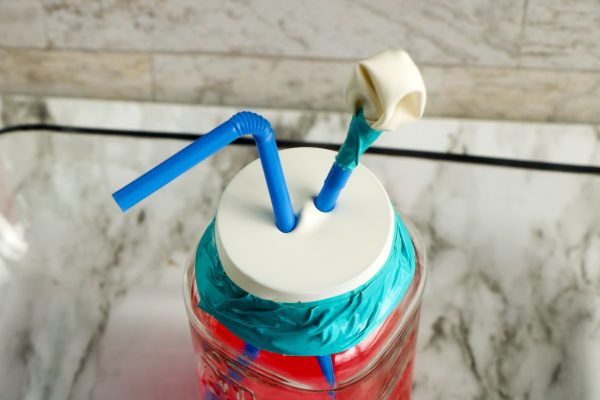
Check that the slits fit closely around the straws and that the balloon edge stays secured to the jar. Small air leaks can weaken the demonstration.
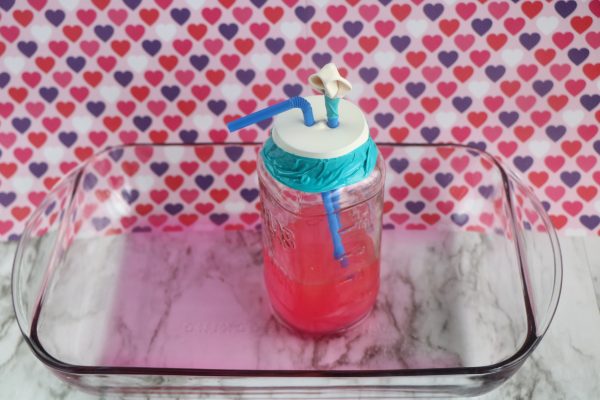
Step 5: Test the heart pump model
Hold the jar steady and press the stretched balloon top with your fingertips.
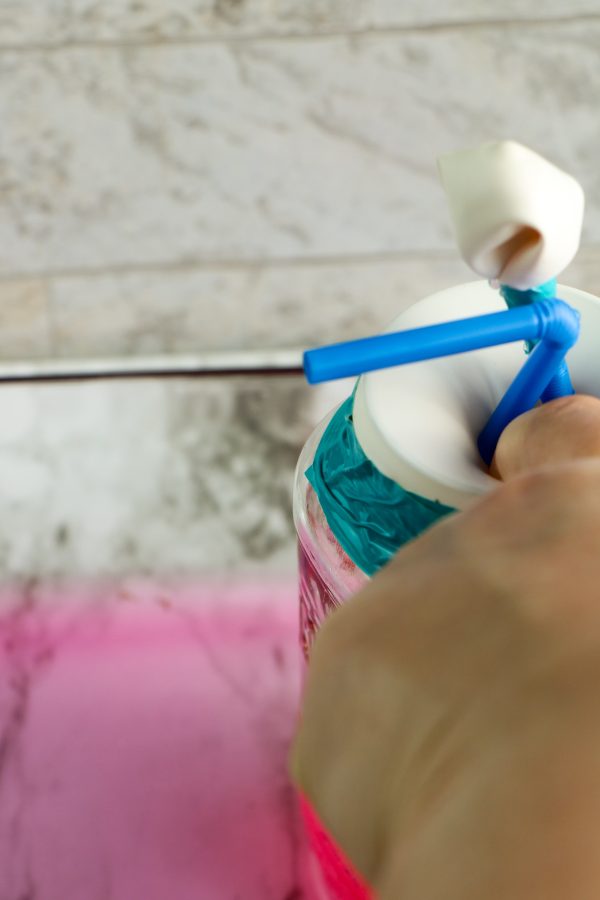
Watch the uncovered straw: colored water should move upward and out into the tray.
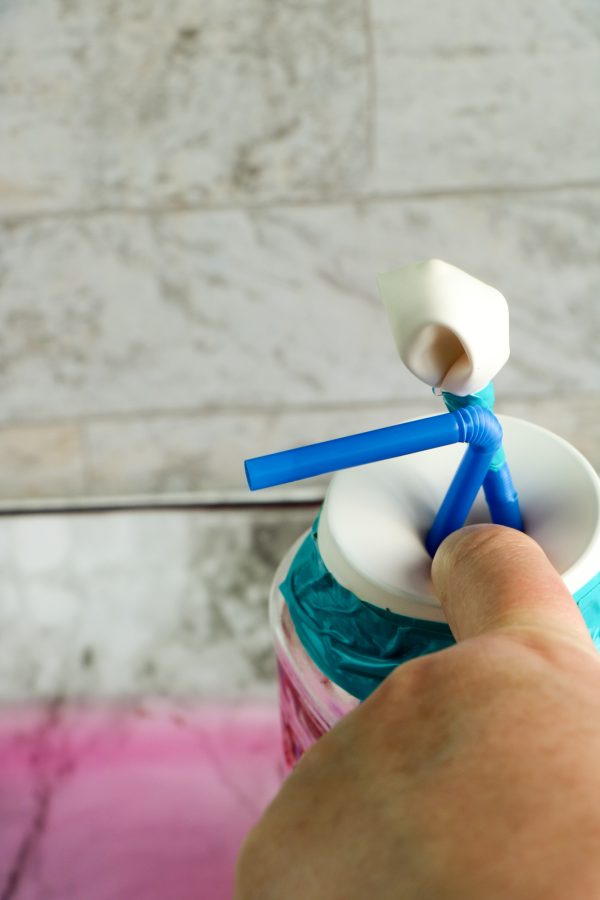
The small balloon on the other straw may expand. Release, then press again to repeat the demonstration.
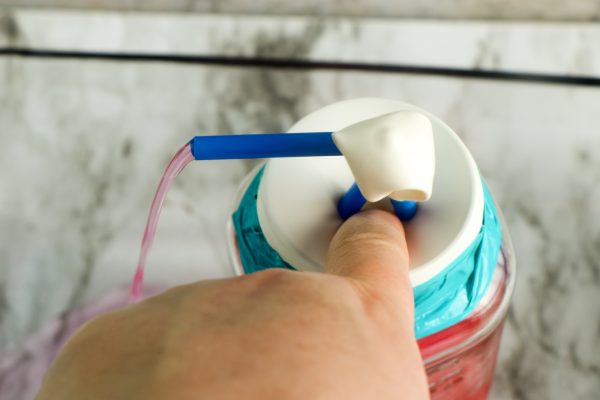
Do not squeeze the glass jar or blow into the straws.
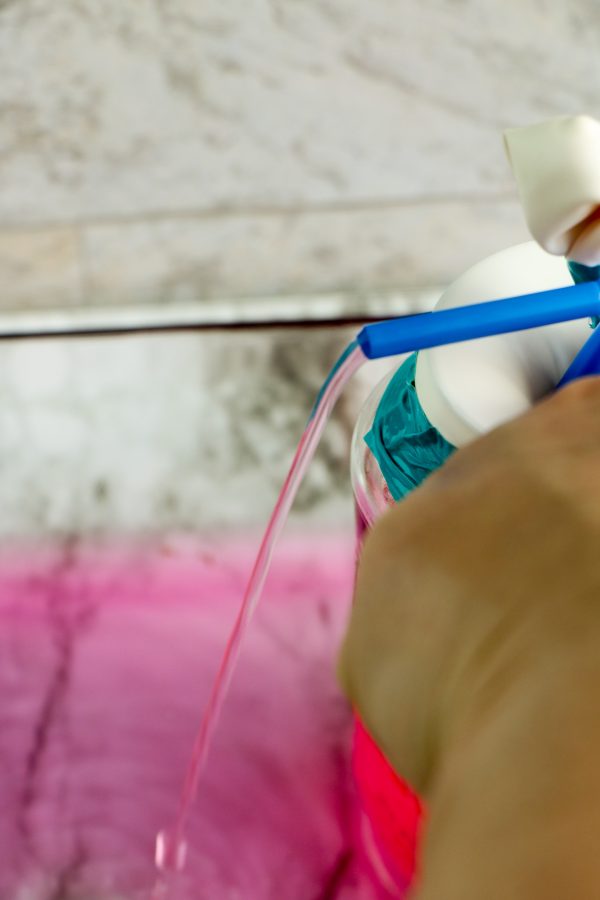
Your hand provides the push by pressing the flexible top.
Add more water or reposition the lower straw ends if they are not submerged, but do not fill the jar to the brim.
Why Does the Water Come Out?
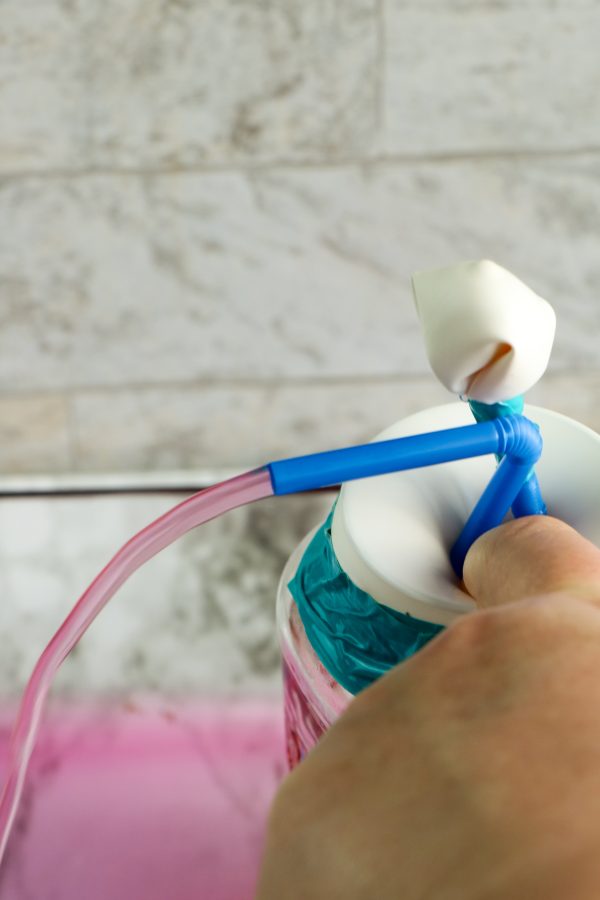
Pressing on the balloon over the jar changes the space available to the water and air inside. The contents respond to that increased pressure, and some water takes the open route through the outlet straw. The bend at the top directs it into the tray.
This is a useful analogy to the heart: a pumping action can push liquid. In a human heart, muscle contractions propel blood through chambers and onward through blood vessels.
Heart valves help keep blood flowing in the intended direction. This jar model cannot show that full process because it lacks separate chambers, one-way valves, lungs, and a closed network of vessels. Read the American Heart Association’s explanation of how a healthy heart works for an accurate anatomy diagram to display alongside your project.
What Are the Four Chambers of the Human Heart?
Use the working model to introduce the parts it lacks. The real human heart has two upper chambers, called atria, and two lower chambers, called ventricles:
- Right atrium: Receives blood returning from the body.
- Right ventricle: Pumps blood toward the lungs.
- Left atrium: Receives oxygen-rich blood returning from the lungs.
- Left ventricle: Pumps blood out toward the body.
Valves help blood move through these chambers by opening and closing to prevent backward flow. The jar is not a stand-in for any one of these chambers. Its purpose is to show a simple pumping principle, not to identify every anatomical part. For a more detailed classroom comparison, see the American Heart Association’s overview of chambers and valves.
How to Turn the Model Into a School Science Project
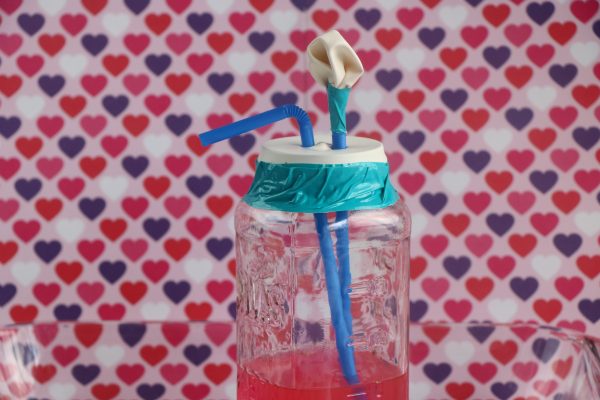
A science project becomes stronger when children test a question, observe results, and explain limitations. Start with the same assembled model and choose one change to investigate:
- Question: Does a gentle press or a firmer press move more water?
- Prediction: Write down what you think will happen.
- Test: Press gently several times, then press more firmly several times. Catch the water in separate small cups if you want to compare amounts. Keep the water level and straw positions the same.
- Record: Note whether each press produced a little water, a lot of water, or no water.
- Explain: Describe how pushing changed the pressure and why the model is simpler than a real heart.
Another test could compare two starting water levels while keeping the push force as similar as possible. Be honest about uncontrolled differences: human presses are difficult to make identical. This is a demonstration with a basic investigation, not a medical measurement.
Simple Display-Board Labels
Title: How Can a Squeeze Move Water?
Question: What happens when I press the balloon covering the jar?
Prediction: Pressing the balloon will push colored water through the open straw.
Observation: Water moved out through the open straw when you pressed the top.
Conclusion: Pressure helped move water. A real heart uses muscle contractions, four chambers, and valves, so this model shows only one part of the idea.
Troubleshooting Your Heart Model
No water comes out of the straw
Make sure the open end of the straw reaches the water and the top points into the tray. Check that the balloon is secured around the jar and snug around both straws. If the jar is very empty, add some water while still leaving air space at the top.
Air escapes around the straws
The slits may be too large, or the membrane may be torn. Try a new balloon top with smaller slits and tape the edges securely. Do not force a straw through a hole that is too small; that can tear the balloon.
The small balloon does not inflate
Recheck the tape around its cut edge and make sure the straw is not blocked. Its response can vary with the setup. Focus on the visible movement of water through the open straw, which is the clearest part of the pumping demonstration.
Water sprays beyond the tray
Angle the open straw downward, use a deeper tray, and press more gently. Food coloring can stain surfaces and clothing, so start with a small amount or leave it out.
More Hands-On Science Activities
After your heart project, explore more STEM activities for kids or try the Pop Rocks and soda experiment for another pressure-related activity. For a separate, anatomy-focused printable activity, use the human organs playdough mats. These activities explore different scientific ideas; they are not extra parts of this jar model.
Is this a working heart model?
Yes, in the sense that pressing the stretched balloon top moves water through a straw. It is a manually operated pump demonstration, not a model that beats automatically or circulates water in a closed loop.
Does the model show all four chambers of the heart?
No. The jar is one container and does not represent the heart’s two atria and two ventricles. Pair the experiment with a labeled heart diagram if the assignment requires accurate anatomy.
Is this a DIY circulatory system model?
It can introduce the idea that pumping drives fluid movement, but it is not a complete circulatory system model. The setup does not show blood traveling to the lungs, returning to the heart, and circulating through the body.
How do I make the heart model “beat”?
Press and release the top balloon repeatedly to make the movement rhythmic. Your hand supplies every push; the model has no motor or automatic heartbeat.
Can younger children build this model?
They can observe and help with supervised parts, such as adding water or recording results. An adult should handle scissors, balloon pieces, the glass jar, and assembly around the slits. Keep balloon scraps away from toddlers and children who may put small pieces in their mouths.
Build, Press, Observe
The best part of this easy heart model project is that students can see a result as soon as they press the top. Build the jar-and-straw setup, test it over a tray, and ask why the water moved. Then take the next step: compare this simple pump with the heart’s four chambers and valves. That contrast makes the DIY model a more useful science lesson.
Homemade Heart Model Project
Create a simple working heart model with a jar, balloons, and bendable straws. Pressing the balloon membrane forces colored water through the straw, demonstrating how the heart pumps blood and how a valve helps control its direction.
Materials
- 1 large mason jar
- 2 balloons
- 1 to 2 cups water
- Red food coloring, optional
- 2 bendable plastic straws
- Strong tape
- Tools
Tools
- Cutting Scissors
- Casserole Dish or rimmed baking sheet
Instructions
- Add water to the mason jar until it is about half full. Mix in several drops of red food coloring, if desired.
- Cut the narrow neck from the first balloon. Stretch the wide balloon piece securely across the opening of the jar to create a flexible membrane.
- Tape the balloon around the rim of the jar to prevent it from slipping.
- Carefully cut two small slits in the balloon membrane. Make each opening just large enough to hold a straw.
- Insert one straw through each slit. The lower ends of both straws should reach into the colored water.
- Cut a small piece from the second balloon. Place it loosely over the opening of one straw and tape it around the sides. Do not tape the opening completely shut. This piece represents a valve.
- Bend the uncovered straw so its open end points downward and away from the jar.
- Place the entire model inside a rimmed baking sheet or casserole dish to catch the water.
- Press gently on the balloon stretched across the jar. The pressure should push water through the uncovered straw while the balloon flap on the other straw helps restrict water flow.
- Release the membrane and press it again several times to observe the model’s pumping action.
Notes
An adult should cut the balloons and supervise the activity.
Make the slits as small as possible so they fit tightly around the straws.
If water leaks around the jar opening or straws, dry the area and reinforce it with additional tape.
Press the balloon slowly to prevent colored water from spraying.
The jar represents a heart chamber, the colored water represents blood, and the straws represent blood vessels.
The balloon stretched across the jar acts like a pumping muscle. The balloon piece attached to the straw demonstrates how a heart valve helps prevent backward flow.
This is a simplified demonstration of pumping and valves. It does not reproduce every chamber or blood vessel in the human heart.
