
Naomi Bible Paper Craft for Kids ( Paper Bag Puppet Template)
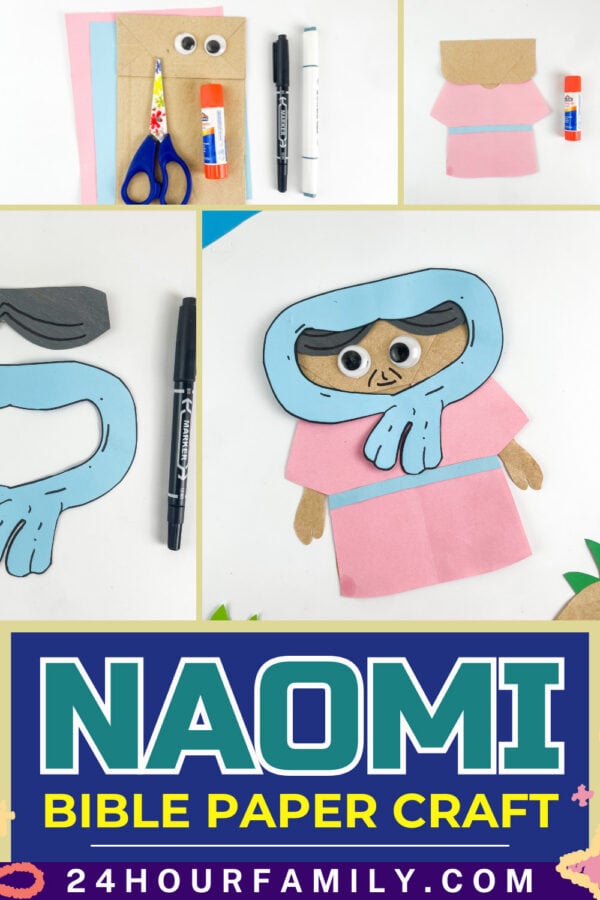
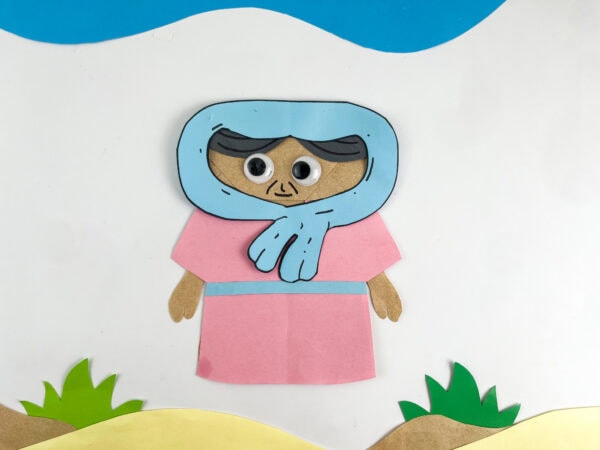
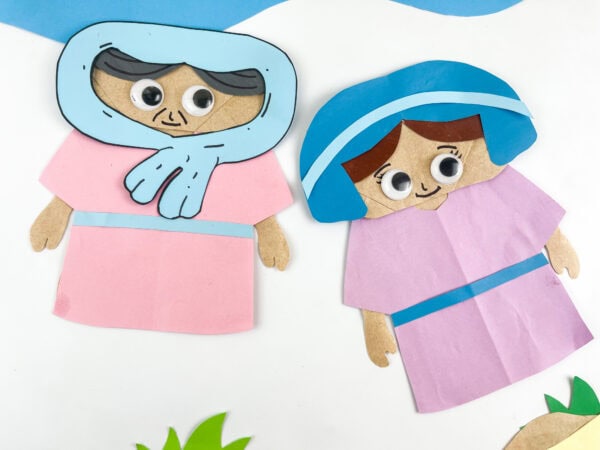
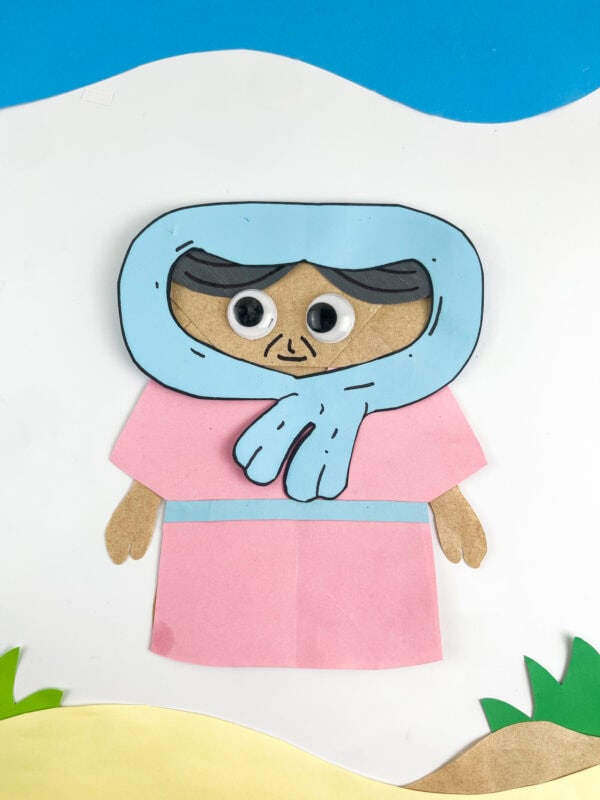
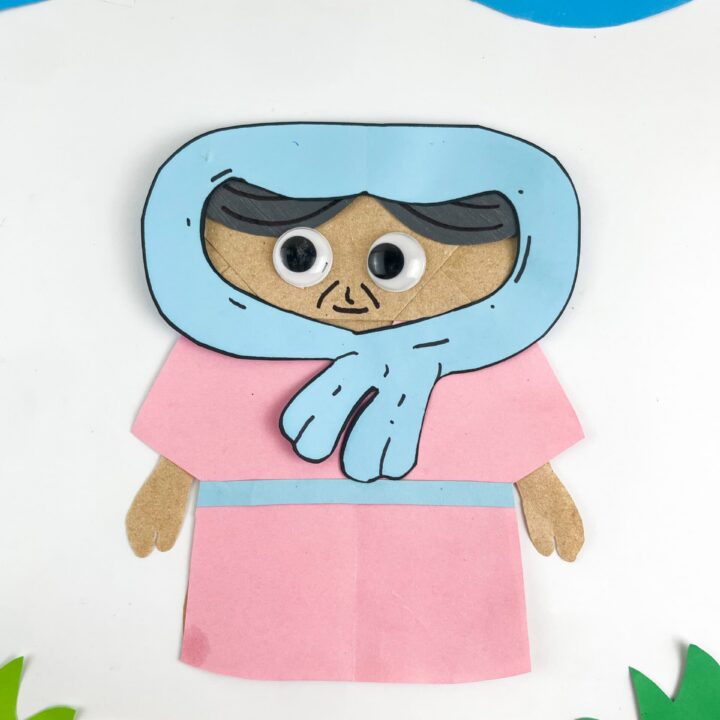
This Naomi Bible Paper Craft for kids turns a brown paper lunch bag into a sweet Naomi puppet with a head covering, gray hair, a robe, and a belt. This easy cut-and-glue craft uses a free printable template, construction paper, and a couple of googly eyes. Kids can use their finished puppet to retell the story of Naomi and Ruth from the book of Ruth.
Naomi’s story is one of the most honest in the Bible. She lost her husband and both of her sons, and she told everyone she was bitter. But God never left her. By the end of the book of Ruth, her arms are full of a grandson, and her family line leads to King David and to Jesus.
Find more crafts in our Bible Crafts and Printables (100+ Ideas) roundup
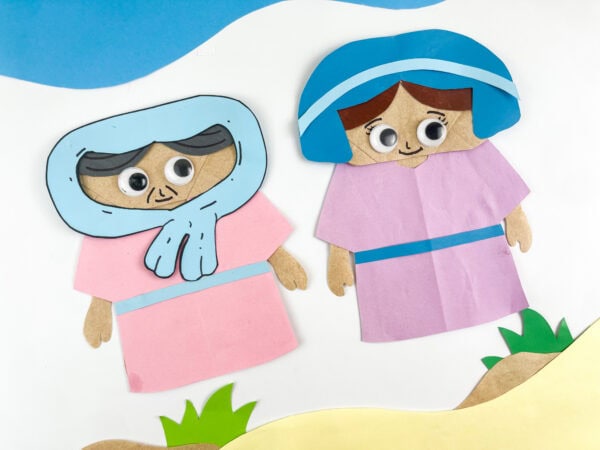
This craft pairs perfectly with our Ruth Bible Craft for Kids, so children can make both puppets and act out the famous “where you go, I will go” scene together.
Who Was Naomi in the Bible?
Naomi’s story is found in the book of Ruth, one of only two books in the Bible named after a woman. Here’s what happened, in a way kids can follow:
- A famine in Bethlehem: Naomi lived in Bethlehem with her husband, Elimelech, and their two sons, Mahlon and Chilion. When there was no food, the family moved to Moab (Ruth 1:1-2).
- Great loss: While they lived in Moab, Naomi’s husband died. Her sons married two Moabite women, Orpah and Ruth. About ten years later, both sons died too (Ruth 1:3-5).
- Going home: Naomi heard that God had given His people food again, so she decided to go back to Bethlehem. She told her daughters-in-law to go home to their own families. Orpah kissed her goodbye, but Ruth would not leave (Ruth 1:6-14).
- Ruth’s promise: Ruth said, “Whither thou goest, I will go; and where thou lodgest, I will lodge: thy people shall be my people, and thy God my God” (Ruth 1:16, KJV).
- “Call me Mara”: When Naomi arrived in Bethlehem, the women of the town were excited to see her. Naomi said, “Call me not Naomi, call me Mara: for the Almighty hath dealt very bitterly with me” (Ruth 1:20, KJV). The name Naomi means “pleasant,” and Mara means “bitter.”
- God provides: Ruth gathered leftover grain in the fields of Boaz, a kind relative of Naomi’s family. Naomi recognized God’s kindness and helped guide Ruth (Ruth 2 and 3).
- A happy ending: Boaz married Ruth, and they had a son named Obed. The women of Bethlehem praised God, saying the baby would be “a restorer of thy life, and a nourisher of thine old age” (Ruth 4:15, KJV). Naomi held the baby and cared for him (Ruth 4:16).
- Part of God’s big plan: Obed became the grandfather of King David (Ruth 4:17), and Jesus was born from David’s family line (Matthew 1:5-6).
Naomi’s story shows children that God is faithful even when life is sad, and we don’t understand what He’s doing.
What You Need for the Naomi Paper Bag Craft
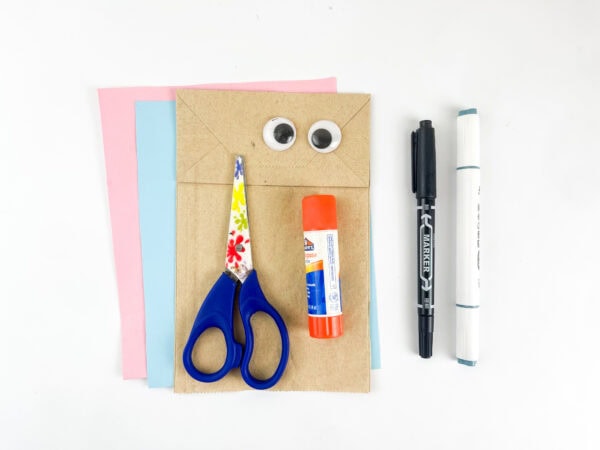
- Free Naomi template (download at the bottom of this post)
- 1 brown paper lunch bag
- Pink construction paper for the robe
- Light blue construction paper for the head covering and belt
- Gray construction paper, or white paper colored with a gray marker, for the hair
- 2 googly eyes
- Glue stick
- Scissors
- Black marker
- Pencil for tracing
Optional for a background scene:
- Blue, yellow, and green construction paper
- A large sheet of white paper or poster board
You can use any colors you like for Naomi’s robe and head covering. We used pink and light blue, but earth tones like tan, brown, or olive green look lovely too.
What’s in the Naomi Template
The one-page template includes every piece you need:
- A robe (fold your paper in half and place the straight edge on the fold)
- A belt
- A head covering with a tied scarf at the neck
- Gray hair
- Two hands
How to Make the Naomi Paper Bag Puppet
Step One: Prep Your Paper Bag
Start with your bag. This becomes the base and body of your Naomi character. Lay it flat, and you’ll notice the folded top section naturally looks like a face or hood—perfect for this design.
Glue on two googly eyes right onto the bag, and just like that, your craft already has personality before you’ve even cut a single template piece.
Step Two: Prepare the Pieces
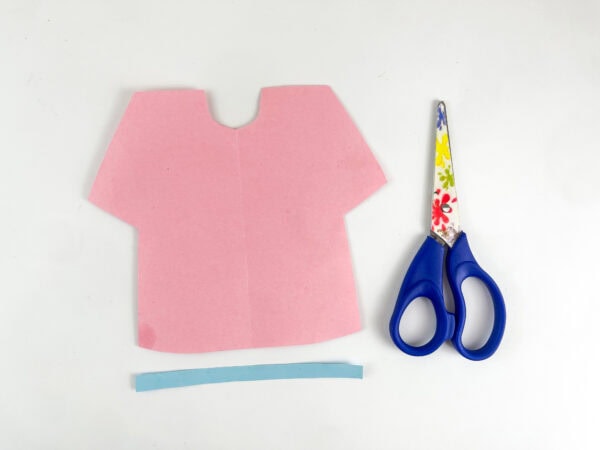
Trace the templates onto the corresponding colors, then carefully trim them out. This is a great moment to let kids practice their scissor skills (with supervision, of course).
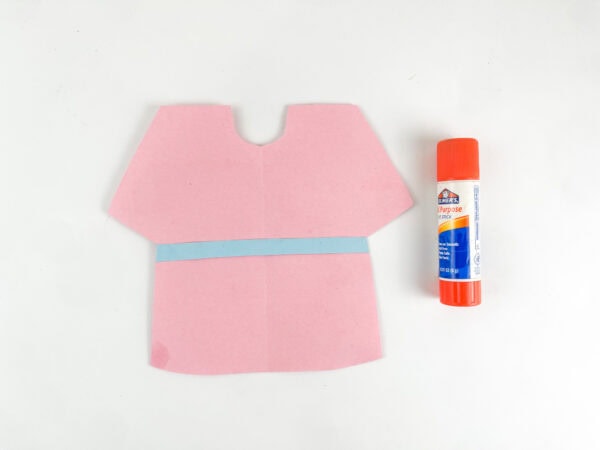
For Naomi’s outfit, use a tunic-style shape in a soft color; pink works beautifully, plus a thin strip of paper to act as a belt or sash around her waist.
Step Three: Assemble Her Clothes
Once you’ve cut the shapes, attach her clothes to the body of the bag. Glue the little belt strip across the middle of her tunic shape for a nice added detail.
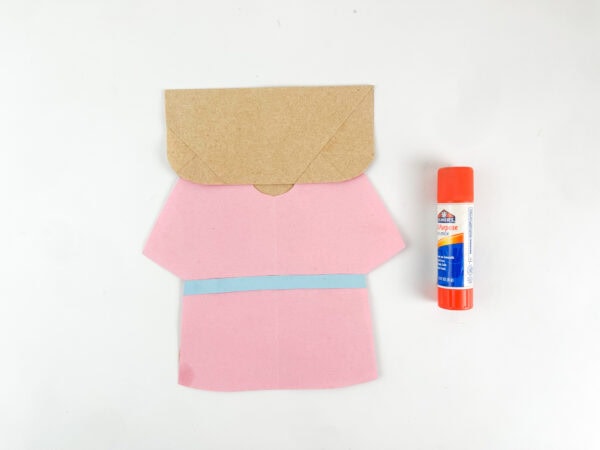
This step is where the craft really comes together, and kids can see their picture transform into a little character.
Step Four: Create Her Head and Headscarf
Next, assemble the head templates.
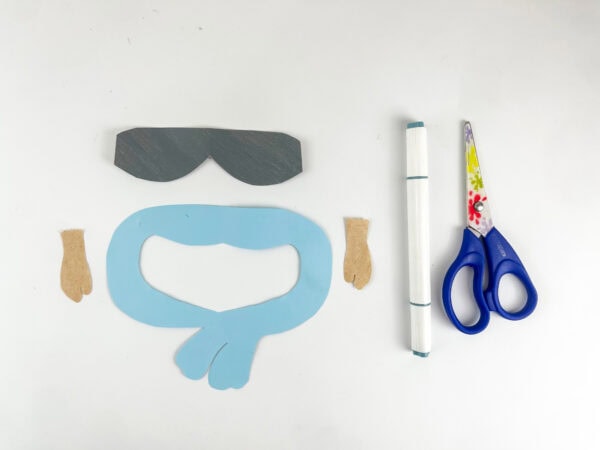
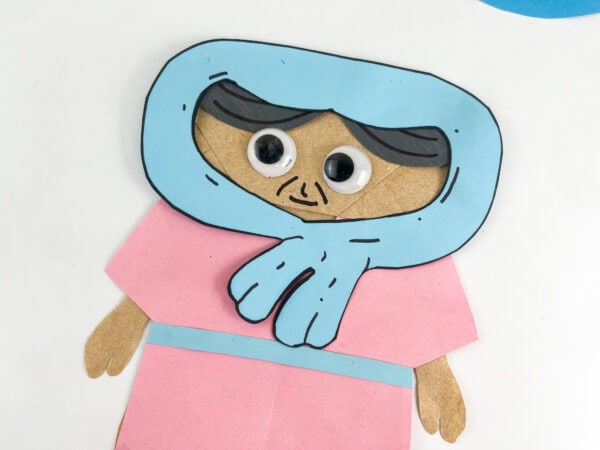
This includes a headscarf shape (light blue works wonderfully here), along with hair and hand shapes made from brown construction paper.
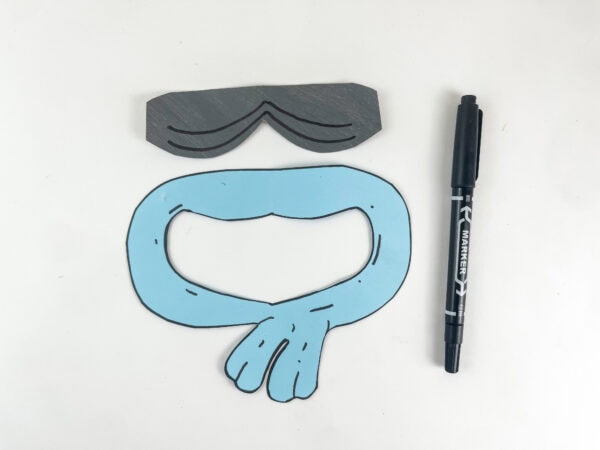
Use a marker to add simple line details, like the folds of the headscarf and a bit of texture in the hair, to give her extra charm and dimension.
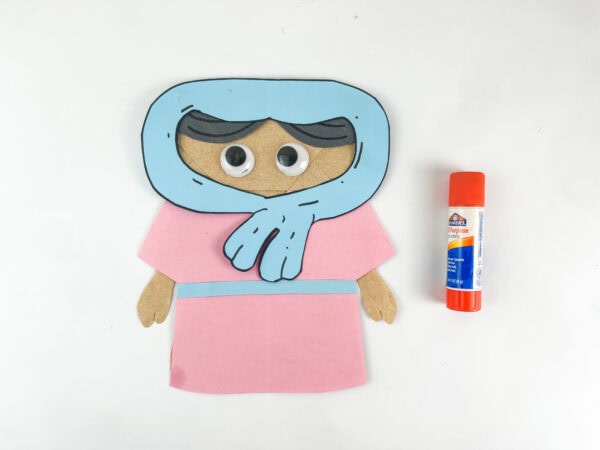
Once everything is colored and outlined, attach the headpiece to the top of the paper bag.
Step Five: Add the Final Touches
Attach the googly eyes to the face piece, then finish by drawing her nose and a small, gentle expression with your marker.
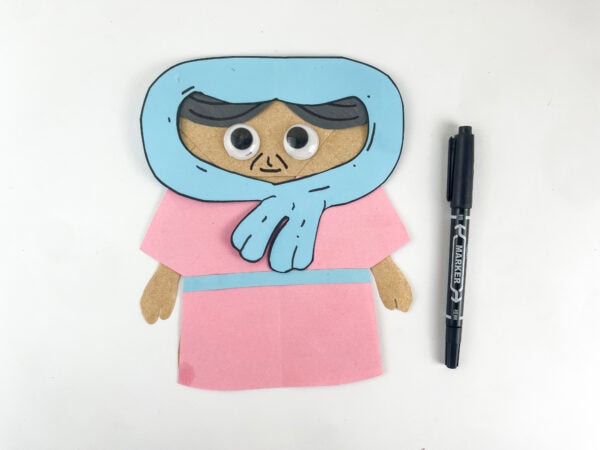
A subtle frown or thoughtful look can actually tie in nicely with the story, since Naomi experienced real loss and hardship before eventually finding restoration.
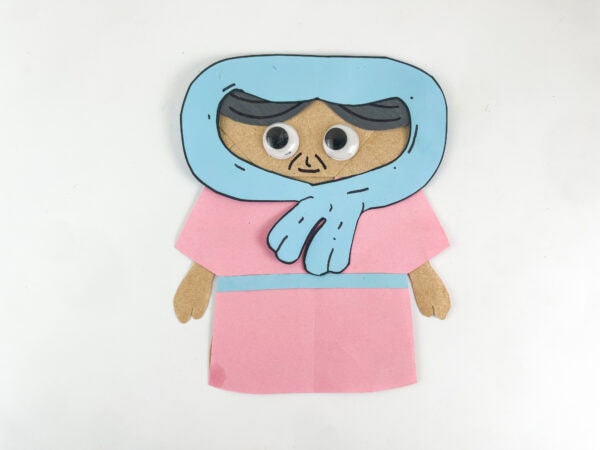
Here’s a fun teaching moment: let your child decide whether Naomi gets a frown or a smile. A frown shows Naomi when she came home to Bethlehem and asked to be called Mara. A smile shows Naomi at the end of the story, holding baby Obed. Some kids like to make two Naomi puppets, one for each part of the story.
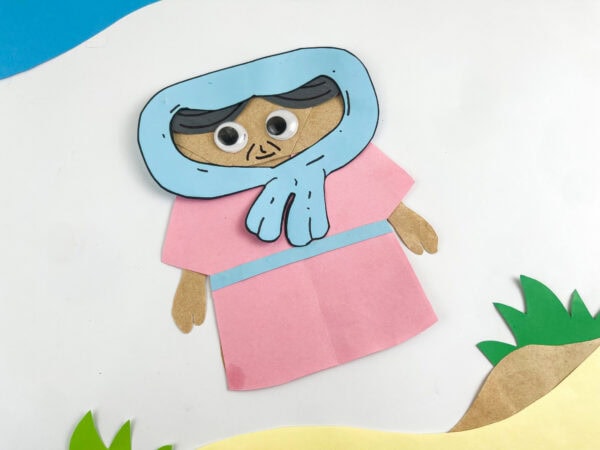
And just like that, you have your very own Naomi Bible paper craft, ready to stand proudly on a shelf or be used as a teaching tool in class.
How to Use the Naomi Puppet to Tell the Story
Because Naomi’s face is on the bag flap, kids can slip a hand inside and make her “talk.” Have children retell the story in their own words, or use these prompts:
- Where did Naomi’s family live at the beginning of the story, and why did they move?
- What sad things happened to Naomi while she lived in Moab?
- Why did Naomi want to go back to Bethlehem?
- What did Naomi tell Orpah and Ruth to do? What did each of them choose?
- Why did Naomi ask people to call her Mara?
- How did God take care of Naomi and Ruth when they got to Bethlehem?
- How do you think Naomi felt when she held baby Obed?
- How is Naomi’s family connected to King David and to Jesus?
For a two-puppet play, pair Naomi with the Ruth paper bag puppet. One child plays Naomi saying goodbye, and the other plays Ruth saying, “Where you go, I will go.”
Lessons Kids Can Learn From Naomi
- God is with us in sad times. Naomi went through great loss, and God still had a plan for her.
- It’s okay to tell God how we feel. Naomi was honest about her sadness. Kids can tell God when they feel sad, mad, or scared too.
- God provides. He brought food back to Bethlehem, led Ruth to Boaz’s field, and gave Naomi a new family.
- Family and kindness matter. Naomi and Ruth cared for each other, even when it was hard.
- God can turn bitter into sweet. Naomi went from calling herself Mara to holding her grandson in her arms.
Memory verse idea: “And we know that all things work together for good to them that love God” (Romans 8:28, KJV).
Tips for Different Ages
Preschool:
- Cut out all of the pieces ahead of time.
- Let children glue the robe, belt, and googly eyes.
- Keep the story short: Naomi was sad, Ruth stayed with her, and God cared for them.
Early elementary:
- Let kids trace and cut the larger pieces themselves.
- Have them draw Naomi’s face and choose a smile or a frown.
- Use the first four discussion questions.
Older kids:
- Have them cut every piece and add details like fringe on the scarf or patterns on the robe.
- Ask them to find Ruth 1:16, Ruth 1:20, and Ruth 4:17 in their Bibles.
- Have them write a short diary entry from Naomi’s point of view, either from the road back to Bethlehem or the day Obed was born.
Tips for Sunday School and Homeschool
- Prep the pieces ahead. For a class, trace and cut the robes and head coverings the night before, and let kids do the gluing and faces.
- Use a glue stick. Liquid glue soaks through the paper bag and makes it wrinkle.
- Set out one finished sample so kids can see how the pieces fit.
- Write names on the back of each bag before starting.
- Pair it with Ruth. Make the Naomi puppet one week and Ruth the next, then act out the whole book of Ruth.
- Let it dry flat for a few minutes before kids use it as a puppet so the pieces don’t slide.
More Bible Crafts for Kids
Keep learning about the people of the Bible with these paper crafts:
- Queen Esther Paper Bag Craft for Kids: another brave woman of the Old Testament
- Deborah Bible Craft for Kids
- David Bible Craft for Kids: Naomi’s great-great-grandson
- Joshua Bible Craft for Kids
- Gideon Bible Craft for Kids: from the book of Judges, the same time period as Ruth
- Saul’s Conversion Craft for Kids
- Daniel in the Lion’s Den Craft
- Eve and the Garden of Eden Craft
- Armor of God Breastplate of Righteousness Craft.
- Jonah and the Whale Paper Plate Craft.
- Day 4 of Creation Craft for Kids
Is this craft appropriate for all ages?
You can adapt this Naomi Bible paper craft for a variety of ages. Younger children may need help cutting, but with pre-cut pieces, even preschoolers can handle the gluing and coloring.
Do I need any special supplies?
Not at all. Everything used is simple, affordable, and likely already in your craft supply bin: paper bags, construction paper, glue, scissors, coloring supplies, and googly eyes.
Can I use this craft outside of a Sunday school setting?
Definitely. This is a great pick for homeschool Bible lessons, family devotion time, or even a rainy-day activity at home.
How does this craft connect to the actual story of Ruth and Naomi?
The craft serves as a hands-on visual aid as you walk through the story—Naomi’s hardship, Ruth’s loyalty, and the gleaning of wheat in the fields—making the lesson easier for kids to remember.
Can this craft be adapted if I don’t have all the exact supplies listed?
Absolutely. This craft is pretty forgiving. If you don’t have construction paper on hand, regular cardstock or even sturdy scrapbook paper works just as well. No googly eyes? A marker-drawn pair of eyes works just as well. The goal is keeping it simple and accessible, so feel free to swap in whatever you’ve got.
Download the Free Naomi Bible Craft Template
Find even more ideas in our Bible Crafts and Printables (100+ Ideas) roundup
Print the template at 100% or “actual size” so the pieces fit a standard paper lunch bag. Trace the pieces onto construction paper, or print the template right onto colored cardstock and cut.
Naomi Bible Paper Craft
This Naomi Bible Paper Craft is a simple activity that helps children create a familiar Bible character using everyday supplies. Kids will enjoy putting together Naomi's outfit, head covering, and face while practicing basic crafting skills. The finished puppet can be used for Bible lessons, storytelling, or imaginative play. It's a fun project for home, homeschool, or church. Each completed craft makes a wonderful addition to a collection of Bible character puppets.
Materials
- Paper bag
- Construction paper
- Glue
- Googly eyes
- Printable Template
Tools
- Scissors
- Markers
Instructions
1. Cut Out the Craft Pieces
Trace and cut out all the pieces from the construction paper, including the tunic, belt, hair, head covering, and hands. Arrange the pieces on your work surface so they're ready to assemble.
2. Assemble the Outfit
Glue the tunic onto the front of the paper bag. Attach the belt across the middle, then add the hand pieces to each side of the outfit.
3. Build the Head
Layer the hair underneath the head covering and glue the pieces together. Use a marker to add a few simple lines for extra detail before attaching the head to the top of the paper bag.
4. Add the Face
Glue the googly eyes onto the face. Then use a marker to draw a nose and a gentle smile to complete Naomi's expression.
5. Let It Dry and Display
Allow the glue to dry completely before handling the puppet. Once finished, use it for Bible storytelling, display it with other Bible crafts, or enjoy it during imaginative play.
